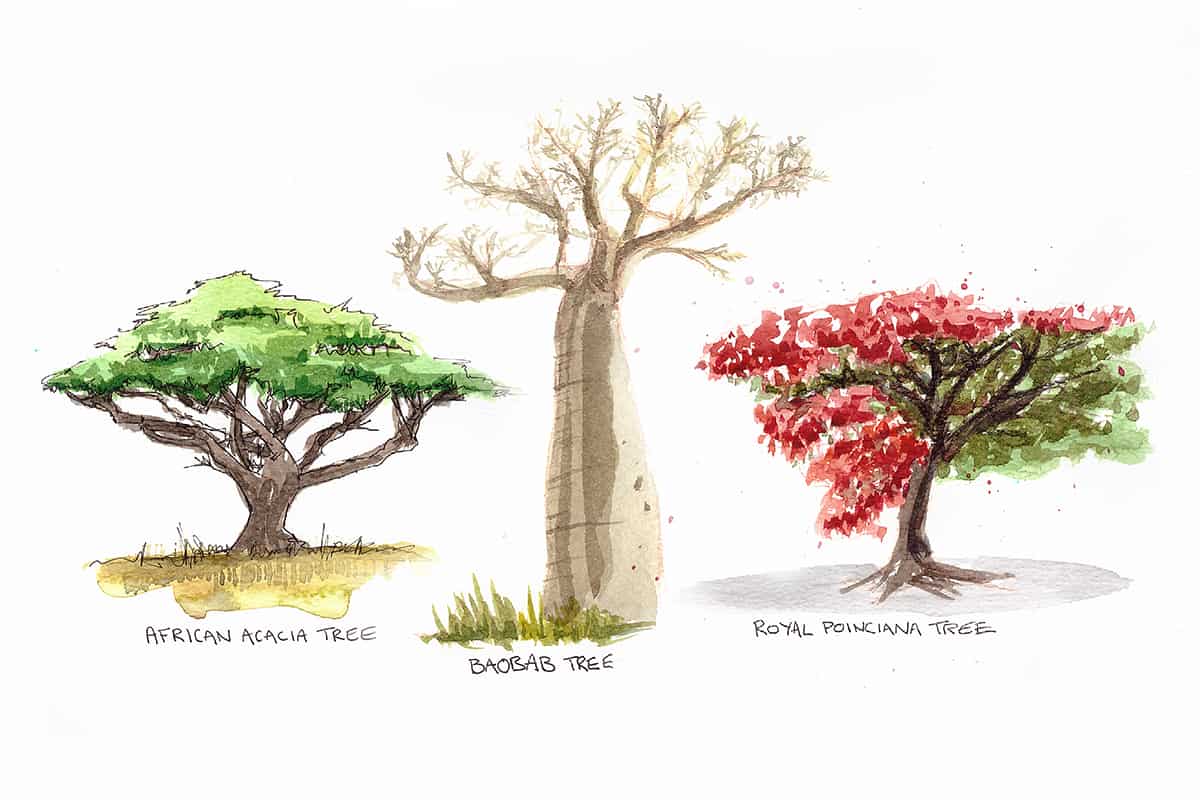
There are so many ways of sketching trees and which technique you prefer will depend on your style and the medium you prefer to work in. For example, if you work in pen and ink, the method of sketching a tree is going to be a little different to someone who wants to sketch a tree with watercolour or markers.
In this post, I will cover a range of ways you can sketch trees with both general tips applicable to all and specific tips relative to different styles. I shall include a few of my favourite Youtube tutorials on the subject matter as well as books or any other materials that may help you shortcut to the best information available.
What’s the focus of your sketch?
Firstly let’s think about the focus of your sketch and how you want to be able to represent trees.
- Tree(s) in the background to create a fuller scene and give atmosphere
- Trees as one of the key elements of your sketch
- Trees as the sole focus of your sketch
Depending on the scenario, your approach to sketching a tree may alter. If trees are in your sketch for atmospheric purposes and to complete the scene then you may want to hint at them in a loose or stylised way, especially if there are a lot of them.
If you want the tree or trees to be the sole focus of your sketch then its more likely you will want to represent them in a more realistic, or at least more detailed way.
Realistic Trees
Ian Sidaway is a big fan of sketching trees as the sole focus of his work. He sketches many other subjects too, however the way he captures trees (which let’s face it can be super complicated to do in a realistic way) is beautiful.
Ian works both out on location and in his studio. He is a master of watercolour painting with many instructional books on the topic. He also features in Sketchbook Skool’s Watercolour Rules class.
As well as being a master of watercolour painting, Ian is incredible at producing fineliner sketches. He started a project a few years back where he aimed to sketch a tree in every postcode of London in a small A6 (approximately 4 x 6 inches) sketchbook and a black fineliner. His rendering of trees is mind-blowing, you can check some out on his blog here.
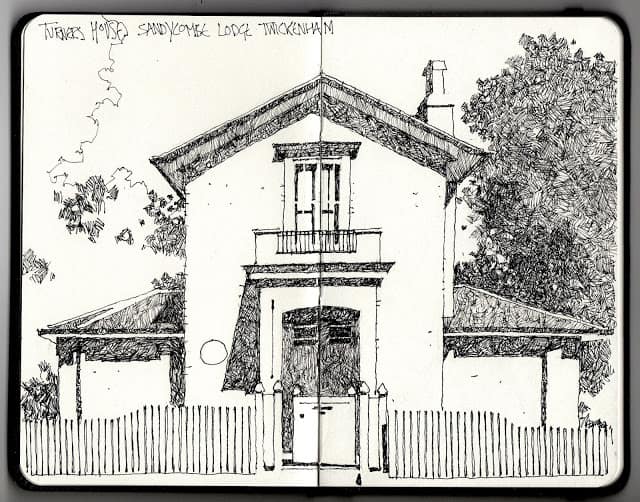
Trees tend to be the sole focus in Ian’s sketches and he opts for a more realistic interpretation of them. Notice in his fineliner sketches how he uses hatching in different directions to create the texture of the tree. I really like this technique.
EXERCISE: Why not try this out for yourself? Get a small sketchbook (A6 or 4×6 inches) and a fineliner (something like a 0.2 or 0.3 would probably be best) or a ballpoint pen even and carry them around with you everywhere in your pocket or bag. Try to capture nothing but trees, plants and foliage in this book, using the same technique as Ian – just lines and hatching to indicate value and texture.
Trying something like this for yourself will undoubtedly improve both your sketching and observation skills in no time at all.
Some of my favourite online classes
- Sketchbooking For Beginners: Learn to Draw Your Surroundings – Maximilliano Vera Herrera
- Gouache Painting of Urban Landscapes – Tommy Kim
- Artistic Watercolour Techniques For Illustrating Birds – Sarah Stokes
- Illustrating Nature: A Creative Exploration – Laura McKendry
Stylised Trees
Santi Salles is one of my favourite urban sketchers, his style is so captivating. I especially love his series of sketches he does over a sketchbook spread (for more on that, check out my post on how to design a dynamic sketchbook spread).
Santi is well known for his love of sketching nature and trees, he offers workshops on the subject and has released a book on drawing techniques to illustrate nature (which you can find on Amazon).
Unfortunately for non-Spanish speakers, I think the book is only available in Spanish (currently), however, you can get a sense for what’s included in the book in the flip-through video below.
While this book is not a step by step drawing guide, it’s quite an intimate personal book, showing how Santi thinks about illustrating nature. His illustrations are gorgeous and he talks a lot about mixing different types of green and shows his stylised way of capturing trees. If you are happy with it being more of a beautifully illustrated book to look through rather than a rigorous manual on drawing technique, then I’d say check it out.
Another urban sketcher who I absolutely love is Danny Hawk. His illustration style is also highly stylised and I love the way he represents trees and foliage so ‘cleanly’.
Luckily for us, Danny has a 20 minute tutorial on Youtube (which you can watch below) showing how he paints trees:
Architectural sketches of trees
I really like the way trees are represented in architectural sketches. There are a few good videos on Youtube on how to sketch trees but I think this is one of my favourites, particularly if you are interested in sketching trees with markers:
I really like the technique shown in the video of using a white gel pen over the top of the dark green foliage to indicate the branches and light showing through the tree. It’s obviously a stylised way to represent a tree but I think it’s effective.
James Richards is an urban sketcher that has an architectural background and as such is a master at sketching subjects like trees in the context of a city scene both simply but with so much character.
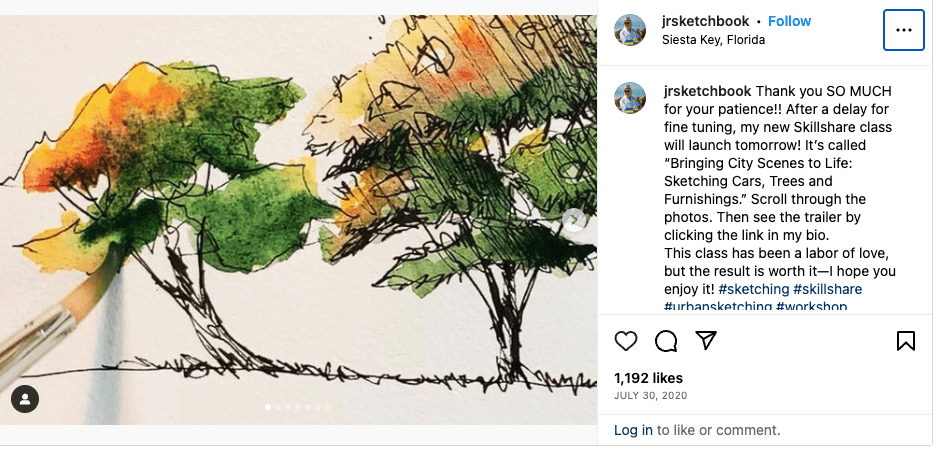
James shares his technique of how to approach sketching trees in his Skillshare course, ‘Bring City Scenes to Life: Sketching Cars, Trees and Furnishings’ which I highly recommend, especially if you are a fan of James’ style of sketching. In this course, James explains that trees in the context of his sketches are not the main element, they are ‘supporting cast’ and as such, he treats them in a less detailed way. If you want to add trees to your sketch in a simple way that supports the rest of the scene,
Liz Steel is an urban sketcher (that I’m certain you have already heard of) that also used to be an architect. Therefore she approaches her sketching with a lot of forethought and provides a fantastic analysis of her findings on her blog. In fact, as I started researching and writing this post I found that Liz had just posted something about sketching trees on her own blog, which you can find here.
Want to learn travel sketching in ink & watercolour?
Check out my course, Sketch Your Adventures and for a limited time get 50% OFF!!!
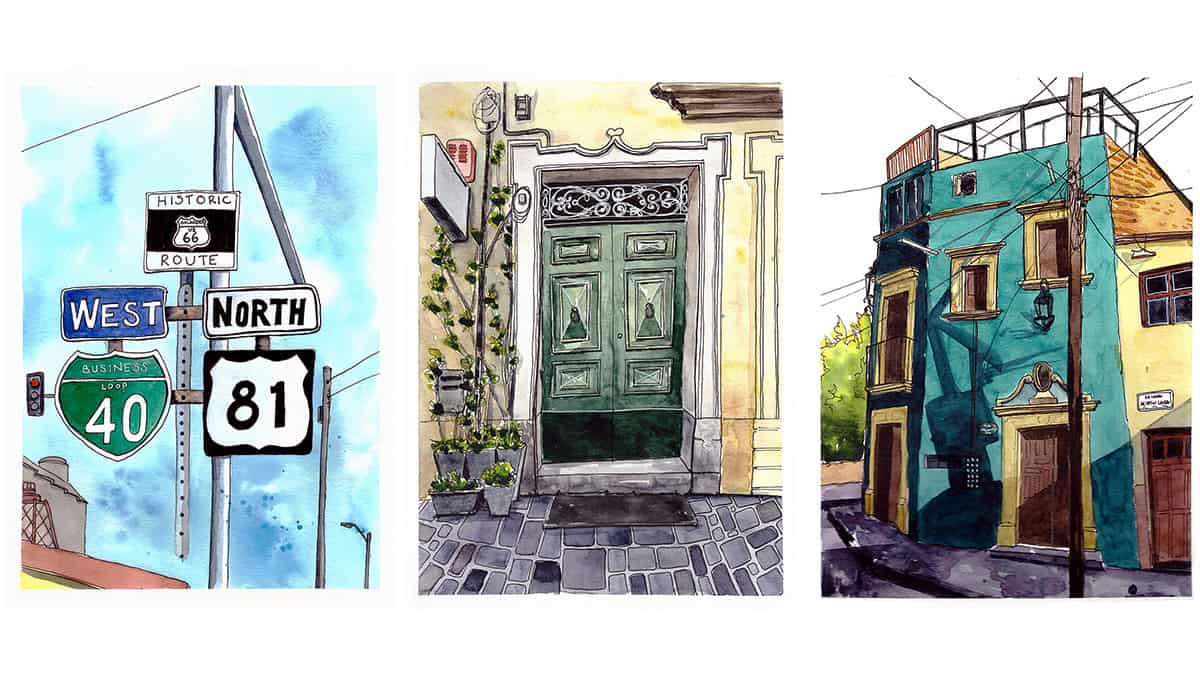
Loose watercolour trees
If you’re more interested in capturing trees in a loose watercolour style, there are a few really inspiring videos on Youtube which give us a good idea of how to achieve this effect.
I personally enjoy capturing trees in a loose watercolour style but then adding some scribbly ink lines on top just to bring a little bit of structure but still in a very loose way.
Here is a sketch of an A-frame house I did with some loose trees on either side. The trees were certainly one of the key elements to bring this sketch to life.
In the video below, Jean Lurssen shows us how she uses different types of brushes to create different textures as well as how to paint trees very loosely in watercolour.
If you have some old paintbrushes lying around that are damaged and the bristles no longer make a point, or you have a cheap brush you don’t mind spoiling, check out Nitin Singh’s video below on how to use it to paint some really loose sketchy trees. I love the effect he gets.
Ok, so I think we have gone through enough examples of the various ways in which you can sketch trees. Let’s pull this all together into some top tips on how to improve our tree sketches.
Pssst….have you checked out my ebooks yet???
Check out my ebooks with hundreds of ink & watercolour travel sketches from all over the world. Get some inspiration for your next trip…
10 Tips on How to Sketch Better Trees
Observation is the key to sketching better trees, whether you are sketching from life or from reference photographs.
- Decide on the style you are going for, this will inform how you approach your sketch
- Sketch the overall shape and volume of the tree first, this can either be lightly in pencil or with fine ink lines (again depending on what style of sketch you want to achieve)
- Focus on the proportions of trees and surrounding foliage for a more accurate sketch
- Where is the light source coming from? Add highlights and shadows consistent with where the sun is shining – generally highlights on the top and shadows underneath. Observe the trees you are sketching. If you are sketching from life and the light is changing quickly then take a photo on your phone that can you refer to.
- Make sure to leave breaks for the light and branches to peek through
- Practice sketching trees with reference. Learn some of the different types of trees in your area, where you are most likely to be sketching regularly and practice them in different styles and with different mediums.
- Create small studies – this is traditionally what a sketchbook is actually for!
Check out The Mind of Watercolor video below for a more in-depth discussion on creating studies of trees and a strategy for creating looser and more minimal representations.
- Learn to mix different shades of green (quickly and convincingly). There are some tutorials on Youtube teaching this. Here’s another great video from The Mind of Watercolor on this very subject:
9. Experiment with old brushes or different mediums to see what textural effects you can get and discover what you like working with best.
10. Keep a sketchbook dedicated to capturing trees and foliage, whether it’s a small book with line drawings (like Ian Sidaway) or a larger watercolour sketchbook with mixed media experiments. The more you practice and document your experiments, the more proficient you will become at capturing trees the way you want to.
Final Thoughts
I hope you have enjoyed this post on how to improve your sketches of trees. There’s a lot of information to devour here and a lot of experimentation to be done. If you do sketch some trees and share your work on Instagram, don’t forget to tag @urbansketchingworld so I can see!
If you want to keep in contact and receive news, inspiration, behind-the-scenes information on secret projects or the occasional special offer, make sure to join my newsletter! You’ll even receive a FREE ink & watercolour video lesson when you sign up!

