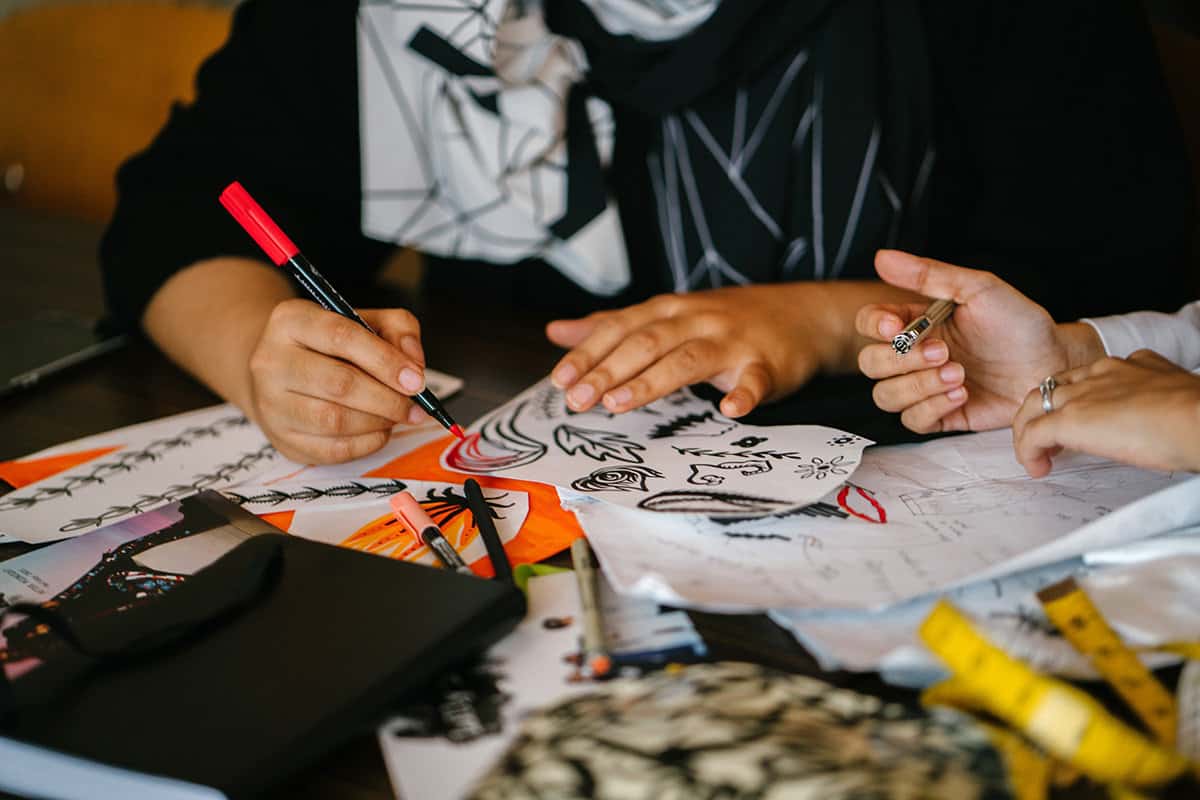
First things first, go and get a cheap exercise book with plain paper in it, like the ones that school kids use. They are cheap and you won’t mind filling the pages with nonsense – otherwise known as drawing exercises.
In this post, we are going to go over a number of drawing exercises that will strengthen the muscles in your hand, improve your hand/eye coordination and ultimately improve your urban sketching skills.
Warming up before drawing
Let’s start with a bit of hand yoga.
Close your eyes, breathe, zen out for a moment… Now stretch your fingers by putting them on the desk and stretching back towards your wrist, go easy, don’t hurt yourself. Then do some circles with your wrists, then circles with your elbows and now circles from the shoulders, remember to go in one direction and then the other. Take it slow, keep focussing on your breath and feel your body warming and loosening up.
Just like vocalists or people who exercise it’s actually a really good idea to warm up your bits and bobs before sketching, especially if you are in for a 2 hours+ urban sketching session. It may just save on those medical bills down the line.
Also, don’t forget your poor back. My posture isn’t the best and it’s really something I am trying to consciously work on lately. Do your best to remember to sit up straight.
Drawing Exercise #1
Right on to drawing exercises. You can use anything you want for this but I am starting with a pencil. It can be any kind of pencil…clutch, wood, mechanical…whatever you want.
We want to keep things loose. A great way to loosen up is to hold your pencil much further back than you may usually. I like to use a normal wooden pencil for these exercises – I find ‘B’ grade pencil is the sweet spot where it can produce a tight line but also has a bit of softness for shading and getting loose lines. This is my personal preference though.
Start making circles on your page. Be quick and loose but see how circular you can get your circles. This is where the elbow and shoulder come in – make yourself some nice space for your whole arm to move while making these circles.
Drawing Exercise #2
Make straight lines across the page. See how straight you can make them, draw them parallel to each other and see how evenly spaced you can make them. Draw them at different angles, down the page, diagonally, left to right, right to left – which feels more comfortable? Which produces a more accurate result? This is interesting because it will help you to understand why turning your page (or sketchbook) will help you draw a straight(ish) confident line.
If you would like more information on the art supplies I use and recommend, head over to my Recommended Stuff page. In addition to art supplies I share my favourite books and courses too!
Drawing Exercise #3
Continue this exercise but with shorter lines more tightly spaced – this is known as hatching. Practice hatching at different angles and with different spaces between lines. And then move on to cross-hatching. This is something I definitely want to get better at this year and I’m keen to incorporate more of it into my sketching as I don’t really use hatching at all and I do love the effect – I always think of Tommy Kane when I think of hatching.
You can continue to do this sort of thing with squares and triangles, replace the straight lines with wiggly lines etc. It’s all about growing a strong relationship between your hand and eye, your pencil and page.
Once you have done these exercises with a pencil, try some different pens and do the same thing so you can get used to how the pen works. Use your favourite pen and then use a pen you really dislike (if you have such a thing). I cannot overemphasise how useful these kinds of exercises are to improve your drawing skills but also to get to know different tools.
Do you want to learn how to sketch your own adventures in ink & watercolour?
GET 50% OFF FOR A LIMITED TIME ONLY!!
I will show you my exact sketching process in ink and watercolour. I have travelled around the world in the last 3 years and this is my go-to system of creating beautiful yet quirky illustrations to capture the magic of my discoveries.
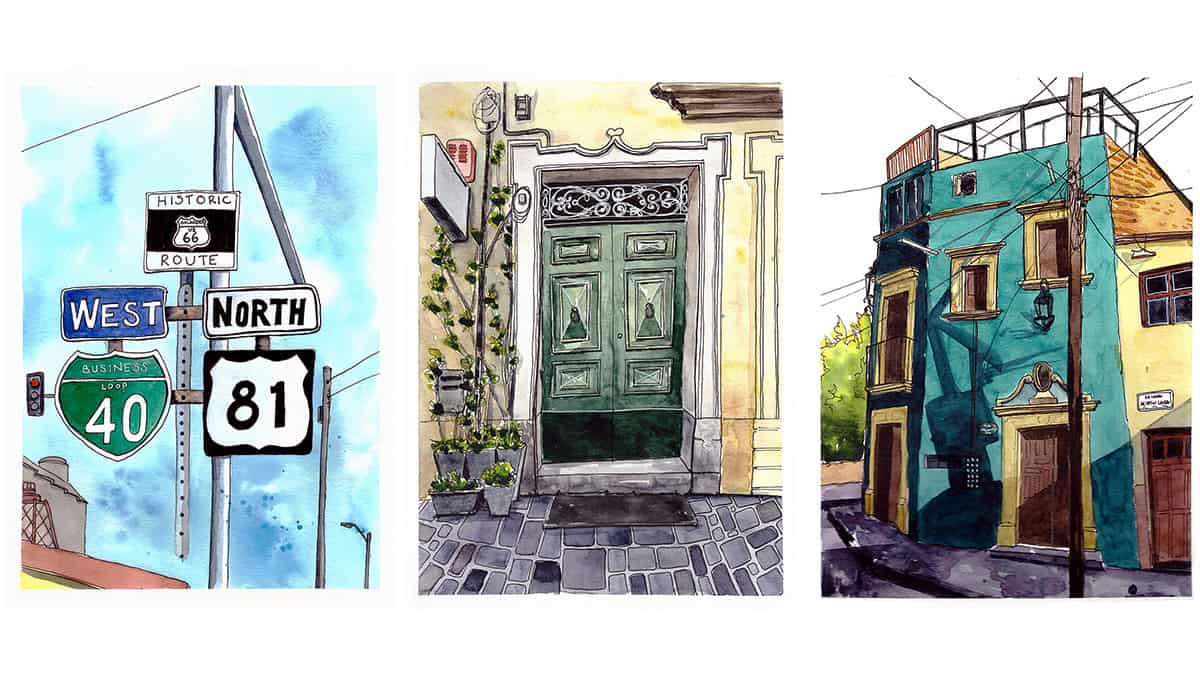
We will work through 3 projects, step by step (pictured below), all of which are real-life examples of things I have sketched along my travels. I provide the photo references you can work from.
We will start by choosing a composition, laying in the initial pencil sketch, adding ink lines, layering watercolour and adding the final touches.
This and much more are included in my course, Sketch Your Adventures, click the button under the image to find out more!
Drawing Exercise #4
The next thing to do – and I am sure you have all seen this in many drawing books and other videos so I won’t labour the point – blind contour drawing.
For those of you who don’t what that is: pick a subject, like your hand, a cup in front of you (a hand is more fun as its a bit more challenging), a shoe – anything with an interesting outline…put your pencil or pen on the page and start drawing the contour (i.e. the outline) of the subject in front of you WITHOUT looking at your page, look only at the subject you are drawing. Move your eye around the edge of the shape and follow it with your pencil (but don’t look at your page). I promise the result will be awful but if you keep doing this exercise regularly it will really strengthen your eye/hand bond and coordination.
30 days of blind contour drawing anyone? I feel a challenge coming on! Ha ha!
By the way, I don’t expect you to do all of these exercises right now, save this post and come back to it. Build your own practice schedule. I shall reference musicians again as that’s a context I know well but it’s like sitting down at the piano and running through your scales, arpeggios, intervals, practising time signatures, rhythms – all that technical stuff.
We don’t get away without doing that stuff as sketchers. Not if you actually want to get better anyway. And no judgment. I have actually actively avoided this stuff BUT this is THE year guys. I want to up my sketching game and actively try to improve my abilities. I am not sure what that will look like yet but I know exercising and practicing essential skills will be important.
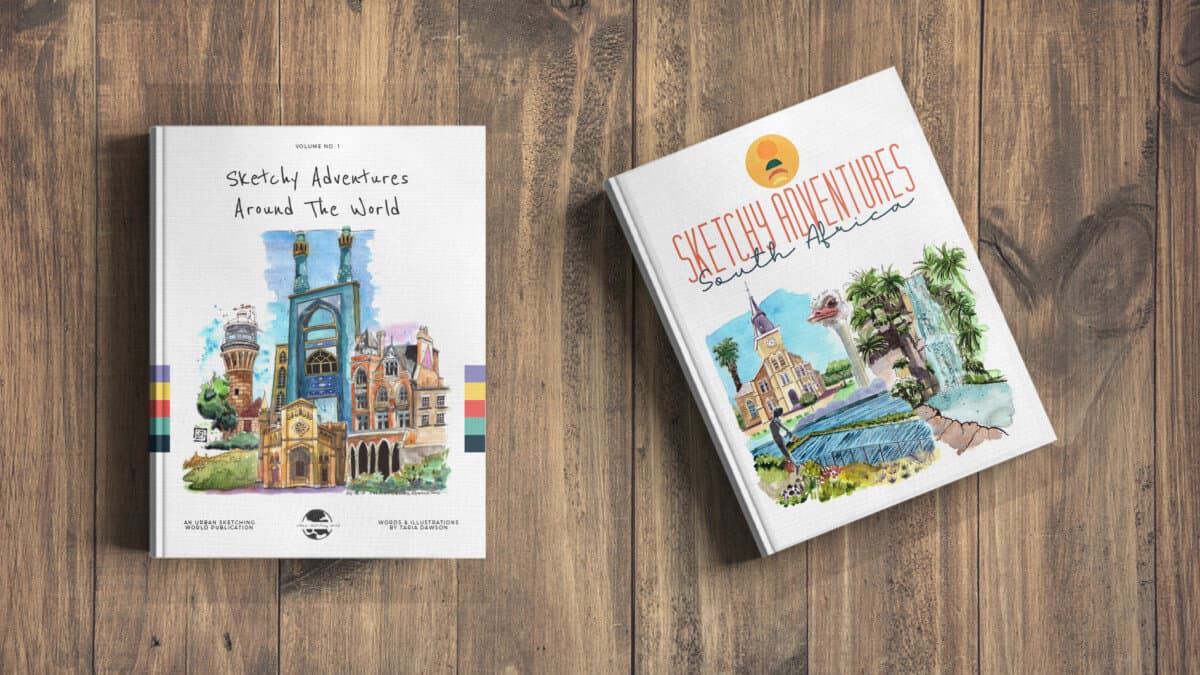
Check out my ebooks with hundreds of ink & watercolour travel sketches from all over the world. Get some inspiration for your next trip…
Drawing Exercise #5
The next exercise is contour drawing. This is similar to the last exercise except for this time we can look at our page. Take the same subjects that you drew when you couldn’t look at the page and this time draw them while being able to look at the page. the learning point here is that you should be looking at your subject more than your page.
Drawing Exercise #6
Continuous line drawings. I love the outcomes of continuous line drawings, they feel so loose and free even though there is an element of constriction.
The idea here is to draw something without lifting your pen off the page at all. It’s so interesting that by being restricted in such a way our sketches can feel so much looser, freer and playful. The more you do this exercise the more your results will improve and I think you may even find yourself using this technique in your actual sketching, out on location or otherwise. There are a few sketchers who sketch in this way – it’s a fundamental part of their technique.
Rather watch? Check out the video below…
Drawing Exercise #7
The next thing I want you to try is drawing things directly in pen – no pencil. You may have been doing this anyway – some people are fearless when it comes to this. But if you have not and are terrified of drawing in pen first then put down that pencil and do the blind contour, the contour and continuous line drawings in pen. They are going to look silly and fun anyway so there’s no harm in doing these in pen. Unless you don’t ever use pens in your work and don’t intend to….in which case, you have a pass.
Some of my favourite online classes
- Daily Sketching for Creative Inspiration – Sorie Kim
- Urban Landscapes in Watercolor – Daniel Pito Campos
- Illustrated Diary: Fill Your Sketchbook with Experiences – David Morales
- Illustrated Life Journal: A Daily Mindful Practice – Kate Sutton
Drawing Exercise #8
Draw everything with a brush pen. I think this is a valuable exercise whether you use brush pens or not as they are the halfway house between pens and brushes and gaining some mastery over expressing yourself with a brush pen can have a positive knock-on effect on mastering other tools, as well as strengthening your dexterity and control in your hand.
Drawing Exercise #9
I discovered this exercise very recently from seeing a video on Proko’s channel. The artist demonstrates something he learned from his mentor – it’s called automatic drawing. Basically, the essence is to just doodle! Draw organic shapes building from one to the next, just drawing freely with no plan, or reference, not trying to make it into anything in particular. In the hands of a pro artist the results are stunning but for us ordinary folk – well, we can just have loads of fun with this and it’s also an excellent way to warm up before drawing. It gets your hand used to moving the pencil, pen or brush across the page and you can do this with any medium – you don’t need to do it with just a pencil or pen. In fact, in the video artist mentions his mentor used to do it with ink and watercolour.
That was my guide to drawing exercises to get your eyes and hands singing from the same hymn sheet.
Obviously, there are so many other skills and concepts to practice – but these are some raw drawing exercises that can really help and secondly are fun and free-ing.
If you would like MASSIVE inspiration in the form of weekly demos and direct contact with me then do check out Patreon. There is so much content over there designed to help you improve both your sketching skills as well as your creativity.
Check out these posts next…
- 10 Strategies for Urban Sketching in Winter

- 10 Tips for Urban Sketching Buildings

- 10 Tips on How to Sketch Better Trees