One of the points in the urban sketchers manifesto is to share your sketches with the world. When the Urban sketching movement started, sketchers used to share their artwork on the photo-sharing/storage site Flickr, which was a great place to do this. I think some people still use Flickr but as time has moved on, people moved towards Facebook and then Instagram. Instagram is a great place to share sketches as the platform is completely image-focused and you can connect so easily with other urban sketchers.
Over and above just sharing your sketches online with other people, you may wish to turn your sketch into an art print to sell or print for yourself at home.
Getting a photo of your sketch uploaded online is one thing but how do you edit your sketch to look really professional and/or printable?
Scanning vs Taking a Photo
The best way to represent your sketch online is to use a scanner.
You can take a photo with your phone but the quality is not going to be as good. It is a lot more effort to try and get a decent quality photo that is evenly lit and sharp with your phone.
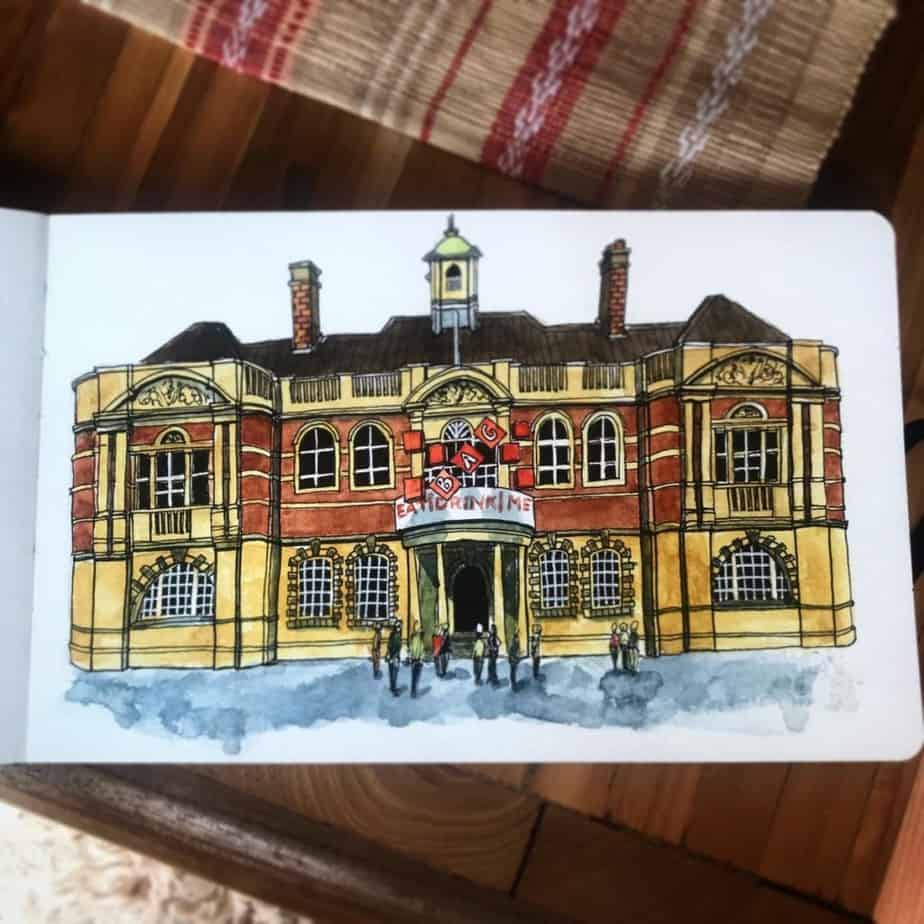
If you want to share a photo of your sketch along with art materials, or you want to show your sketchbook in front of the thing you sketched (a popular option for urban sketchers), then obviously taking a photo with your phone is the way to do this.
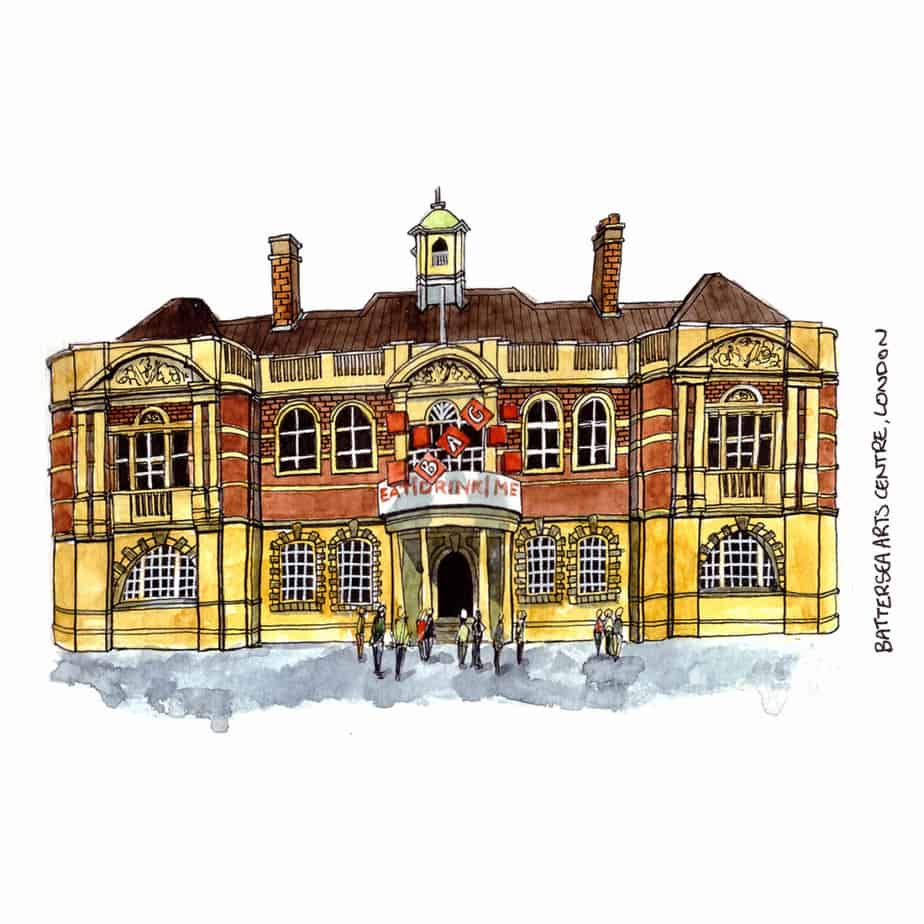
However, if you want to get a clear sharp representation of your sketch for sharing on social platforms, adding to your website or portfolio, or to print then you should definitely use a scanner. Once you have scanned your artwork you can then take into some editing software to get a white background and enhance the colours a little.
How to Scan
At home, I have a multifunctional printer which has a scan bed on the top of it. Most scanners that come built in with a printer like this are absolutely fine to scan your artwork with.
Make sure your sketchbook page is positioned centrally on the glass. With the lid closed try to see whether the page is lying flat against the glass. Sketches in watercolour tend to wrinkle the paper in your sketchbook so it won’t be lying flat against the glass and the scan won’t be as clear and sharp as it could be.
There are a couple of ways to get around this issue.
- Put a heavy book on top of the lid of the scanner as long as it’s not going to damage or break it.
- Keep the lid up and place your hand on the sketchbook pressing firmly down towards the glass whilst it’s scanning. That way you can make sure the paper is completely flat against the glass. Try not to move whilst the artwork is being scanned otherwise it might be blurry – keep as still as possible!
Image Resolution
When scanning, you may be presented with lots of different options in regards to paper size, image resolution, file type etc. One of the most important options is the resolution the picture will be scanned at.
If you are sharing your sketch online and have no interest in printing it at all then the image resolution you scan at is not going to matter as much. Most scanners should have a list of options as to which quality to scan in, most likely from 75dpi up to 600dpi, perhaps higher.
DPI stands for dots per inch and indicates what resolution your artwork will be scanned at. I am not going to go into a scientific explanation of DPI here as its unnecessary. All you need to know is the higher the number, the better the resolution but the larger the file size that will be produced.
A setting of 300dpi is a perfect for printing, especially if you want to print the sketch at the same size it was sketched at. If the original sketch is A5 (or 5 x 8 inch) and you want to print is at this same size, stick with 300dpi.
If you want to print your sketch much larger than real life, you may want to increase the dpi. If you only want it a little bit bigger then 300dpi is still fine. If you want it to be double the size, or larger then perhaps think about stepping up the dpi.
Some standard home scanners will go up as far as 1200dpi, but setting it this high is really not necessary unless you want to print your sketch as a huge poster or something – hang on, that could be quite interesting to have on the wall?!
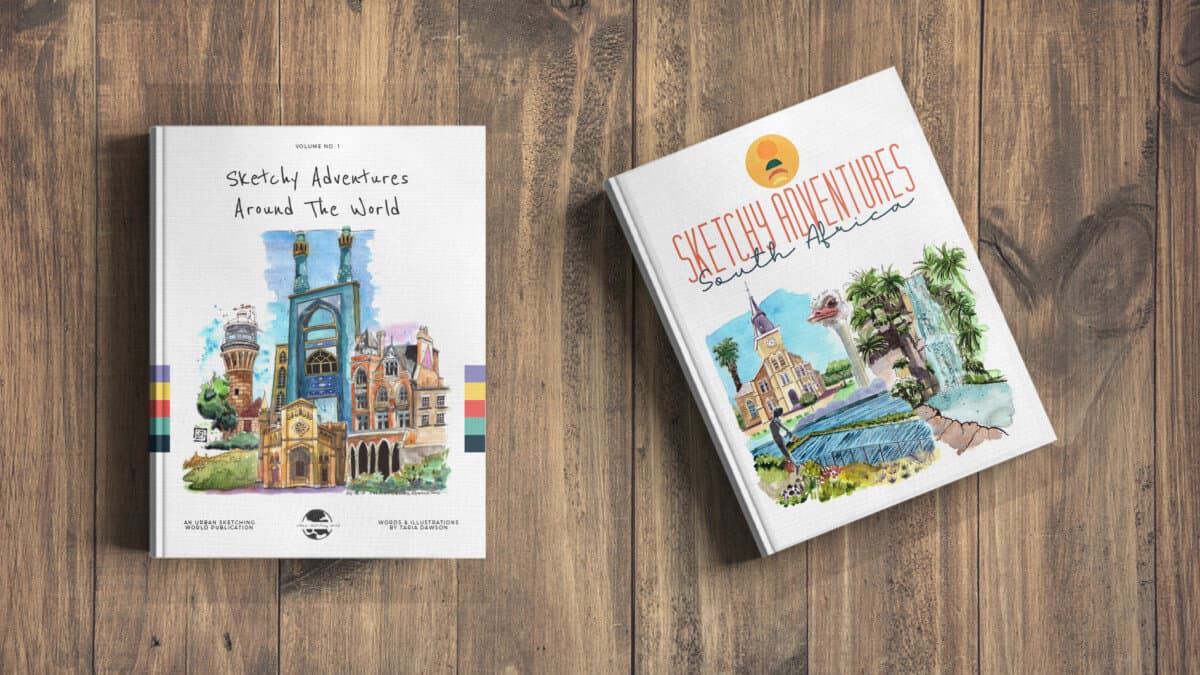
Check out my ebooks with hundreds of ink & watercolour travel sketches from all over the world. Get some inspiration for your next trip…
I scan all of my sketches at 300dpi, whether I intend to print them or not. It is easier to edit the file in your photo editing software after you have scanned it and save it in a lower resolution. You cannot increase the resolution after you have scanned it. As such it is better to scan at a higher dpi than a lower dpi.
Most images you see online will have an image resolution of 72dpi. This is because images online tend to be alot smaller than real life, therefore they do not need to have as many ‘dots per inch’, as the difference would be inconceivable to the human eye anyway. The aim is always to have as small file sizes as possible when sharing an image online. Large image sizes will really slow a website down. You do not need to worry about this when sharing an image on Instagram as when you upload the app will compress the image anyway.
For those of you using an Apple Mac and unsure of the easiest way to connect your scanner, I have a quick hack that works to connect ANY scanner to your mac without downloading anything special or hunting around for drivers. Check out my Youtube video below:
File Type
What’s a TIF file?
I am going to keep this explanation a simple as possible, again, let’s avoid unnecessary technical babble…
A TIF (or TIFF) file is a file type just like JPEG, PNG or PDF is. You will see your filename with the extension .tif after it, for example, “sketch.tif”.
A TIF file is a high-quality format that you can save your sketches in. A lot of scanners will default to this format. If you are scanning your sketch in order to print it one day (either yourself or by sending it to a professional printer) then I would highly recommend scanning your sketch using this file format. Again, we are using the principle of scanning in the highest quality we can because it can be saved as a smaller lower quality file from this if needed. As discussed earlier, higher quality = larger file sizes.
If you are only scanning your sketch to upload it online and have no desire to print it, then you could set your scanner to output the file in a JPG format, which means your file size will be a lot smaller. If you have an older computer that’s a bit slow or not much hard drive space (like me) then this may be a better option. But ONLY if you don’t want to print it.
I always scan as a TIF file as I never know if I may decide I want to make the sketch available in my online store as an art print that people can buy. I like to keep my options open.
Want to take a peak at the prints I have for sale??
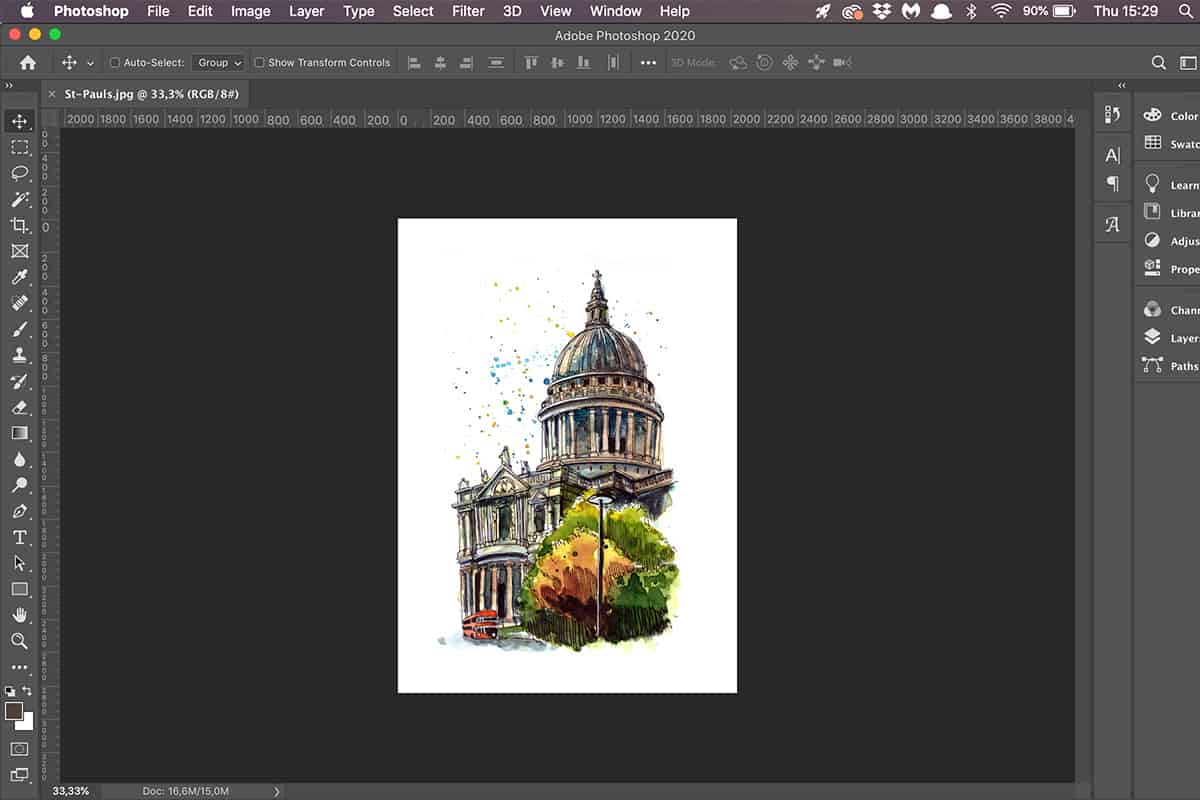
Once you have scanned your sketch and it is saved as a TIF (or JPG) file you will want to go and edit it. My favourite way to do this is to use Photoshop. I have used photoshop for many years – I know it is not the cheapest or probably simplest way out there for those who have never used it but I shall list some alternative cheaper or free pieces of software/apps below. If you have not used any photo editing software before, there will be a bit of a steep learning curve whichever app you choose.
Do you want to learn how to sketch your own adventures in ink & watercolour?
GET 50% OFF FOR A LIMITED TIME ONLY!!
I will show you my exact sketching process in ink and watercolour. I have travelled around the world in the last 3 years and this is my go-to system of creating beautiful yet quirky illustrations to capture the magic of my discoveries.
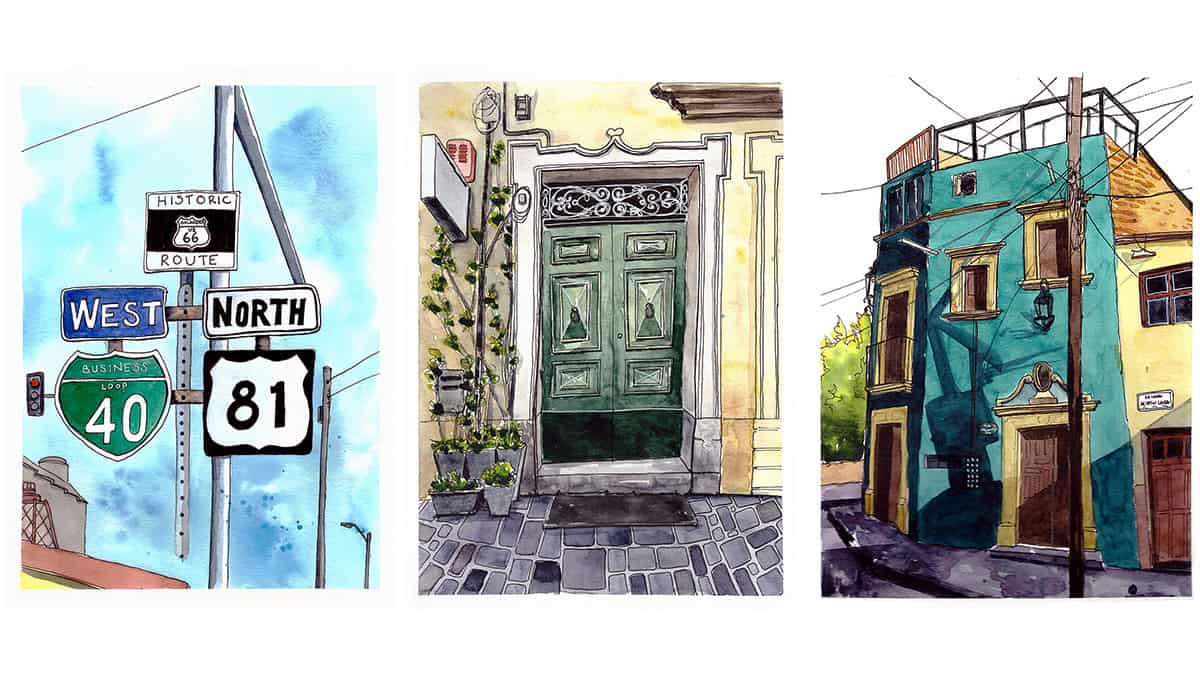
We will work through 3 projects, step by step (pictured below), all of which are real-life examples of things I have sketched along my travels. I provide the photo references you can work from.
We will start by choosing a composition, laying in the initial pencil sketch, adding ink lines, layering watercolour and adding the final touches.
This and much more are included in my course, Sketch Your Adventures, click the button under the image to find out more!
How to Edit Your Sketch in Photoshop?
I am using Photoshop here because that is what I have. I have been an Adobe CC member for quite a few years now. This is a monthly subscription service which allows you to access all Adobe apps. I use some of these apps for work and my personal life (such as Illustrator, InDesign and Premiere Rush) so it makes sense for me to have the full membership. For more information about Adobe Creative Cloud subscriptions and how to get your hands on Photoshop, check here.
It was nice being on the student membership price while it lasted (a few years) but now I pay full price – ouch. It’s certainly an investment but I use at least one of the apps every single day so, for me, it is worth every penny.
You can get Photoshop (+ Lightroom and mobile apps) for just £10 a month, which is quite a bargain.
If you want to try Photoshop, or any of their other apps, they offer a 30-day free trial.
What if I Don’t Have Photoshop?
There are many alternatives to paying a monthly fee to use Photoshop that will allow you the control to edit your sketch. If you just need something to edit your sketches with once in a while, paying monthly for the full power of Photoshop is probably not economically viable for your bank balance. It would be like buying a Ferrari and only ever using it to nip to the shops on a Sunday.
The functions you need in order to be able to edit are a cropping tool (so you can crop the sketch to your desired size) and a tool to alter the levels of the sketch – whites, blacks and mid-tones (allowing you to affect the contrast and depth). Nearly every photo editing app will have these basic tools. Some photo editors you can use online in your browser and others are apps that need to be installed on your computer.
Some of my favourite online classes
- Urban Sketching: Create Expressive Cityscapes – Eleanor Doughty
- Expressive Architectural Sketching with Colored Markers – Albert Kiefer
- Urban Sketching: Express Your World in a New Perspective – Lapin
- The Art of Sketching: Transform Your Doodles into Art – Mattias Adolfsson
Free Alternatives to Photoshop
PicMonkey – use on the web in your browser
Pixlr Editor – use on the web in your browser
GIMP – needs to be downloaded and installed, works on Windows and Mac
Paint.net – needs to be downloaded and installed, works on Windows only
Paid alternatives to Photoshop
Pixelmator – US$30 – needs to be downloaded and installed, works on Mac only
Acorn – US$50 – needs to be downloaded and installed, works on Mac only
Serif PhotoPlus – US$90 – needs to be downloaded and installed, works on Windows only
Corel Paintshop Pro – US$70 – needs to be downloaded and installed, works on Windows only
Adobe Photoshop Elements – US$99 – needs to be downloaded and installed, works on Windows and Mac
I would suggest experimenting with PicMonkey or Canva to see if you can get what you need from one of those free services, as they don’t require any downloading or installing. Pixlr Editor does not have any tutorials or instructions so for a beginner it may be tricky to understand.
I tried GIMP a couple of years ago and found it very clunky and difficult to use (and that’s coming from someone who knows how to use photo editing software).
If you want to pay for some software I can only recommend Adobe Photoshop Elements as it is the only one I have tried. It is the stripped-down more user-friendly version of Photoshop. It works on both Windows and Mac, it’s a one-off fee and comes with a worldwide community of help, support and tutorials if you get stuck.
My Editing Process
In the video below I share my personal editing process. As mentioned I use Adobe Photoshop CC, but even if you do not, this will hopefully help you see what I do and which tools I use. I talk you through the process step by step. For those who would prefer to read a summary of the steps, then scroll down past the video clip.
- Find your sketch and open it with Photoshop
- Find the crop tool and crop the sketch so there are no unwanted grey areas surrounding it.
- Adjust the levels of your sketch. To get rid of areas of the paper that are looking off-white, adjust the ‘white levels’. Bring the slider in until you are happy areas that should be white, look white. Adjust the mid-tones slider and black levels to counteract the white increase. The aim is to make the sketch look as natural as possible. Do not be tempted to add to much contrast as it will just look over-processed. You do want your sketch to have a little extra visual punch though. Play around with the sliders until you find something you’re happy with.
- Use the crop tool again to save your sketch in the size and format you need. For Instagram, it is best to crop the sketch into a square format (1:1). If you are printing, you may want to crop the sketch in a print-friendly ration, such as 2:3, 4:5 or 5:7. I usually use 5:7.
- To save the image for the web, click ‘Export As’. A dialogue box will open where you can adjust the size of your image in pixels. I usually use 1200 x 1200 px for Instagram. You do not need to change the dpi to 72. The ‘Export As’ option (as opposed to the ‘Save As’ option) in Photoshop will automatically compress the image for web and save it as 72 dpi.
What’s The Best Image Size and Resolution to Use?
What’s the best resolution to save your sketch in for Instagram? The best size and resolution to save your sketch for Instagram is 1200x1200px and 72 dpi.
What’s the best resolution to save your sketch for your website/blog? When editing a sketch to upload to a website, I tend to save the image at a maximum size of 1200 x 800 (or vice versa depending on your image orientation). I would not go any higer than 1200px on the longest edge. As for any image being uploaded to the web, the resolution should be 72 dpi.
What’s the best resolution and file format to use for printing? For printing, keep your sketch as a TIF file. Clean it up in your photo editing software and save it as it is, the same image size and the same resolution (so 300dpi if you scanned in 300dpi).
Comments are closed.