There is a huge selection of art supplies on the market, and increasingly, supplies that are designed specifically for urban sketching. It can be quite overwhelming to figure out which supplies are essential, or will make your life easier, especially when they are a little unexpected.
Below are my top 5 favourite urban sketching tools, some are obvious but some not so much…!
#1 Water Spray Bottle
The item that changed the urban sketching game for me is a water spritzing bottle.
Huh? I hear you say…
It’s super useful to hydrate your paints before you start painting; you activate them. The colours are more vibrant and you save your paintbrush bristles from not swirling them around in the pan.
I repurposed a bottle I found that used to have a facial spray in it. I washed it out and now carry it with me as an essential part of my kit. You can buy one online or in a pharmacy though if you don’t have something suitable lying around the house.
NOTE: Be careful not to over saturate your paints with water. I have actually found since being in a super dry climate like Johannesburg that pre-wetting the paints in my paintbox is causing them to crack (see my post here about the issue).
I can’t remember that I used to have this problem with my Winsor and Newton or Daniel Smith paints but it’s a pronounced issue with certain pigments in my White Nights set (and certainly in this climate). It is not critical, cracked paint in pan form is fine. It’s only if the paint gets to a super crumbly state where it’s actually falling out of your paintbox that it’s something you need to fix, check out my article here for suggested solutions.
#2 Travel Brushes
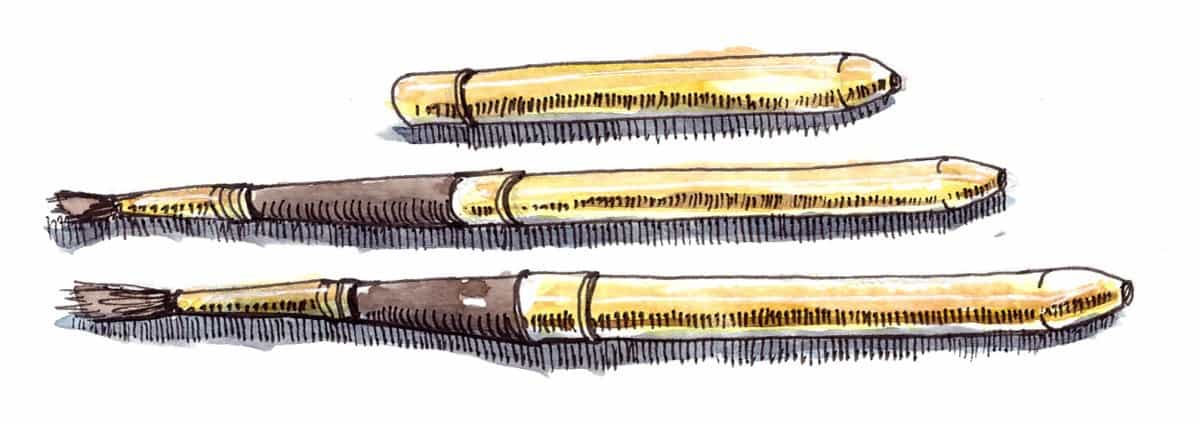
As the name suggests, travel watercolour brushes are watercolour brushes that are designed to be carried around while travelling. This generally means the brush comes in two halves, detachable in the centre, so the bristle end of the brush can be inserted inside the handle when you are not using it.
I have the Escoda Reserva brushes which you can check out on either Amazon or Jacksons Art Store. They were a significant investment for me and I stepped up to them when I knew I wanted to sketch on location more seriously. They are not the cheapest brushes but they are a worthwhile investment if you want to step up the quality and performance of your brushes.
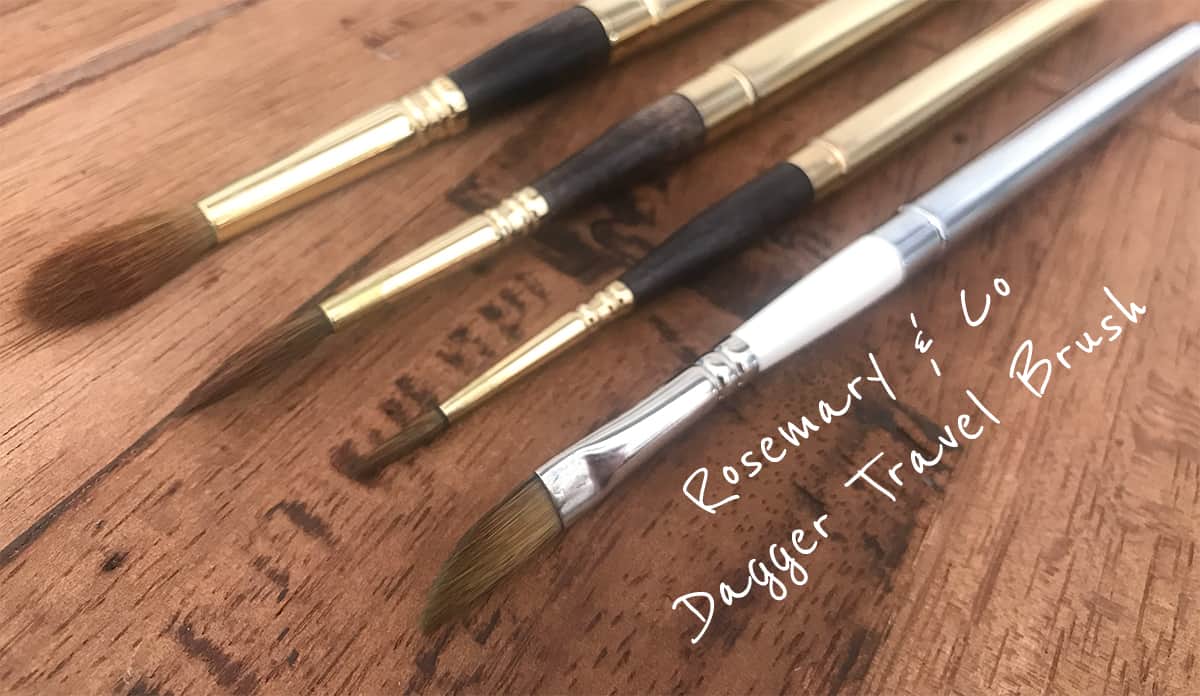
My most recent travel brush purchase which I love so much is a dagger brush by Rosemary and Co. This brush is so versatile. You can cover a lot of surface by using the full brush, or create very fine lines using the pointy end of the dagger-shaped bristles.
Before using the travel brushes mentioned above, I used “normal” watercolour brushes but also water brushes. Some people love them and some people hate them. I find them incredibly convenient, especially for quick sketching on the fly while you are waiting for someone for example.
They are plastic brushes and water is stored inside the handle. When you pinch the handle the water comes through the brush. These are great if you are doing a quick sketch on the move, or you do not have a way to have a pot of water with you. They can come in different brush sizes. I only wanted to carry two of them around. I used to like the biggest size and the finest size for the maximum scope to paint with. You can check them out here on Amazon to see what I mean.
They do take a bit of getting used to but once you do they really are a fantastic item to have in your art kit that stays in your bag. The urban sketcher Lapin uses one quite frequently.
I personally love them and actually used them as my main brushes for a while. I use the Pentel brushes which you can find on Amazon but there are other brands available.
Avoid the super cheap craftsy looking ones you see on Amazon, they are cheap for a reason, they don’t work and water spills out where it shouldn’t. They are truly uncontrollable. Get a water brush by a trusted brand such as Pentel or Derwent for example.
Check out my ebooks with hundreds of ink & watercolour travel sketches from all over the world. Get some inspiration for your next trip…
#3 Mechanical Pencil
For urban sketching, mechanical pencils are so useful. They come in a durable body much like a pen and you don’t need to sharpen them. Just press down on the end to bring out the graphite. When you’re done, hold down the end, gently push the graphite against a surface so it goes back inside the body and let go of the end. Now your pencil tip is safely protected for travelling around.

Mechanical pencil bodies usually have enough space to store a lot of lead so it takes a long time for them to run out. Refills are generally widely available in art stores when you do. That makes the ‘pencils’ great for the environment as you can just keep refilling them as and when you need. You can get mechanical pencils with different grades of graphite, just like traditional pencils.
There is a wide range of mechanical pencils on the market. I first used Rotring mechanical pencils which I love, I have also tried a Faber Castell and a Staedtler Mars pencil. All of them are great and I have no complaints.
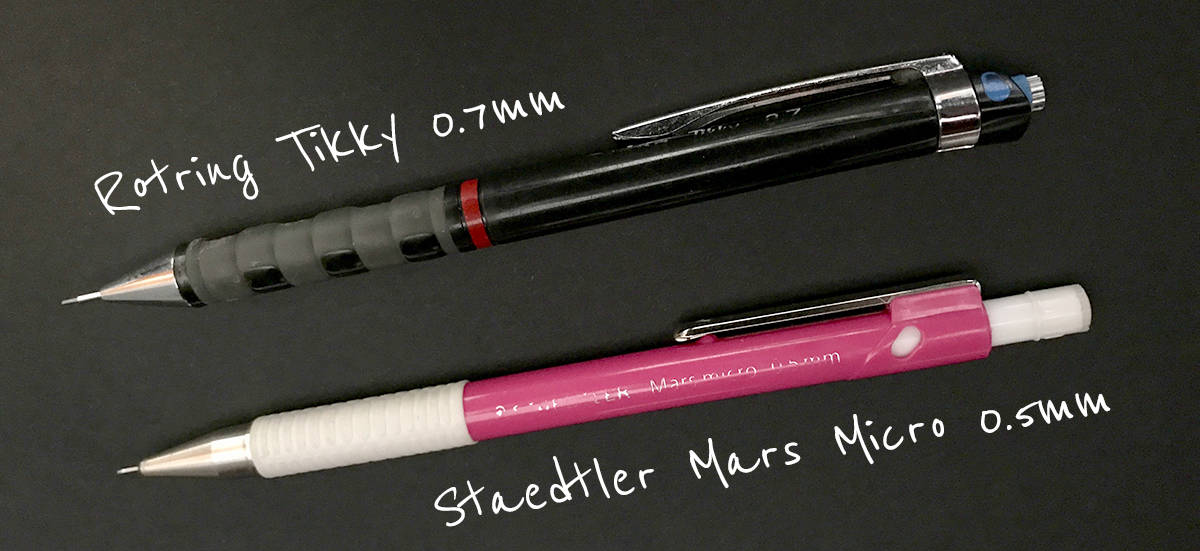
I have tried really super cheap Zebra mechanical pencils that were actually made to look like a traditional pencil, which I thought was cute, but they were terrible to draw with (and uncomfortable as there was no grip – just hexagonal plastic).
So, as with most things, you get what you pay for. The only reason I have tried a few is due to travelling around I have either lost one or have been unable to find refills to buy. The only option was to buy a whole new mechanical pencil.
Note: this was in a small town in the middle of nowhere in Mexico, otherwise, refills are widely available in art or stationary supply stores in main towns and cities, or online of course.
If you are in a physical store, I would say try a few so you can see which grip is most comfy. If you are buying online don’t go for the cheapest ‘no-name’ option, buy from a brand you trust and one that looks robust.
Do you want to learn how to sketch your own adventures in ink & watercolour?
GET 50% OFF FOR A LIMITED TIME ONLY!!
I will show you my exact sketching process in ink and watercolour. I have travelled around the world in the last 3 years and this is my go-to system of creating beautiful yet quirky illustrations to capture the magic of my discoveries.
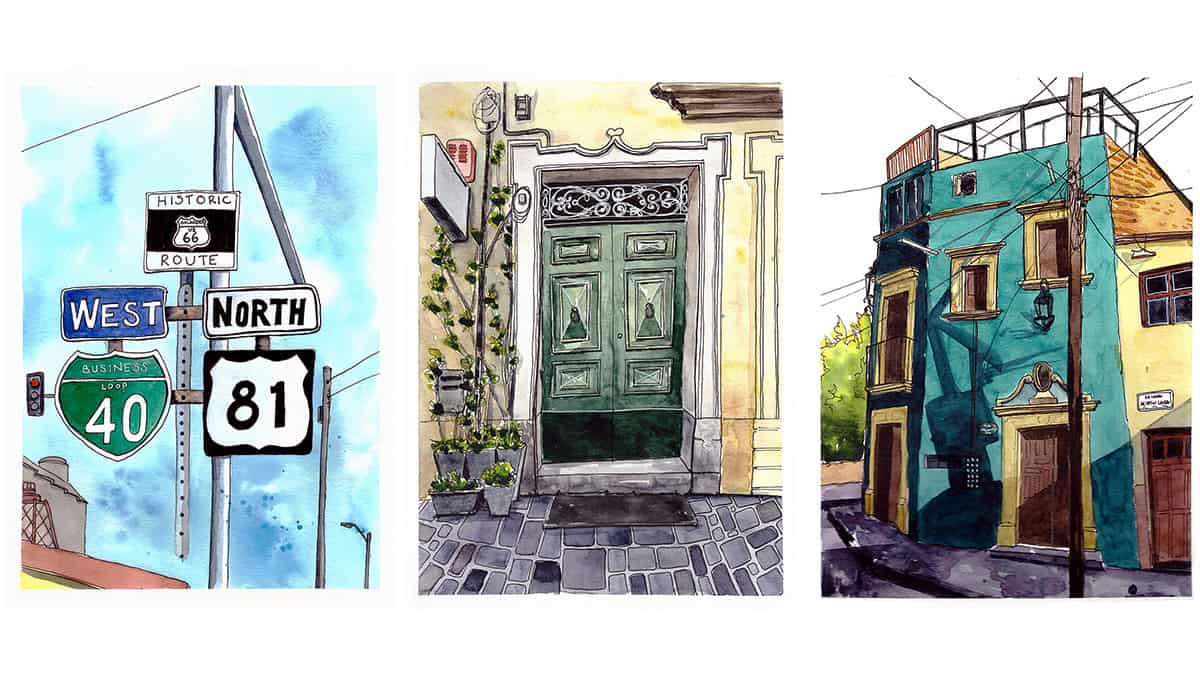
We will work through 3 projects, step by step (pictured below), all of which are real-life examples of things I have sketched along my travels. I provide the photo references you can work from.
We will start by choosing a composition, laying in the initial pencil sketch, adding ink lines, layering watercolour and adding the final touches.
This and much more are included in my course, Sketch Your Adventures, click the button under the image to find out more!
#4 Fountain Pen
I love sketching with a fountain pen. I was dubious at first, but when I became aware sketching with a fountain pen was a thing, I had to try for myself. It took a while but gradually I began to warm to it and now it is my preferred type of pen to use for sketching.
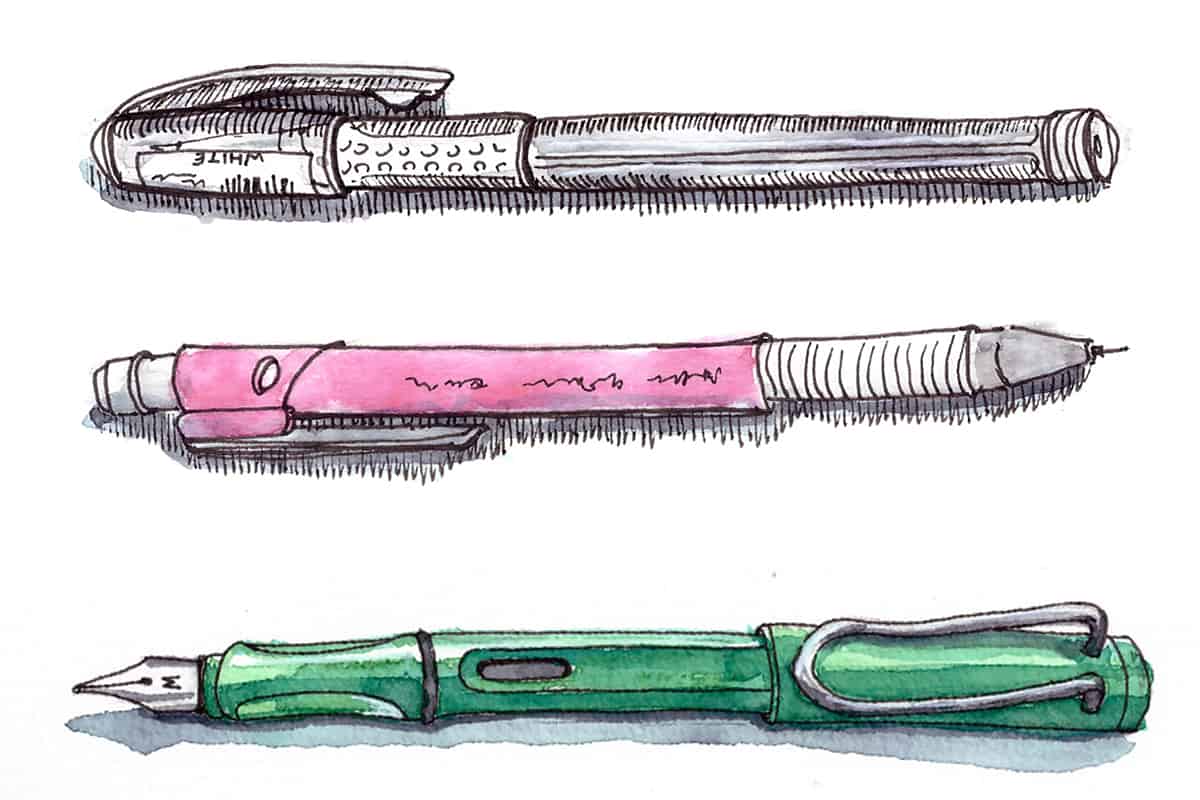
I use a Lamy Safari (a very popular choice in the urban sketching community) with an EF (extra fine) nib. I also have a Sailor fude nib fountain pen. The nib is bent so you can get calligraphic marks from it depending on what angle you hold it from the paper.
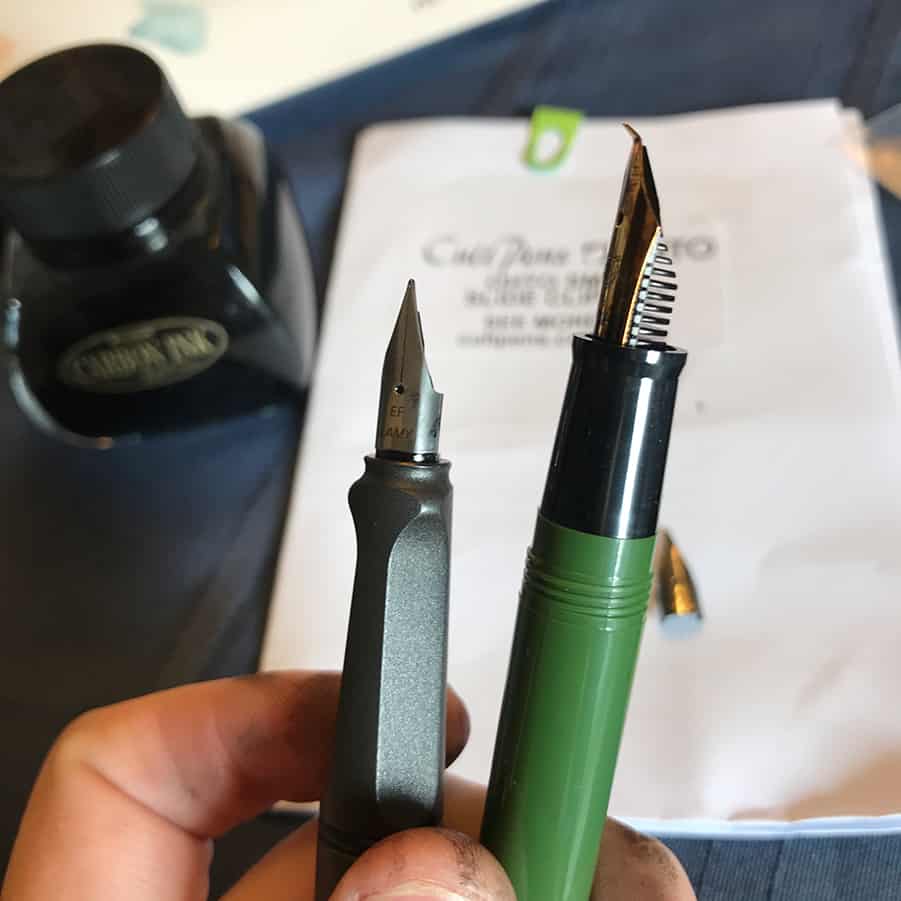
I find fountain pens loosen my sketching up as opposed to using a technical fineliner such as the Uni Pins or Microns but I do carry a selection of these with me too.
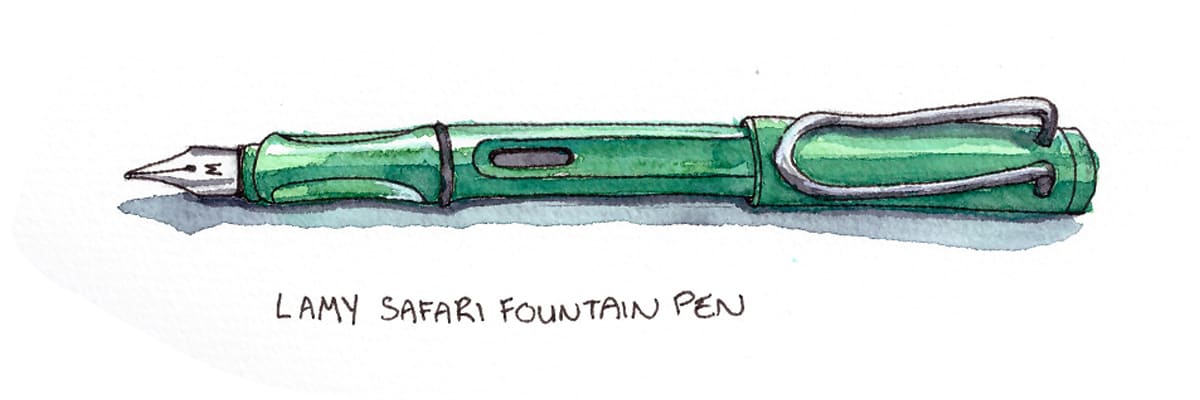
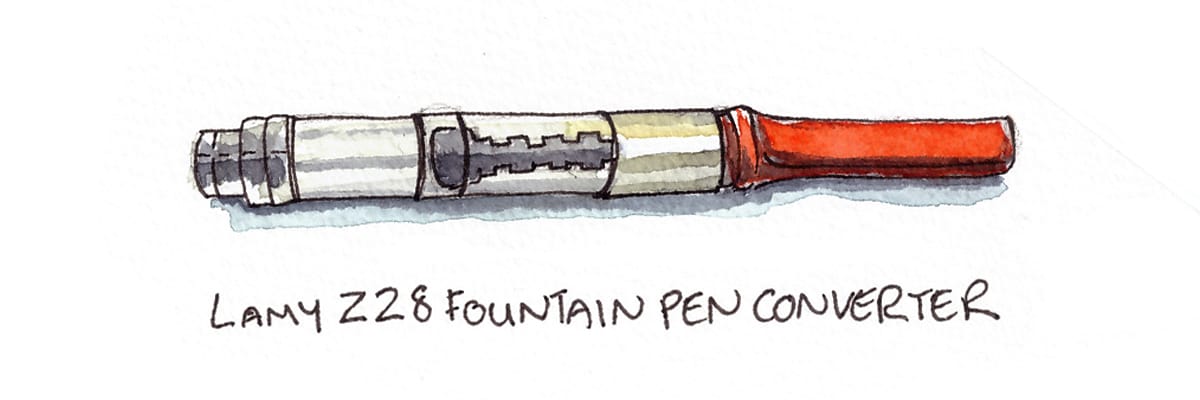
If you get a Lamy Safari (or another brand of pen), make sure you get a converter too. That way you can refill the pen with ink from a bottle which is more cost-effective and also you can buy permanent ink that is not water-soluble, and therefore will not be affected by painting with watercolours over the top.
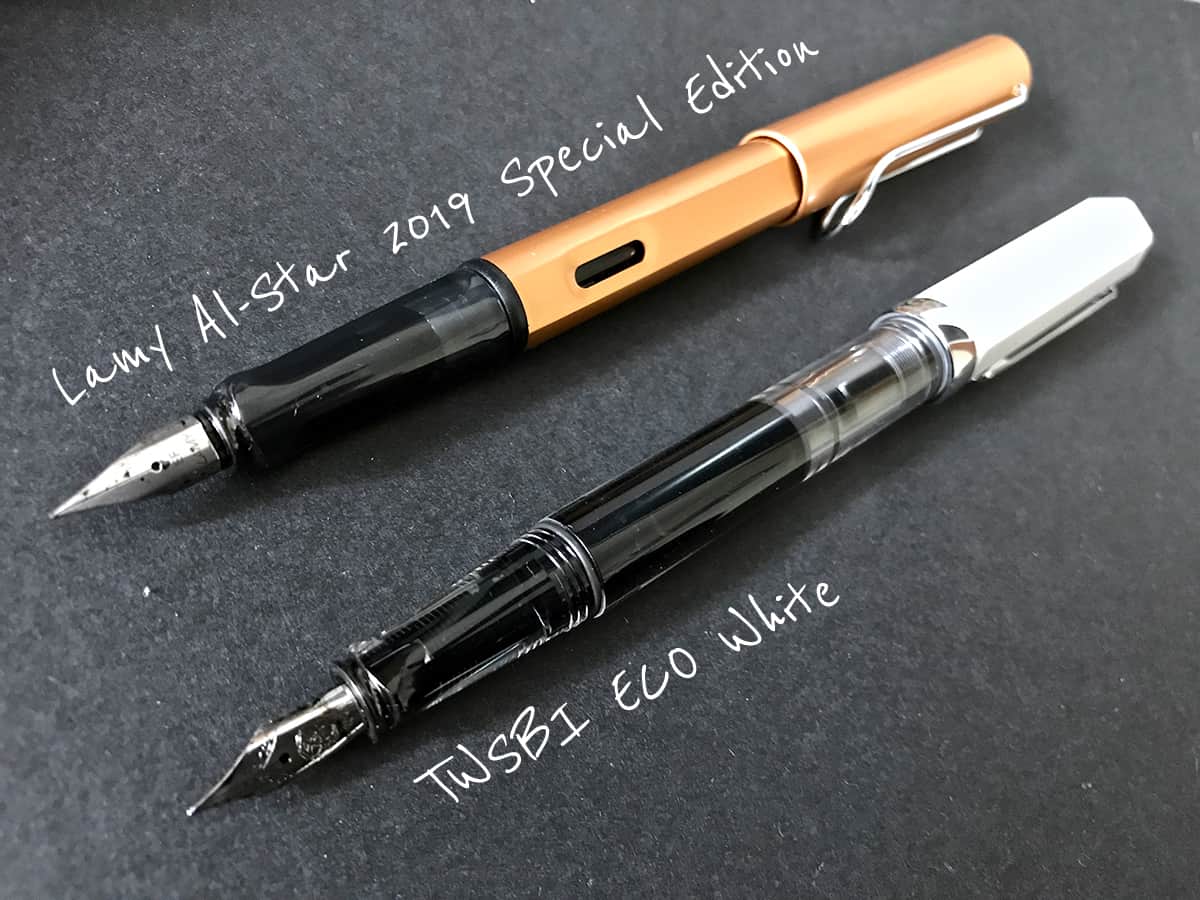
I have just recently purchased a Lamy Al-Star fountain pen and a TWSBI Eco pen, both with extra-fine nibs and I love them!
For more information on sketching with a fountain pen, which ink to use and how to refill, check out my post here.
#5 Sweatband
This is a trick used by a few urban sketchers. I think I first noticed Lynne Chapman using a sweatband in one of her Youtube videos. I’m fairly certain I’ve seen Liz Steel do this too.
A sweatband around your wrist is a great alternative to using a paper towel in order to dry your paintbrush. Make sure it’s an old thing you don’t care about because it will inevitably get covered in paint. Opt for a dark coloured band, black is probably best! Using a sweatband instead of endless paper towels is far more environmentally friendly too.
Some of my favourite online classes
- Illustrating Nature: A Creative Exploration – Laura McKendry
- Intro to Portrait Sketching: Draw in Real-Time – Bill Robles
- Exploratory Sketchbook: Find Your Drawing Style – Sarah Van Dongen
- Sketching People with Watercolour – Marcus Penna
BONUS: #6 White Gel Pen
As a bonus, I highly recommend a white gel pen. I have the Uni Ball Signo but I know another popular option is the Sakura Gelly Roll pen.
Alternatively, you could use a white Posca paint marker or white gouache (opaque watercolour).

It’s not essential but used wisely it can elevate your sketch, especially if you’re sketching on toned paper but it works well on top of painted areas on white paper too.
Whatever form it takes, being able to add a touch of white in a few places can really make a sketch pop and is super fun to add. The skill is in showing restraint, don’t go adding that white all over the place – less is more!
Get in touch…
I hope you enjoyed my post about my favourite 5 urban sketching supplies.
If you have any questions at all or want to chat urban sketching, drop me a mail here: taria@urbansketchingworld.com – I always reply!
I have a few videos on Youtube you can check out and you can also find me on Instagram.

