Have you been wondering what the best way to learn urban sketching is? There are so many courses and workshops, free and paid, it can be super confusing to know where to start. Today I want to take a look at one of the options out there and share with you how I found Ian Fennelly’s new course, Urban Sketching for Beginners.
Are you a fan of Ian Fennelly?
Perhaps you have seen his work on Instagram or Youtube and really love his style. You wonder how on earth he does it. You may have seen that he offers courses but perhaps they seem a bit overwhelming. Well, you’re in luck because Mr Fennelly has just released his Urban Sketching Course for Beginners. And your sketchy friend, Taria (a.k.a me) was given the opportunity to check it out!
By the end of this post you should (I hope) have a much better idea of what’s involved in Ian Fennelly’s new Urban Sketching for Beginners course and whether it is the right course for you at this point in your sketching career.
It can be tricky to understand whether a course such as this is right for you at the stage you’re at and how taking the course may affect your sketching…and even reveal some things you didn’t know about yourself – that’s what happened to me!
Who is Ian Fennelly?
I think if have any interest in urban sketching at all you are probably well aware of who Ian Fennelly is but in case you are not, Ian is an artist, educator and urban sketcher from just outside Liverpool in the UK.
He studied art at Wimbledon School of Art in London and got a first-class honours degree (that’s like, really good FYI). He is a well-regarded artist and exhibits his work in galleries. He spent some time teaching in primary schools and as such he has a very gentle way of teaching that’s actually quite relaxing. A lot of his work is done on location. Oh, and he has that awesome accent…
I LOVE Ian’s work so much and have been a huge fan of his for years.
He has multiple courses and workshops available online, mostly as a result of the pandemic. He used to mainly do in-person workshops and courses, not only in the UK but across the world. He has quite a few lined up for 2022 via companies such as Studio 56 and French Fusion Travel – so check those out, and take me with you!
Ian also has a book of his sketches available from Studio 56, I do not have a copy yet but hope to rectify that soon!
Ian’s most focussed and well-produced courses are all available via his own exclusive website and this is where you will find his new beginners course (as well as many other courses for when you are ready).
I haven’t actually taken any of Ian’s courses as yet – although I am aware of his process and teaching style from a mixture of what I have seen on Youtube as well as the segment he taught in Sketchbook Skool’s Urban Sketching course.
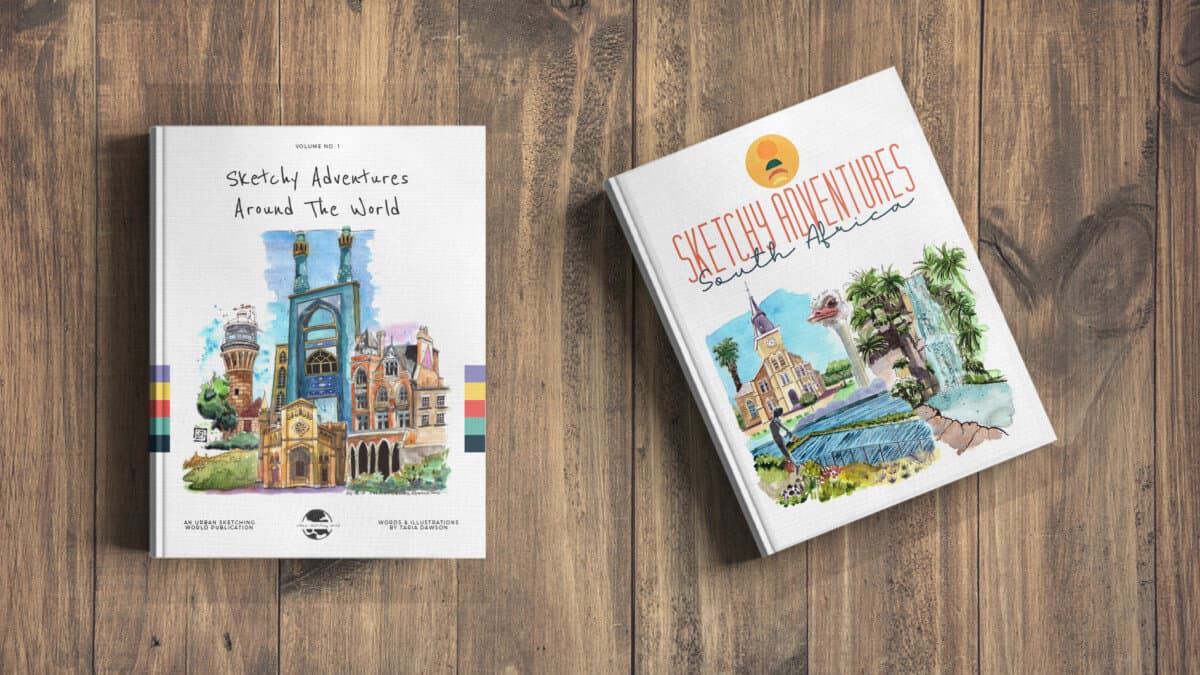
Check out my ebooks with hundreds of ink & watercolour travel sketches from all over the world. Get some inspiration for your next trip…
Urban Sketching for Beginners Course
Ian’s beginner course contains 4 modules, all set in Shrewsbury, England. A gorgeous town packed to rafters with old architecture, especially Tudor-style buildings with exposed wooden beams.
It’s great that Ian takes us on a bit of a walkabout Shrewsbury and explains what he looks for when he is scouting for the right place to sketch.
In each module, Ian sketches something different in the town and at the beginning of each module, he explains why he has chosen that scene and does a pencil sketch on location. He then takes us back to the studio where he references the original location sketch and then takes us through his entire sketching process.
Reference photos are available for each module and of course, the benefit of an online course is that you can stop, start, pause and rewind as you need to.
Do you want to learn how to sketch your own adventures in ink & watercolour?
GET 50% OFF FOR A LIMITED TIME ONLY!!
I will show you my exact sketching process in ink and watercolour. I have travelled around the world in the last 3 years and this is my go-to system of creating beautiful yet quirky illustrations to capture the magic of my discoveries.
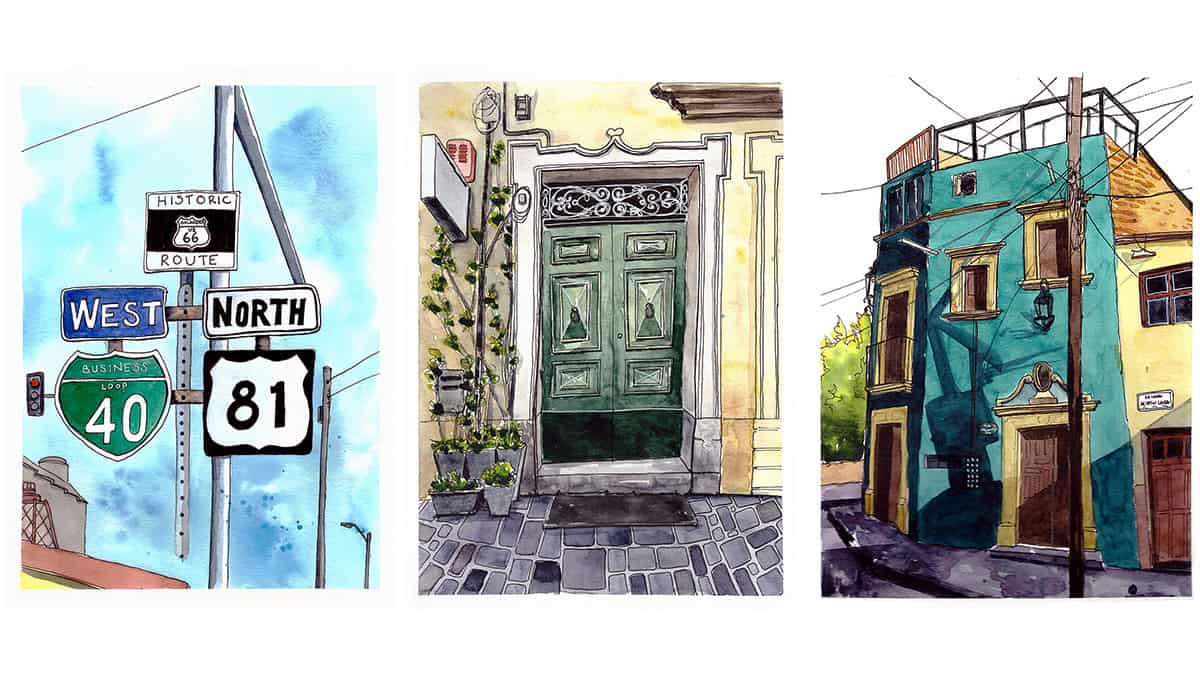
We will work through 3 projects, step by step (pictured below), all of which are real-life examples of things I have sketched along my travels. I provide the photo references you can work from.
We will start by choosing a composition, laying in the initial pencil sketch, adding ink lines, layering watercolour and adding the final touches.
This and much more are included in my course, Sketch Your Adventures, click the button under the image to find out more!
Ian Fennelly’s Sketching Process
In this beginners course, Ian sets aside his trademark Tombow markers and starts with a pencil. Ian doesn’t usually sketch with a pencil, he usually goes straight in with his very lightest grey markers. He has really tried to take things back to the start as working in pencil is a little less stressful for beginners as the lines can be erased.
Ian then moves on to cover all of the other stages of his sketch – ink lines, a couple of layers of watercolour and then some hatching at the end to emphasise tone.
Of course, he makes it look completely effortless and explains it all beautifully, but it’s one thing watching him, nodding along thinking oh yeh, yep, that seems straightforward enough….and another thing putting pen to paper and getting on with it yourself.
NOW – word of advice – I needed to hear this as much as anyone else…
The point is not to copy Ian and turn out a sketch that looks identical to Ian’s. Typically I only really thought about this after I had tried to copy Ian’s sketch!
From making that mistake though, I realised that actually, the point is to learn (a) the process he uses and (b) invoke the spirit of Ian’s approach to sketching.
You may absorb some of his techniques, such as his unique (I think) approach to using watercolour paint (I had no idea he threw white into the mix – that’s unusual but super cool).
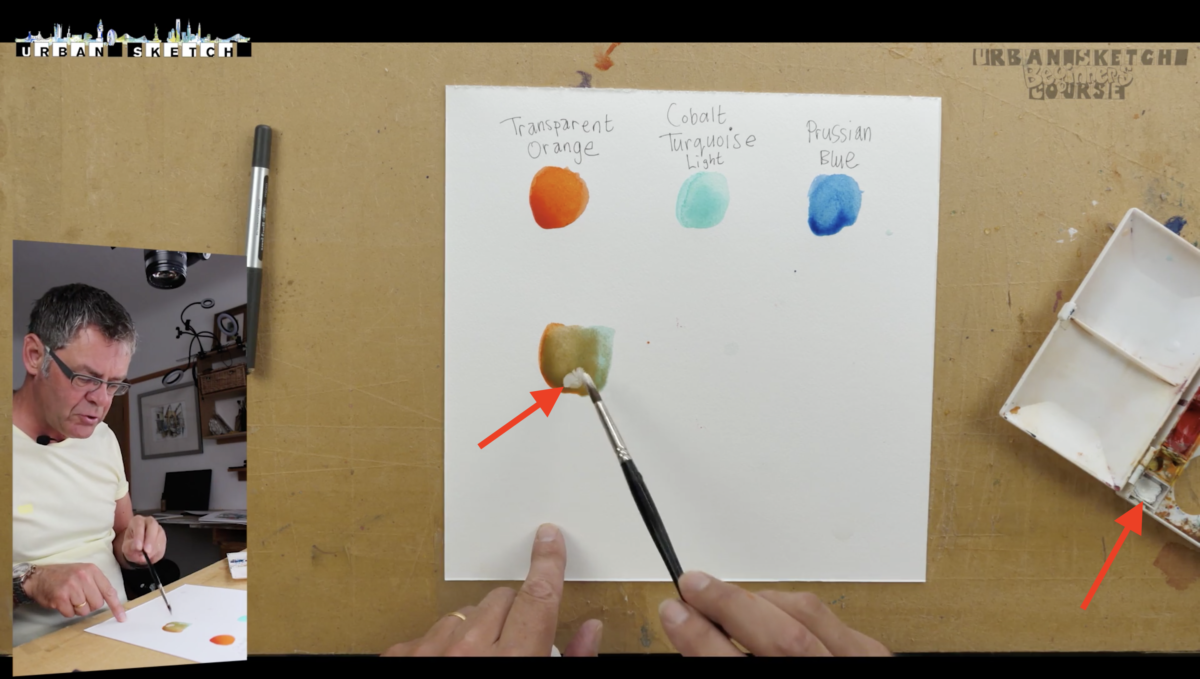
I like that throughout the course he only ever uses 3 colours but each time he shows you how those colours can mix together to make what most traditional watercolourists would refer to as “mud”.
Ian demonstrates the beauty of such mixes and how useful they are when painting an urban scene, especially to balance out the vibrant colours he used elsewhere in the sketch. As his neutral tones are mixed from the three bright colours he uses throughout the sketch, nothing ever clashes.
Another technique you may want to incorporate is his use of hatching to add tone at the end. As you incorporate these techniques into your own way of sketching, they are naturally going to turn out differently because you are doing them, not Ian.
BUT – REVELATION…
That’s ok!!!
In fact, it’s more than ok – in my humble opinion, it’s the entire point!
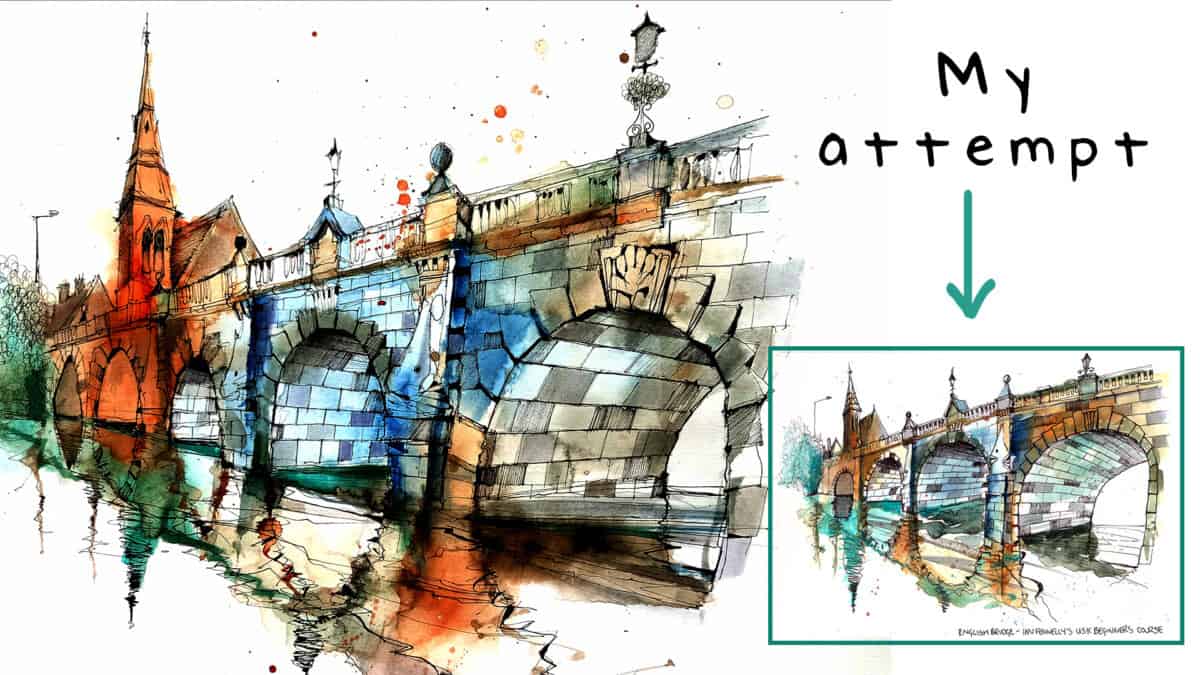
In the video below I am doing my best to invoke Ian’s spirit (that makes him sound like he is dead and I am trying to commune with him) but you know what I mean! And I’m also trying (and forgetting) to not just copy him. This is my attempt at module 1 of Ian Fennelly’s Urban Sketching Course for Beginners.
Some of my favourite online classes
- Urban Sketching for Beginners-Ian Fennelly
- Gouache Painting of Urban Landscapes – Tommy Kim
- The Art of Sketching: Transform Your Doodles into Art – Mattias Adolfsson
- Urban Sketching: Capture You City in Motion – Inma Serrano
It probably helped me not copy Ian directly as I didn’t have Transparent Orange, one of the 3 colours he uses in the first module of his course, the English Bridge. The closest thing I think I have is Windsor Orange which is ok but it’s a bit opaque so wasn’t the best – it’s also a bit yellower and the orange Ian is using is a bit redder to my eye.
Luckily I did have cobalt turquoise – which is a bit strange but I bought it back in 2018 for the purposes of sketching things in Iran (there’s so much turquoise there)!
I discovered that in my mongrel watercolour set (a mixture of Winsor Newton, Daniel Smith and Jacksons), after referring to swatches I did a long time ago, I do actually have Prussian Blue too which was handy.
I also had a pan of white in my Cotman set but in all honesty, I forgot to use it much during the sketch.
The watercolour stage is definitely the most stressful in terms of trying to do it and watch Ian at the same – because of course – I wasn’t trying to copy his exact moves [sarcasm].
It was stressful because it was 30C (so warm and very dry) and the paint was drying within seconds plus I actually think the Canson paper I used in the video sucks the water up like a sponge. This doesn’t leave you much time to work into existing washes you put down.
And yes – I did use the words stressful and watercolour in the same sentence. I personally believe watercolour is the most stressful medium of them all.
But. You probably know that already anyway.
So, I progressed through the stages, finishing with the hatching technique. I definitely need to work on this, mine is not as neat or consistent as Ian’s is. I didn’t take Ian’s advice and practise on a separate piece of paper first. I just went right into it on the sketch.
I finished Ian’s process but I wanted to try and go a bit further with my sketch. I feel like when I downloaded Ian’s final sketch, there were some of his trademark grey marker values on there (I could of course be totally wrong) so I thought, hmmmm, I’m going to crack out my secret weapons for adding contrast.
If you haven’t seen my video on the secret weapons I use for adding contrast to my ink and watercolour sketches then you can check it out below.
If you would like more information on the art supplies I use and recommend, head over to my Recommended Stuff page. In addition to art supplies I share my favourite books and courses too!
I hope you enjoyed this little inside look at Ian’s new beginner’s course. I will never not love anything Ian does but I really did enjoy trying out module 1 of the beginner’s course – it pushed me in all kinds of new directions, ways of thinking and ways of working with materials.
Whether you’re new or experienced there is a lot we can learn from Ian’s unique and unusual way of sketching. I can’t wait to dig into the next 3 modules….I have peeked ahead and can see in module 4 he does crack those famous Tombow markers at the end so I’m looking forward to seeing that.