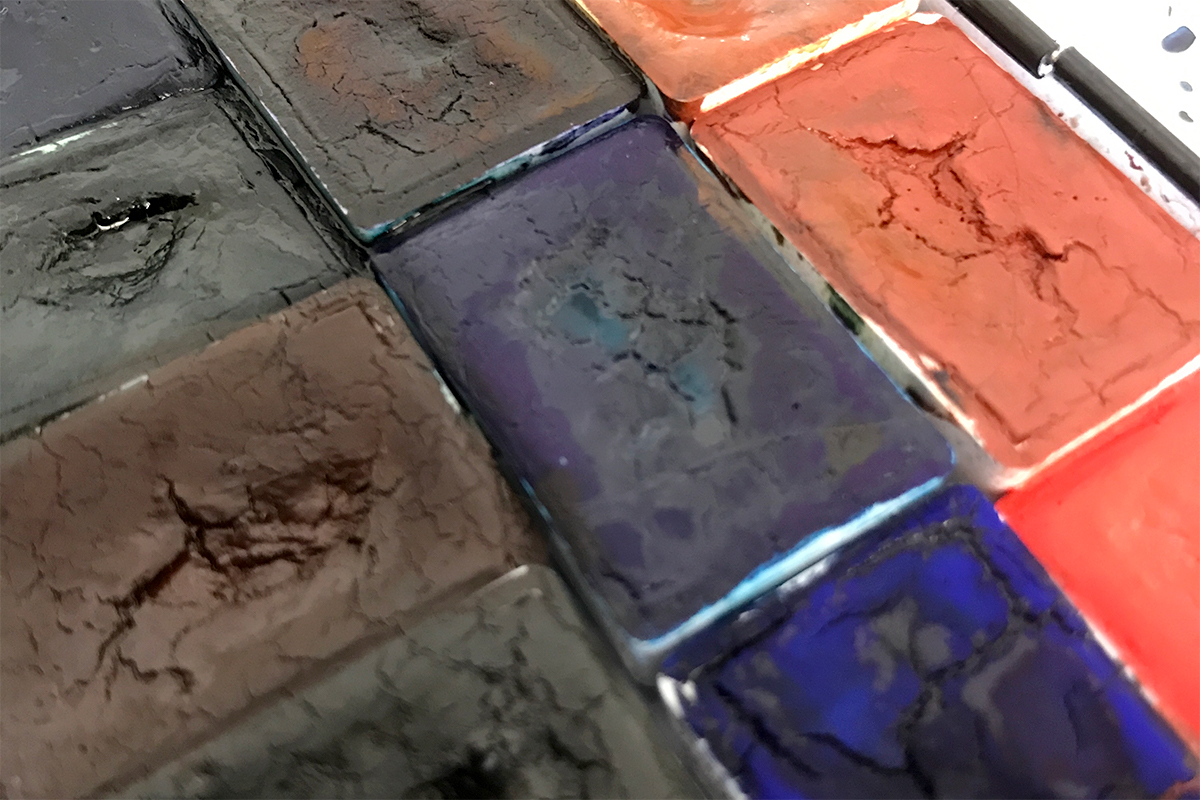
I have noticed that my watercolour paint in my paint tin is starting to crack. I’m referring to “cakes” of watercolour, stored in pans and in a tin (see photo below).
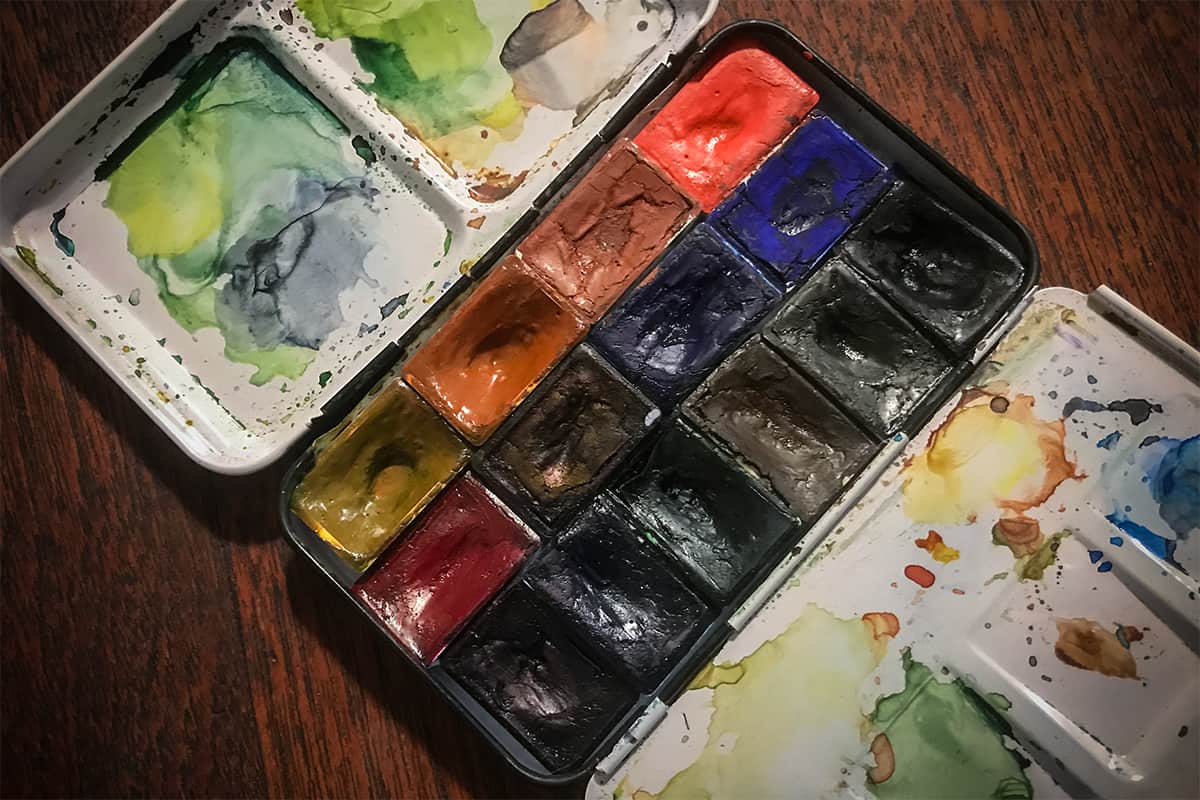
These watercolour paints have not been created form a tube of watercolour (not by me anyway). I bought them in this form. I felt a bit concerned they are cracking so I thought I would do a bit of research to find out why this may be!
What are watercolour paints made from?
The two main ingredients in watercolour paint are pigment and a binding agent.
The pigment is what provides the colour and the binding agent (usually gum arabic), which is water-soluble and holds the pigment together until water is added. Once water is added the pigment can be spread over the surface it’s being applied to.
Pigment, usually a powder, reflects a certain colour vibrantly and is found in nature such as a plant, mineral, metal or oxide. In order to turn this powder into something we can use on a surface such as paper or a canvas, it needs an agent.
As mentioned, the binding agent in watercolour is gum arabic. The use of gum arabic is what makes watercolour paint the medium it is. In fact, the binding agent used with the powder pigment determines the type of paint.
Acrylic paint uses a synthetic binder designed to form a film after the water has evaporated, whereas oil paint generally uses organic binders, such as linseed oil.
Gum arabic, the binder used to make watercolour paint, is unique in that it’s translucent and reflects light, intensifying the luminosity of the paint. Gum arabic is also non-toxic and can be redissolved in water after it dries.
Watercolour paint usually involves a few more ingredients depending on which brand or grade (student or artist) it is. These ingredients can affect a variety of things such as texture, vibrance and how the long the paint lasts for.
Watercolour paint made purely from pigment and gum arabic would dry to a hard block so moisturisers and plasticisers are added to extend the life of the paint but also to make it softer and easier to dissolve. Common moisturisers used are glucose, such as corn syrup, or even honey. The plasticiser usually used is glycerin, which can form up to 20% of the paint.
There is a reason we are going into some detail about what makes up watercolour paint. It’s useful to know the elements the paint is made from as it can help us to understand why our paints may crack and what we can do about it.
If you want to read more about watercolour paint, what its made from and where its ingredients come from, Felix Schenburger (one of my favourite urban sketchers), goes into quite a lot of details about it in his book (which you can find on Amazon) Urban Watercolor Sketching: A Guide to Drawing, Painting and Storytelling in Color.
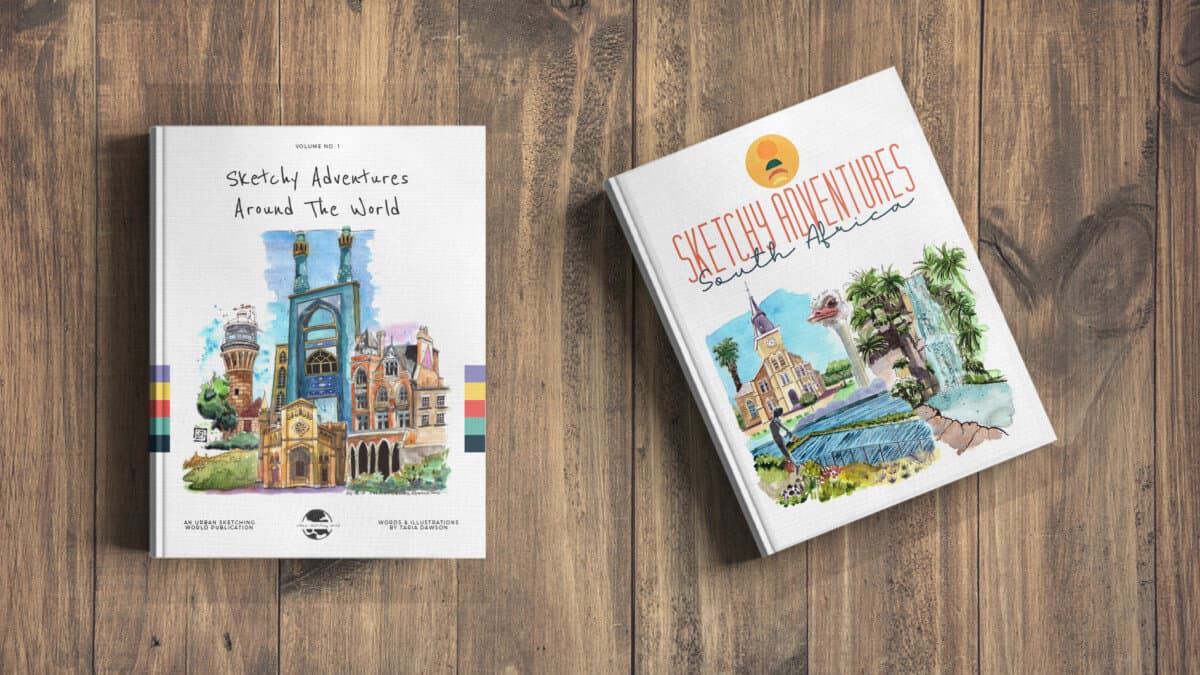
Check out my ebooks with hundreds of ink & watercolour travel sketches from all over the world. Get some inspiration for your next trip…
What’s the difference between watercolour pans and tubes?
As I am sure you have seen watercolour paint can be bought in two different forms: pans and tubes.
Watercolour Pans
Watercolour paint sold in plastic pans is sometimes referred to as “cakes”. These solid cakes are formed as a rectangle or sometimes a circle to fit into a small plastic container called a pan. Standard rectangular pans come in two main sizes, a half pan and a full pan, where a full pan is double the size of a half pan. Watercolour pans are dry to the touch but once you add water the paint is activated.
Watercolour pans are easier to transport as they are dry. They can also last for a long time. This is obviously dependant on how much you paint and the grade of the paint (student or artist). Generally speaking though, it takes a longer time to get through pans of watercolour paint.
Watercolour pans are less useful when you are trying to extract a lot of paint. It can take time to get the paint to form a reasonable consistency and if you are trying to cover a large surface area with paint this can be a bit frustrating. Also, it can be tricky to get a large brush in a half pan size of paint.
Do you want to learn how to sketch your own adventures in ink & watercolour?
GET 50% OFF FOR A LIMITED TIME ONLY!!
I will show you my exact sketching process in ink and watercolour. I have travelled around the world in the last 3 years and this is my go-to system of creating beautiful yet quirky illustrations to capture the magic of my discoveries.
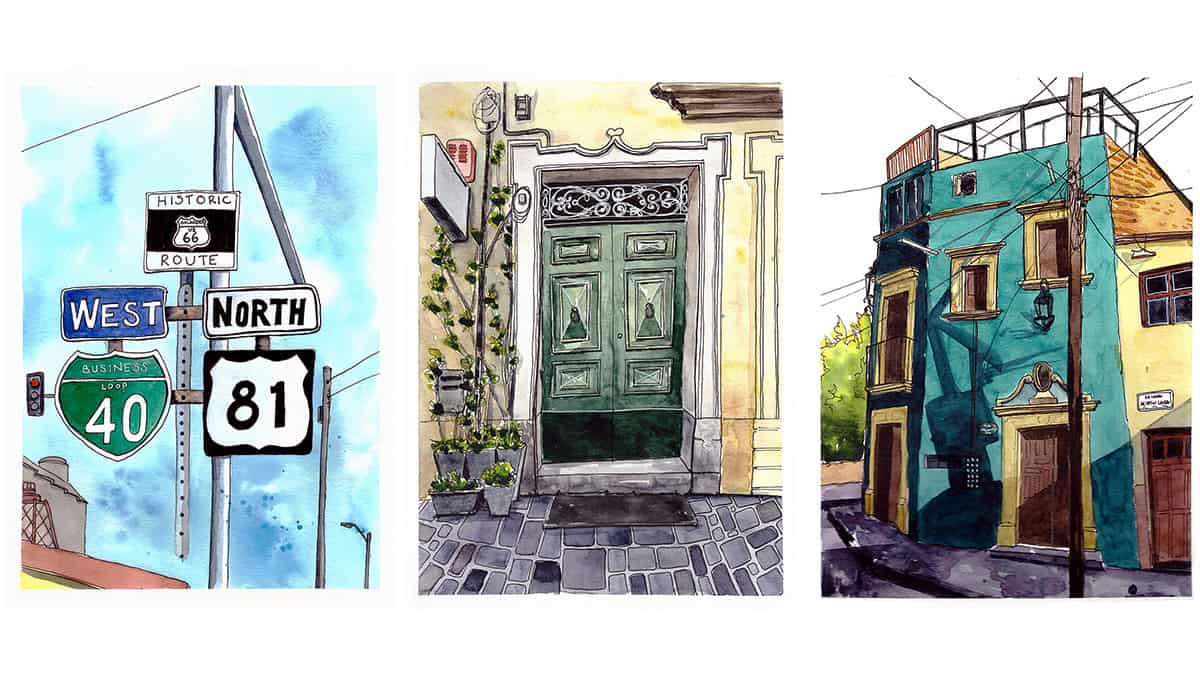
We will work through 3 projects, step by step (pictured below), all of which are real-life examples of things I have sketched along my travels. I provide the photo references you can work from.
We will start by choosing a composition, laying in the initial pencil sketch, adding ink lines, layering watercolour and adding the final touches.
This and much more are included in my course, Sketch Your Adventures, click the button under the image to find out more!
Watercolour Tubes
Watercolour paint is also sold in tubes like you would expect to buy acrylic and oil paint in. The watercolour paint from a tube is more concentrated so it will instantly be more vibrant than the same colour from a pan.
Some believe that the tube itself protects the paint from damage caused by sunlight but I think that is unsubstantiated.
The thing that can be a little tricky with watercolour from tubes is that some pigments once dried on the palette won’t reactivate easily. This varies from manufacturer to manufacturer so if you are thinking of buying tubes of watercolour, make sure to spend a little time doing some research in this regard.

Most urban sketchers use watercolour in pans as it’s just easier and more portable. However, a lot of sketchers buy pigments in tubes and then pour them into a pan to leave them to dry.
There are a few reasons why you may want to do this.
Firstly, it’s more economical. One 5ml tube could fill a full pan a few times. Secondly, you make up a custom set of watercolours with whatever pigments you want. Thirdly, you get the concentration and vibrancy of tube paint in the portability of tube form.
Some watercolour sets sold as pans have been hand-poured, such as St Petersburg White Nights watercolour sets.
You can use watercolour from a pan and from a tube interchangeably, just note that the same pigment from a tube may be more concentrated than that from a pan.
Why does watercolour paint crack?
As we have discovered, watercolour paint is made from a few main ingredients. Left to their own devices the pigment and gum arabic that form most of the paint, will dry into a solid block. Other ingredients are added to try and soften or delay this process. Despite best efforts, other factors can be introduced that will affect how your paints behave.
Climate
I can’t find much information on how climate may affect the watercolour paint in pan form however, as watercolour paint is a water-based medium we can assume it will behave differently in different climates.
Certainly, when painting with watercolour in a dry climate, the paint dries on the paper so quickly it can be even more challenging than normal, especially if you like working in wet in wet. Conversely, when painting in a humid climate the paint can dry agonisingly slowly!
From this, we can deduce that the watercolour paint in paint form may dry out more in a dry climate, such as the one I find myself in at the moment, and therefore the paint is more likely to crack.
Pouring of the paint
Some pigments are not designed to be formed into a dry cake.
Tube colours that have been poured (such as the St Peterburg White Nights watercolour set I’m using) have a tendency to crack due to shrinkage. Some pigments are more prone to this than others, it also depends on what binder and how much the manufacturer has used in formulating the paint.
When pans are created in factories, they are poured in thin layers with time to dry before another layer is added. This method is used to try and minimise shrinkage.
Tube paint is more likely to crack as it dries because it has higher water content throughout. Pan watercolours usually just get a bit wet on the top layer which is why they aren’t as likely to crack.
Why are my paints cracking?
After exploring various reasons, I think I know why my paints, in particular, are cracking when I’m sure they have not acted in this way before.
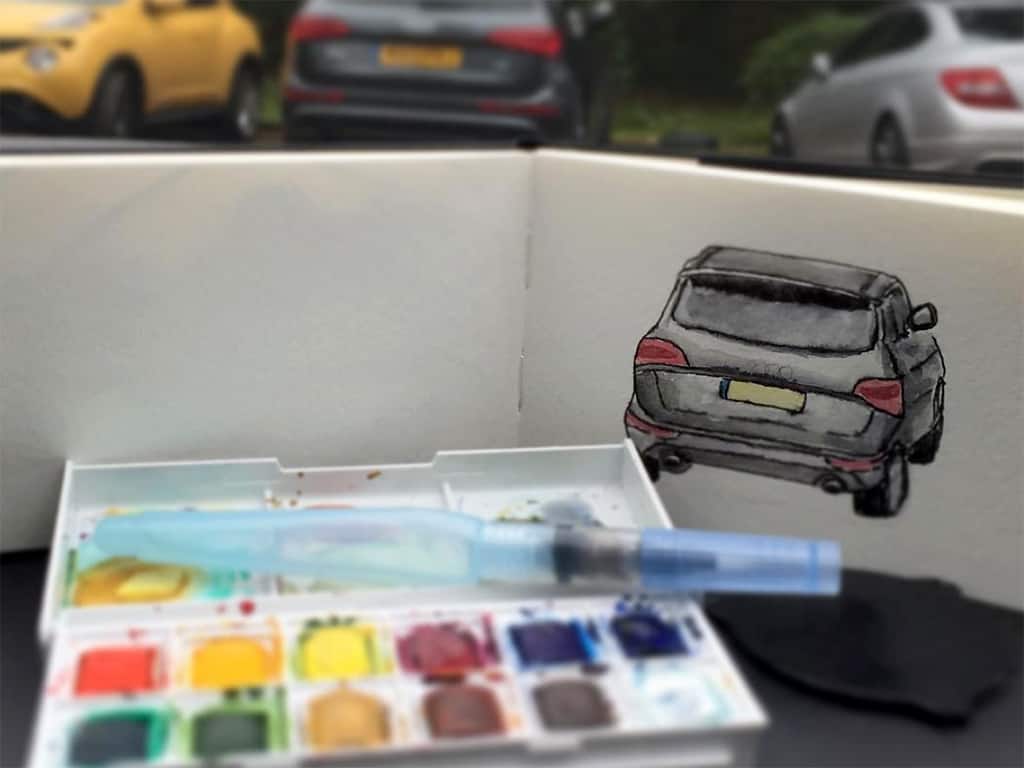
Each time before painting I spray my pans with water from a spritzing bottle. They get pretty wet. I have only just recently started doing this with this particular set of paints.
When I bought them new a few months ago, I did not have a spray bottle as I did not take it travelling with me. I have only just recently got and started using a spray bottle. I suspect the paints are getting so wet (because of me spraying them) and they dry far too quickly because of the very dry climate I’m in and this is causing them to crack.
These are my suspicions.
So, what can I do about this?
Well, not too much at this stage. The pans are not cracking anywhere near bad enough for me to need to take action. I think if the paint started to fall out of my paint tin, then I would try some of the solutions below.
Some of my favourite online classes
- Watercolor Travel Journal – Alicia Aradilla
- Acrylic Painting Step by Step: Create Incredible Landscapes – Maru Godas
- Experimental Watercolour Techniques For Beginners – Ana Santos
- Urban Landscapes in Watercolor – Daniel Pito Campos
Solutions to cracked watercolours
Now we know what watercolour paint is made from and why these ingredients are used, there are some things we can try that will make sense to us.
The moisturisers commonly used in watercolours can include honey, as such, you could try to add a drop of honey to your paint.
The plasticiser used in watercolour is glycerin, so again we could try to add a drop of this.
Finally, we could try adding a little more of the binder, gum arabic.
Below is a Youtube video which demonstrates using these ingredients and how effective they are in terms of solving the issue of cracked paint.
If you try one of these methods, just bear in mind each manufacturer formulates their paints slightly differently, so what may work with one brand (such as is shown in the video) may not work in quite the same way with a different brand. The results can vary from pigment to pigment too!
My paints are certainly not critical yet so I am going to leave them alone, however, if they were starting to fall out of the pan, then there’s not much left to lose by experimenting with some of the solutions below.
I hope this post was useful, I feel like I understood my paints much more once I knew how they were made and with what.
Have you tried any of these methods on your paints? Let me know on Instagram if so (@urbansketchingworld).
Comments are closed.