Have you ever wondered how to create beautiful watercolour splashes and splatters to give your artwork that extra little something special?
In this post, we will look at 3 different techniques of splattering watercolour paint, why water to paint ratio matters and how your choice of watercolour brush can affect the splatters and splashes you create.
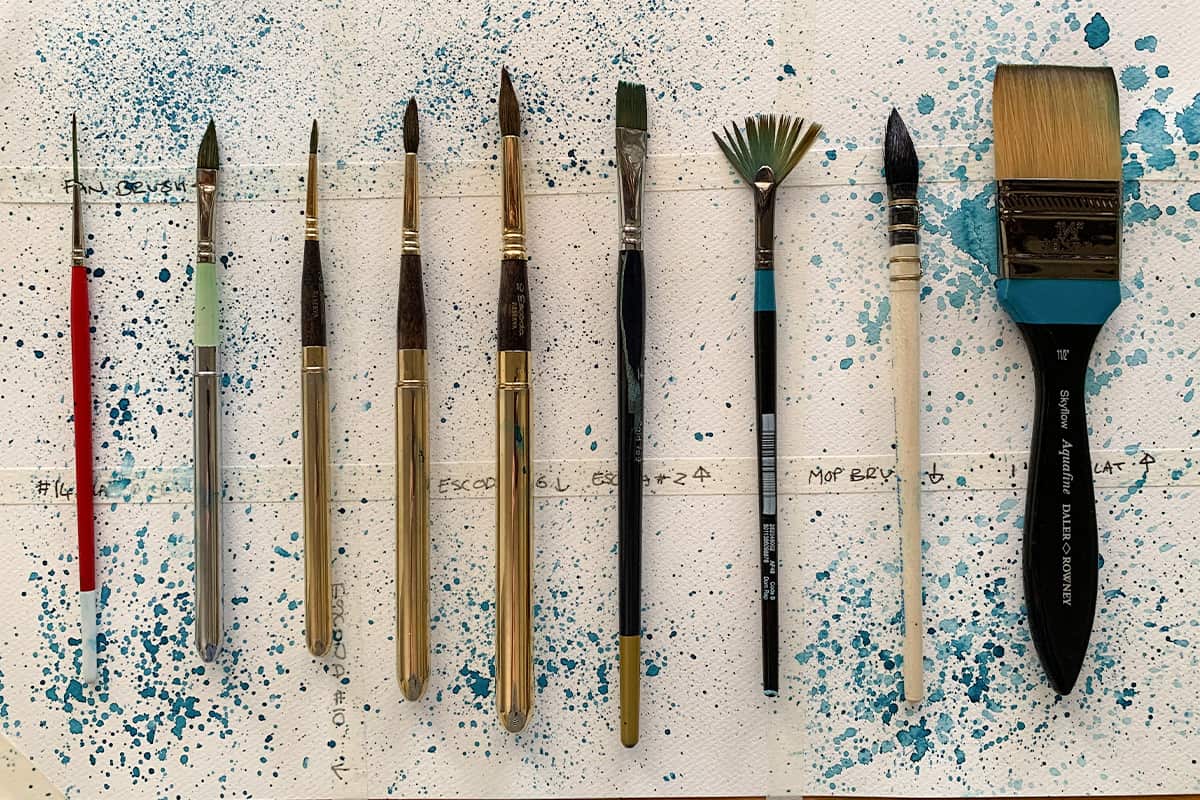
Later in the post, I test 9 different brushes (as well as a bonus tool) to see what effects they create.
If like me, you have been wondering how to control your splatters and splashes without making a total mess, then this is the post for you.
I’m sure you’ve seen sketches that have a lovely loose feel about them. And then those extra splatters and splashes just take everything up a notch.
For some reason, I just could not get my head around how to do this when I was starting out. I would always create a mess.
Fast forward a few years and my little splatters here and there is the element that people love most about my sketches. So I thought I would share with you what I know about creating these effects.
What can watercolour splatter and splashes be used for?
Watercolour splatters and splashes can be used for a number of practical effects such as texture on a sandy beach, or the stone and pebbles of a path. I have found splattering with white gouache a particularly useful technique to represent ocean spray.
Of course, your splashes and splatters don’t need to have a practical purpose at all, you can use them just to add a bit of fun and liveliness into your sketch.
Examples of Watercolour Splatters and Splashes
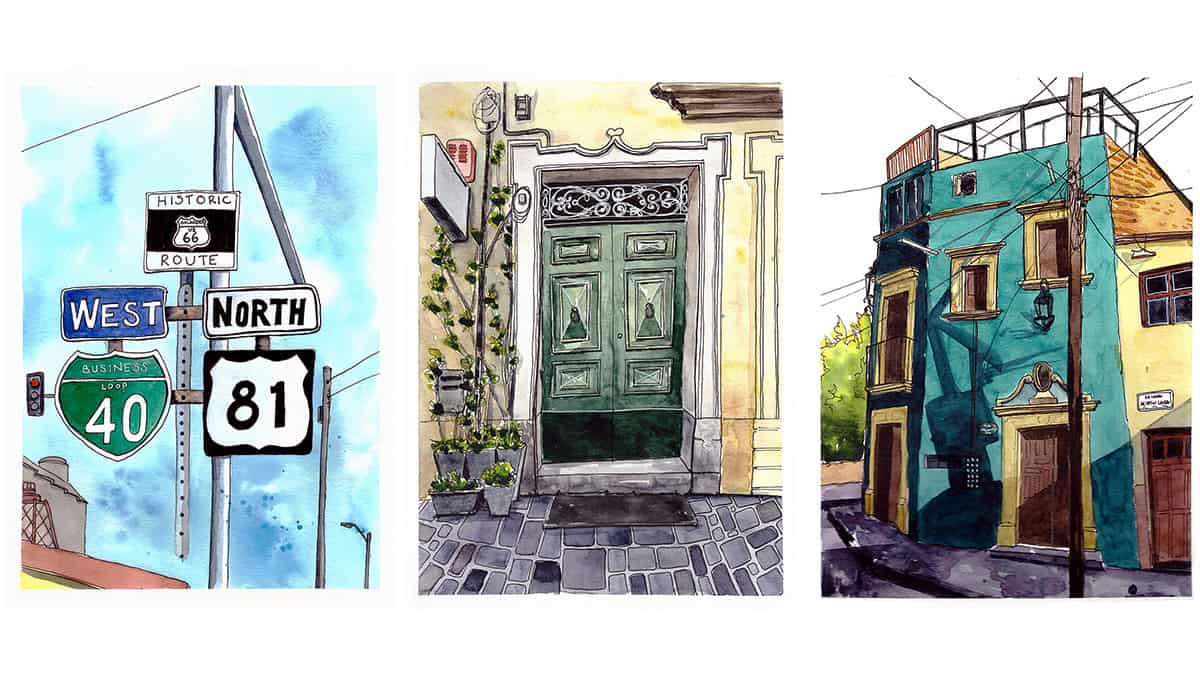
First, let’s get clear about what we are discussing. Below are some examples of watercolour splatters and splashes from mine and others work.
Ian Fennelly adds some splatters to the ground of his sketch above to indicate stones and pebbles.
Paul Wang adds some splashes to his sketch adding overall atmosphere. Some of the splatters in the trees give a bit of a leafy vibe too.
Most of the examples above feature a subtle use of the splattering technique to add extra interest and atmosphere. Less is more when it comes to employing this technique in your work.
If you would like to know more about my favourite urban sketchers and how they have influenced me, check out this post.
Want to improve your watercolour skills with awesome instructors? Check out 3 of my favourite classes on Domestika:
- Creative Watercolour Sketching for Beginners
- Experimental Watercolour Techniques For Beginners
- Artistic Watercolour Sketching: Dare to Sketch
Don’t forget to use my special code to get 10% OFF – enter TARIA10 at checkout!
Techniques to Create Watercolour Splatters and Splashes
I hope this post will take some of the guesswork out of creating watercolour splashes and splatters and shortcut the time it takes you to get the effect you’re looking for.
Let’s get into things and look at 3 different techniques can use to get splattering.
#1 – Hit the brush with your finger
The first technique I ever tried in order to create splatters was to tap the brush with my finger. I find holding the brush as close to the end of the handle as possible (the opposite end to where the bristles are) and tapping it like you were tapping a cigarette (sorry, I don’t even smoke but this was the closest example I could think of).
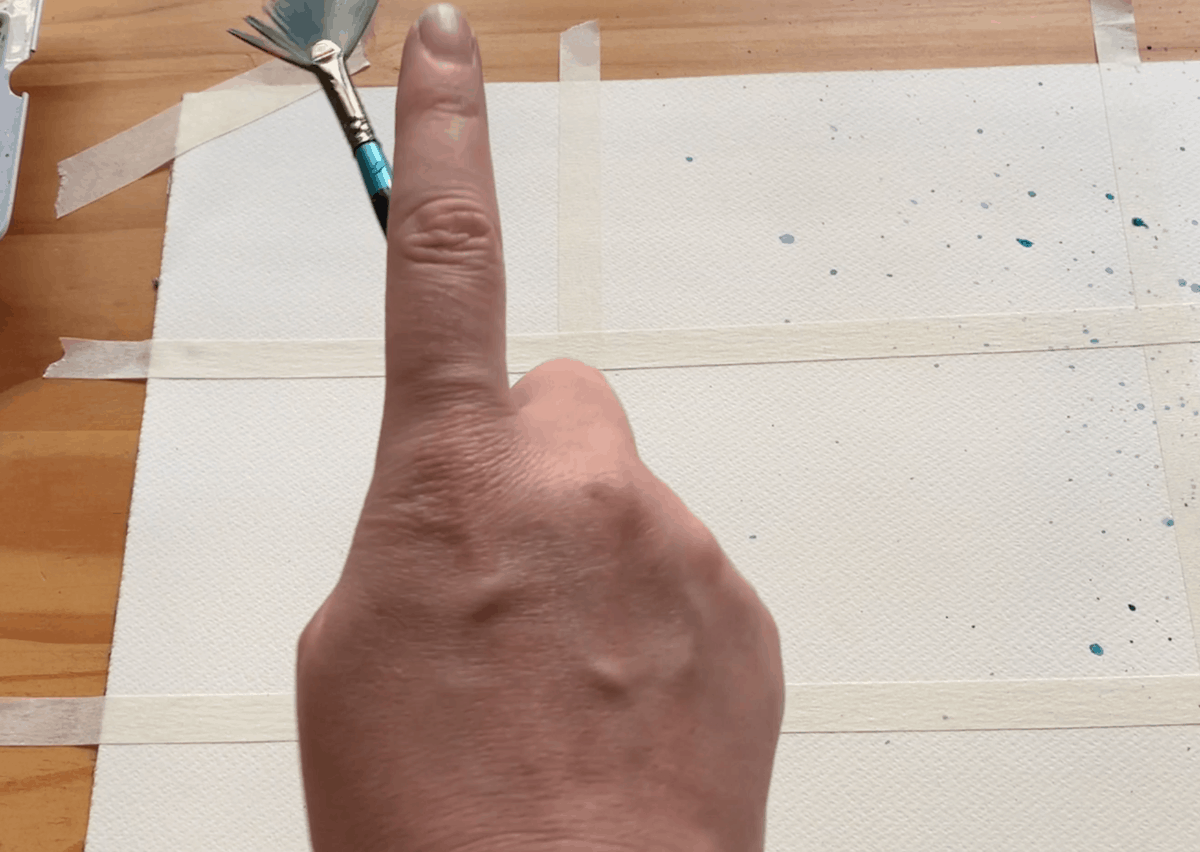
This technique produces a subtle splatter effect which I find the most controllable out of all of the techniques we will discuss. However, it can be quite underwhelming too. Especially if your water to paint ratio is off. We shall discuss this in the next section.
You can also hit the brush against the finger of your opposite hand. This produces a slightly stronger effect.
#2 – Hit the brush against another brush
Similar to hitting the brush against your finger above, you can hit it against another brush and this produces an even more pronounced, yet slightly less controllable effect.
I think this is because you are hitting the brush against another hard object so the impact is more forceful than hitting against your finger which is slightly mores pongy and therefore absorbs a little bit of the impact.
#3 – Flick the bristles with your finger
A third way of producing splatters is to rake your finger against the bristles themselves. This produces a strong effect, however, it’s fairly uncontrollable!
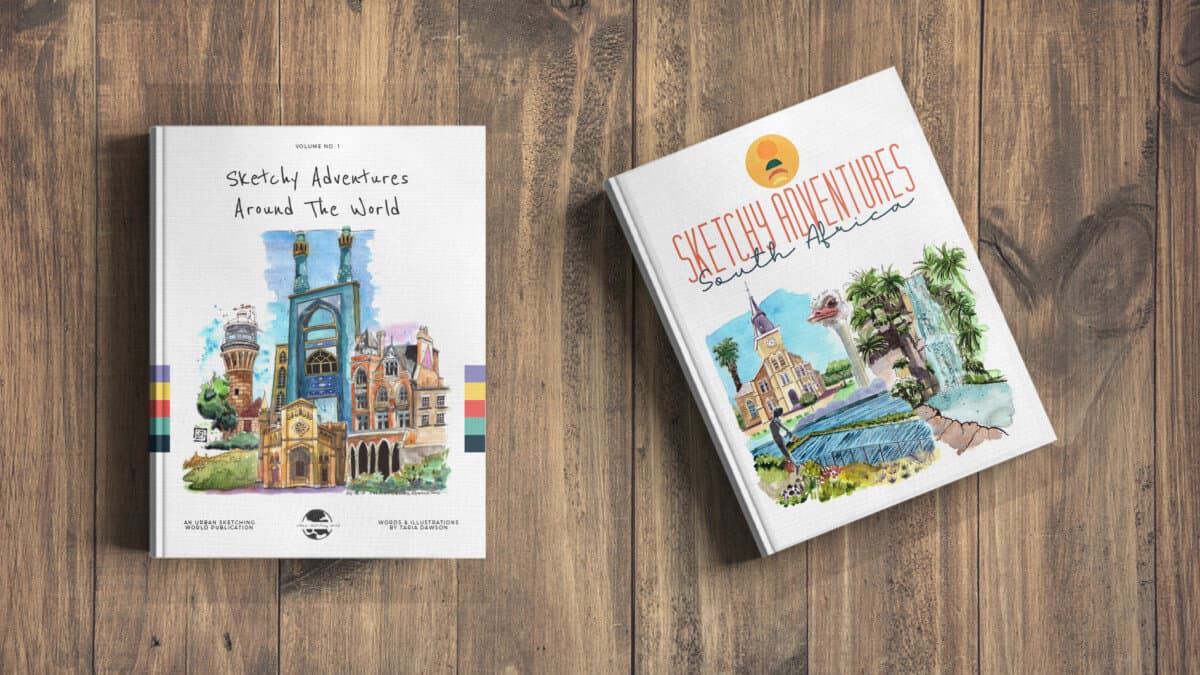
Check out my ebooks with hundreds of ink & watercolour travel sketches from all over the world. Get some inspiration for your next trip…
How water vs paint ratio affects watercolour splashes and splatters
The more water you have on your brush the more likely you are to create splashes or droplets. However, the more water you have in your mixture the lighter colour your splash will dry, sometimes producing a bit of an underwhelming effect that you may not have been hoping for.
The more paint you have in your mixture, the harder it may be to achieve any splattering at all. You need to have enough water that the paint actually leaves the bristles when it’s flicked.
Getting the water-to-paint ratio where you want it is just a case of trial and error. There has been a number of occasions when I have gone to splatter and huge splashes have dropped off my brush because I have far too much water on the brush. Likewise, I have gone to splatter and barely anything has come out at all because there’s not enough water.
Obviously starting with less water than more is the safest option!
Do you want to learn how to sketch your own adventures in ink & watercolour?
GET 50% OFF FOR A LIMITED TIME ONLY!!
I will show you my exact sketching process in ink and watercolour. I have travelled around the world in the last 3 years and this is my go-to system of creating beautiful yet quirky illustrations to capture the magic of my discoveries.
We will work through 3 projects, step by step (pictured below), all of which are real-life examples of things I have sketched along my travels. I provide the photo references you can work from.
We will start by choosing a composition, laying in the initial pencil sketch, adding ink lines, layering watercolour and adding the final touches.
This and much more are included in my course, Sketch Your Adventures, click the button under the image to find out more!
9 Watercolour Brushes Tested (+ Bonus Tool)
If you would like more information on watercolour brushes in general, check out this post.
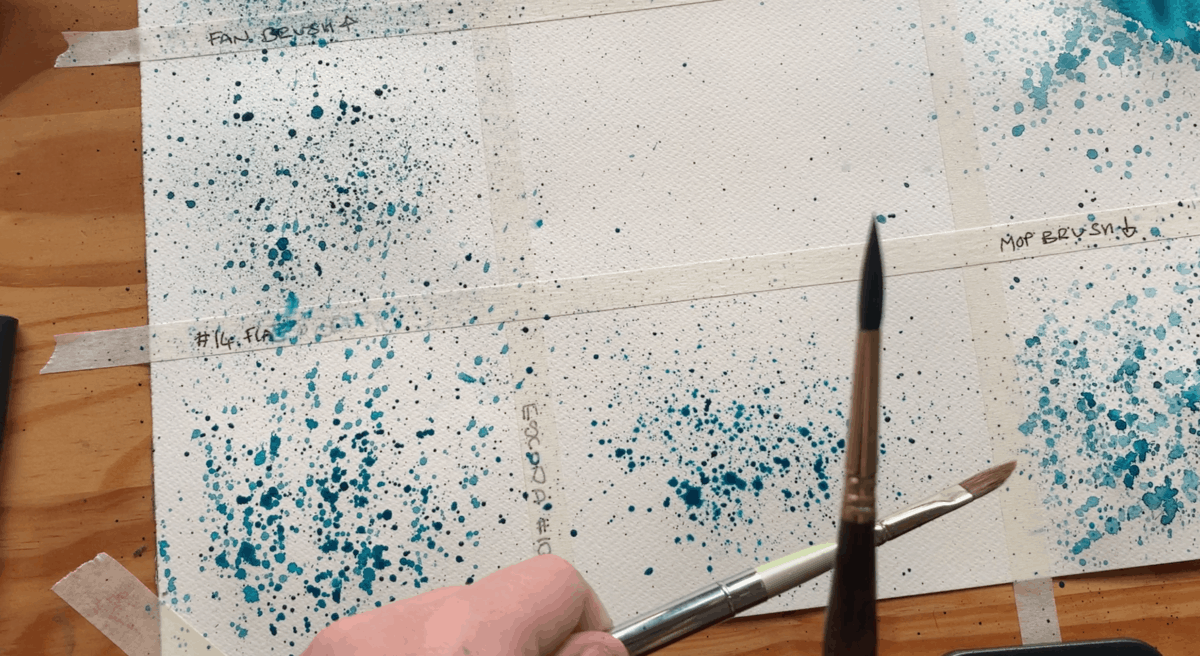
I tried my best to keep my water-to-paint ratio as even as I could when testing each of these brushes with all 3 techniques listed earlier in this post.
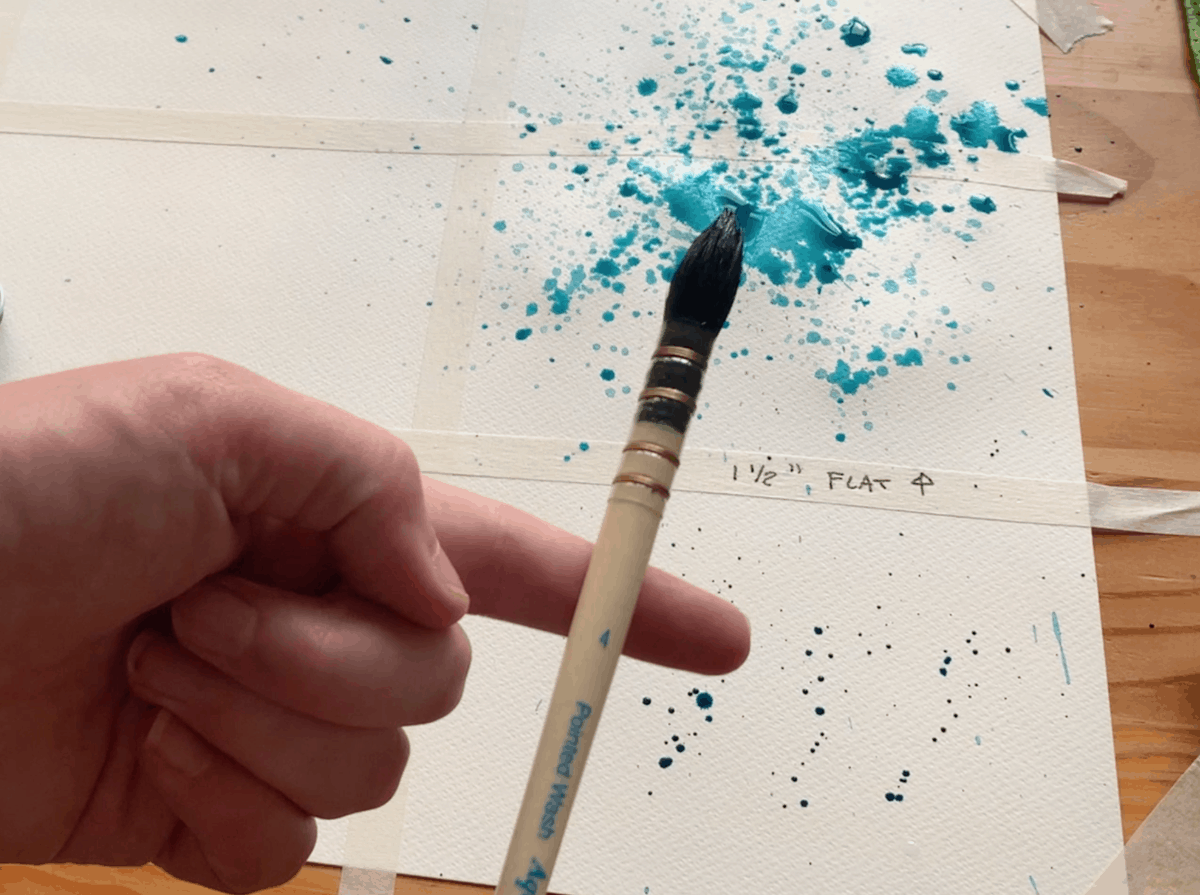
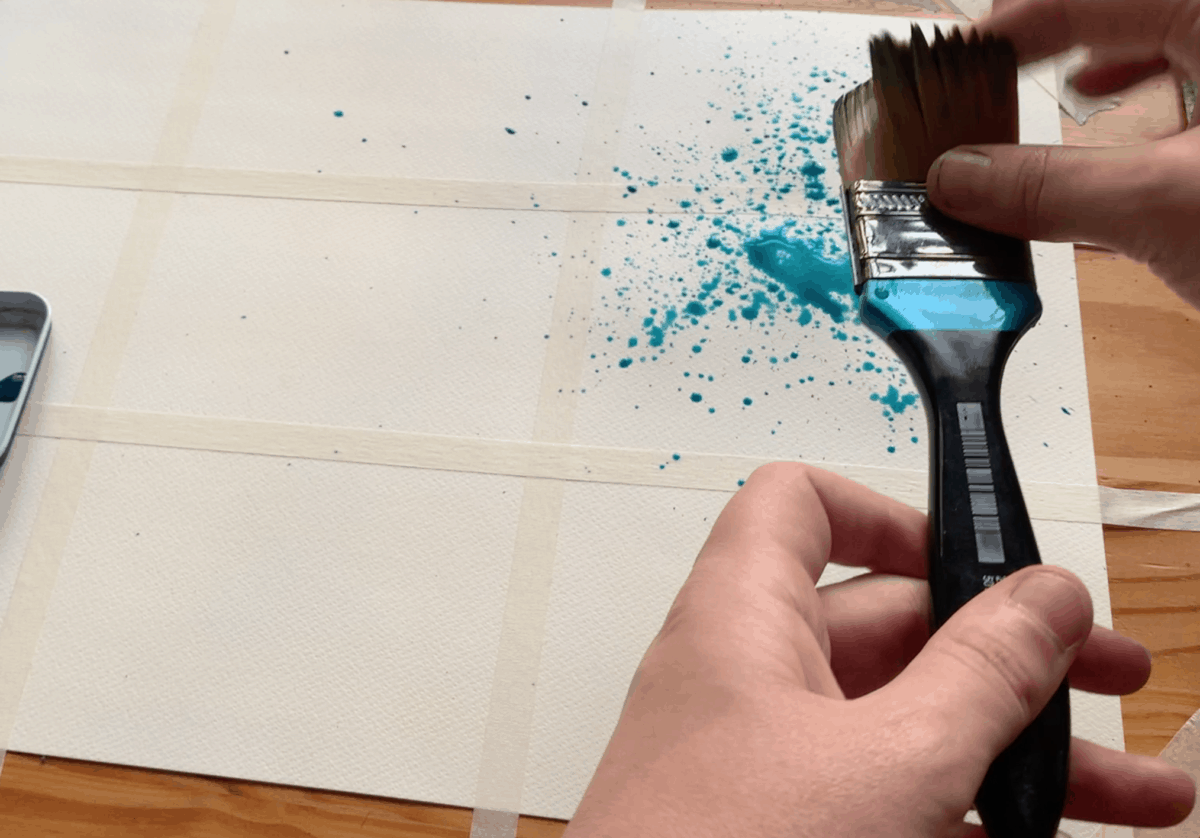
#1 Daler Rowney Aquafine 1 ½” Flat Brush
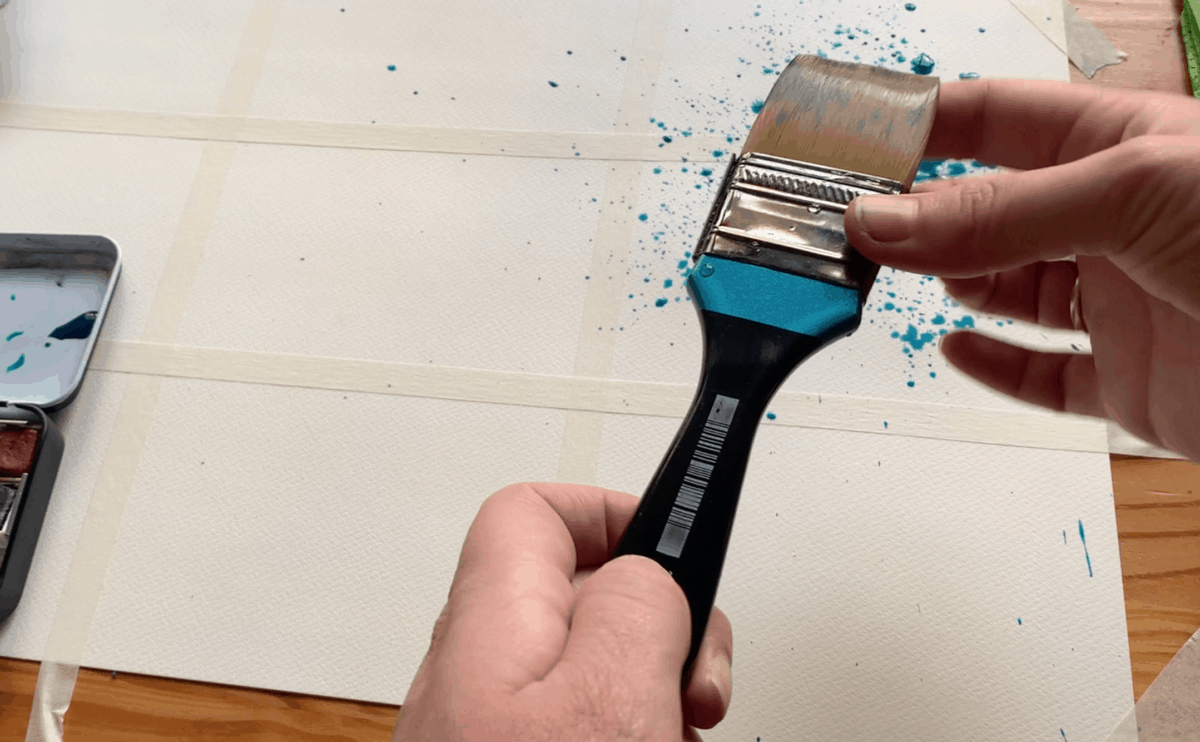
I knew this brush was going to be fun, just look at it! As expected it produced quite a strong splattering effect. However, it was unwieldy and I couldn’t even slightly keep it within one of the squares I had masked off on my big sheet of A3 paper! But it definitely achieves big splashes and splatters!
Approach with caution!
#2 Daler Rowney Aquafine Mop Brush
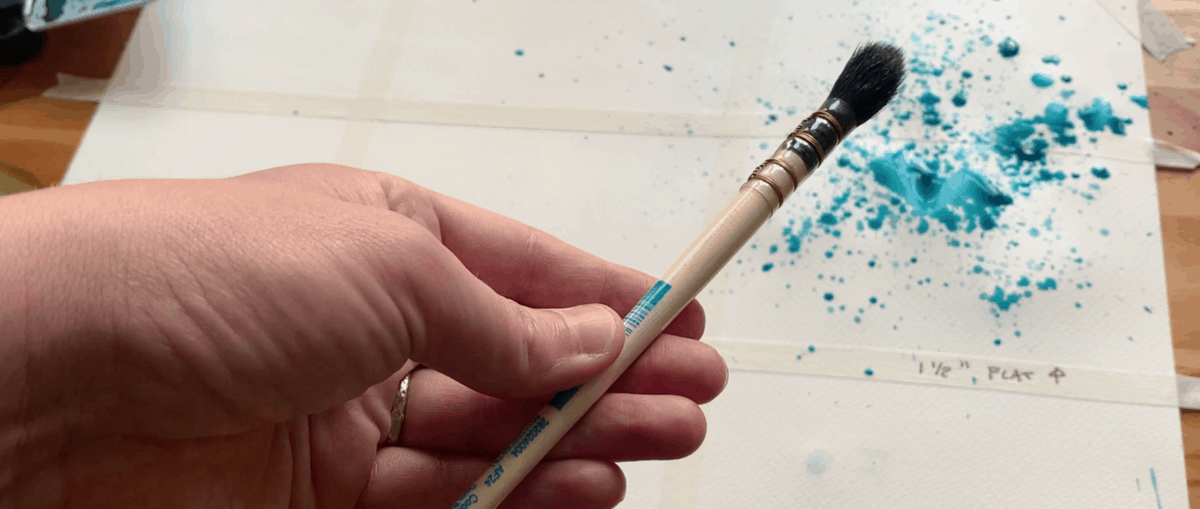
This brush is a synthetic mop brush, it holds a huge amount of water as expected from a mop brush.
It produced a nice amount of splatter and was a little more controllable than the flat brush above.
As the hair is so soft I didn’t think technique #3 (flicking the bristles with our finger) would do much but I was wrong, it still produced quite a strong effect.
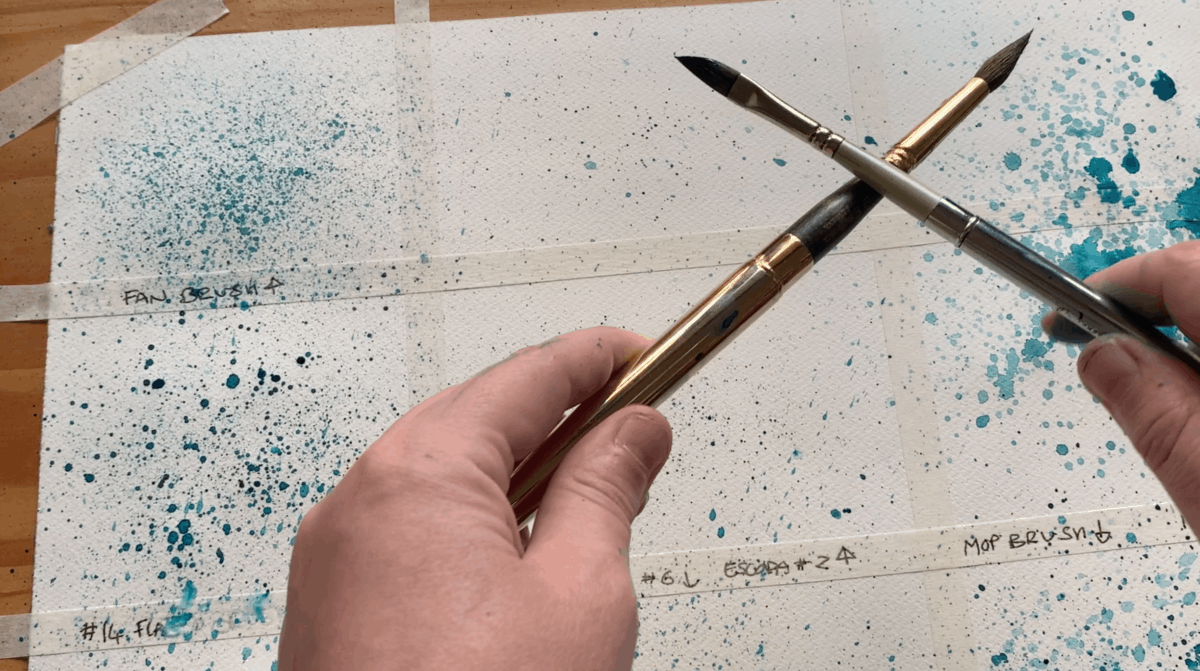
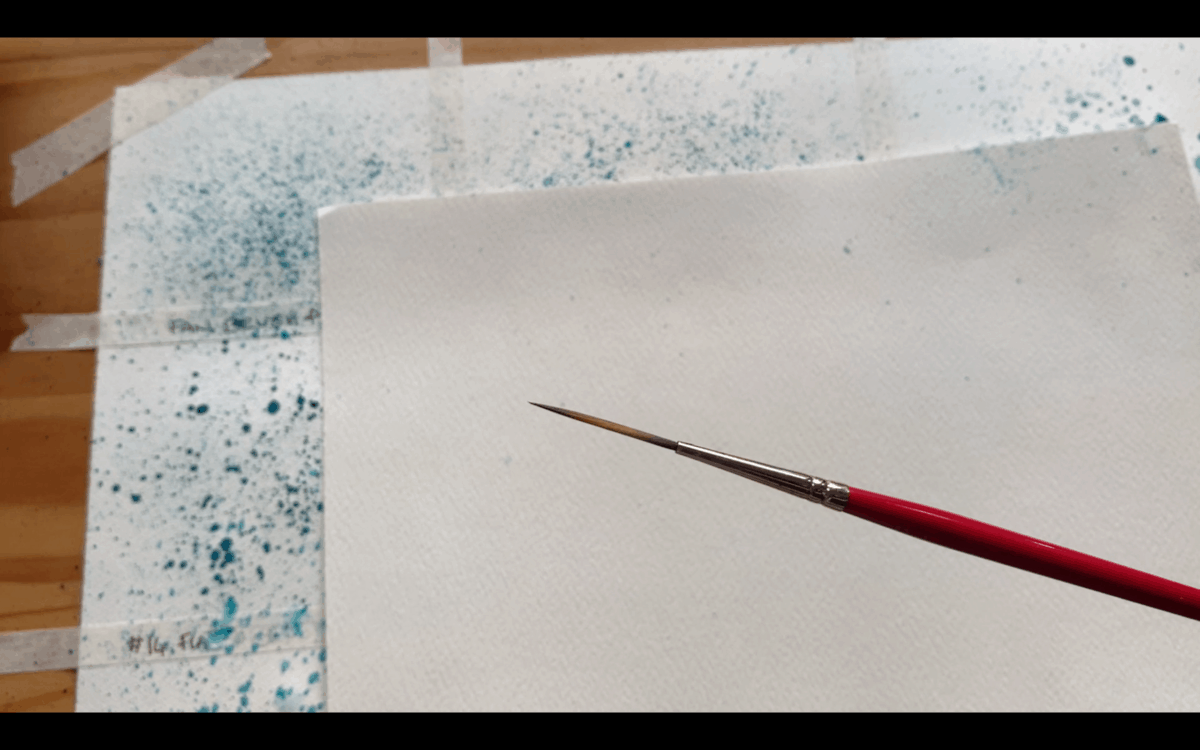
#3 Daler Rowney Aquafine #2 Fan Brush
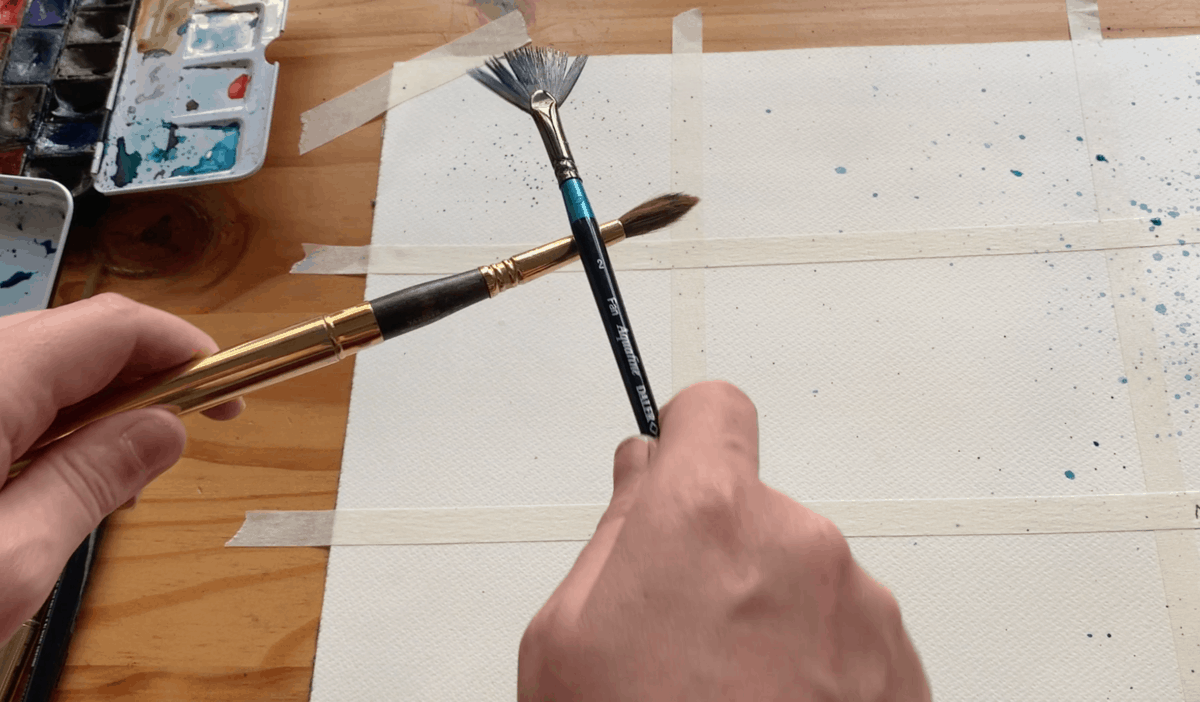
I will be totally honest with you. I bought this brush solely for splattering. I think I saw Ian Sidaway demonstrate it in a Sketchbook Skool course and I knew I needed its splattering abilities in my life!
This brush gives a beautiful splattering effect which I think would be excellent to create sand or gravel texture – just make sure you mask off the rest of your work – see the section later in this article about practising for more details.
#4 Dala Gold #14 Flat Brush

I don’t know the official width of this flat brush but after measuring with a ruler it seems its 1cm wide (which is approximately 0.4 inches).
I really liked the effect of this brush, it wasn’t too fine but also not too heavy either. A goldilocks brush for splattering – just right!
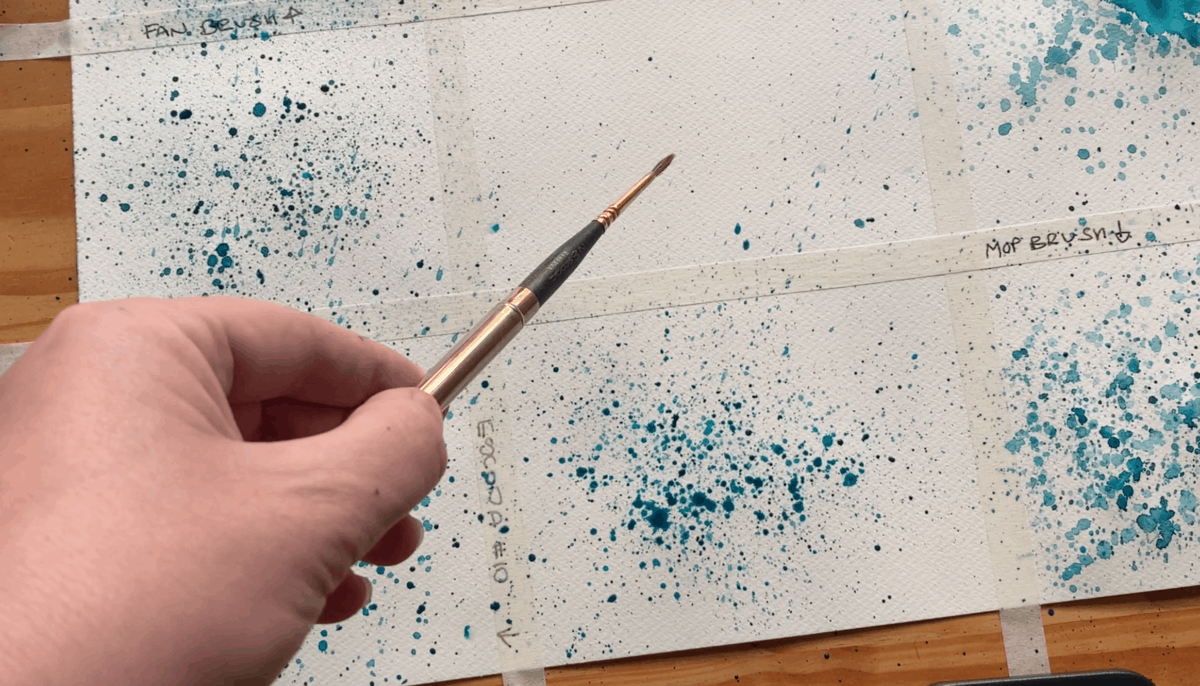
#5 Escoda Reserva #10 Round Travel Brush
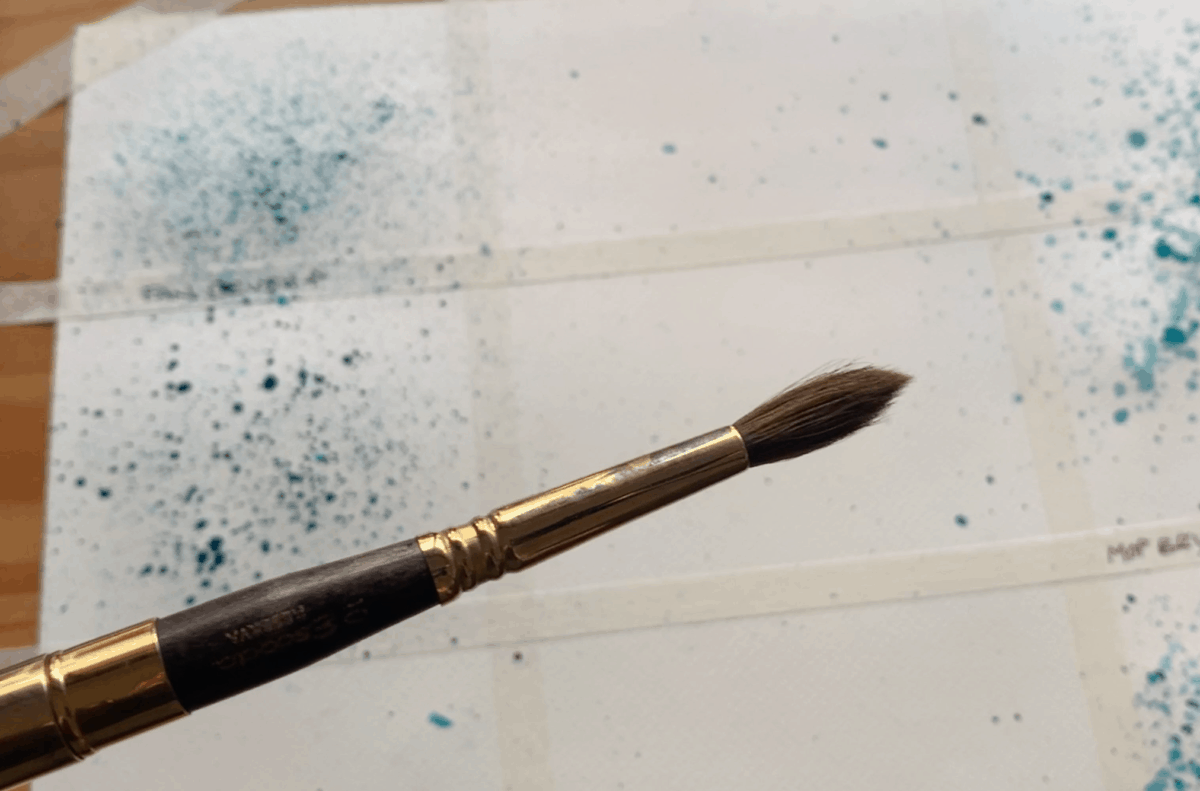
Escoda brushes are beautiful for watercolour painting. They are the only natural hair brushes I own. They are relatively expensive but they are an investment and brushes that I hope will last forever.
The #10 is excellent for splattering and splashes. Again the water-to-paint ratio will really dictate the level of effect you get. It gives slightly bigger more prominent splatters than the flat brush mentioned directly above.
#6 Escoda Reserva #6 Round Travel Brush
The size #6 Escoda brush is equally as good at splattering as the #10 brush. Predictably, being a smaller brush, it achieves slightly smaller splatters.
#7 Escoda Reserva #2 Round Travel Brush
The size #2 brush gives a much finer splatter so if you are looking for a subtle, fine and more concentrated splatter a brush of this size would be perfect.
#8 Rosemary & Co Dagger Travel Brush

This is one of my favourite brushes I own, it’s so versatile. This brush is a blend of natural and synthetic hair.
This brush also achieves a fine splatter but less so than the #2 brush mentioned above. The splatters were ever so slightly bigger. I found it hard to achieve much of an effect hitting the brush against my finger but when I hit against another brush this brought the best result.
#9 Daler Rowney #1 Rigger Brush
This brush was always going to be a bit of a wildcard given its very long fine bristles but I was keen to give it a try regardless.
It wasn’t quite as unwieldy as I expected and gave a nice fine splatter effect. I don’t think it would be a go-to brush for splattering but it was interesting to see what it could do nonetheless.
If you would like some more information about rigger brushes you can check out my post here.
Some of my favourite online classes
- Acrylic Painting Step by Step: Create Incredible Landscapes – Maru Godas
- Creative Watercolour Sketching for Beginners – Laura McKendry
- Experimental Watercolour Techniques For Beginners – Ana Santos
- Urban Sketching in Mixed Media – Jenny Adam
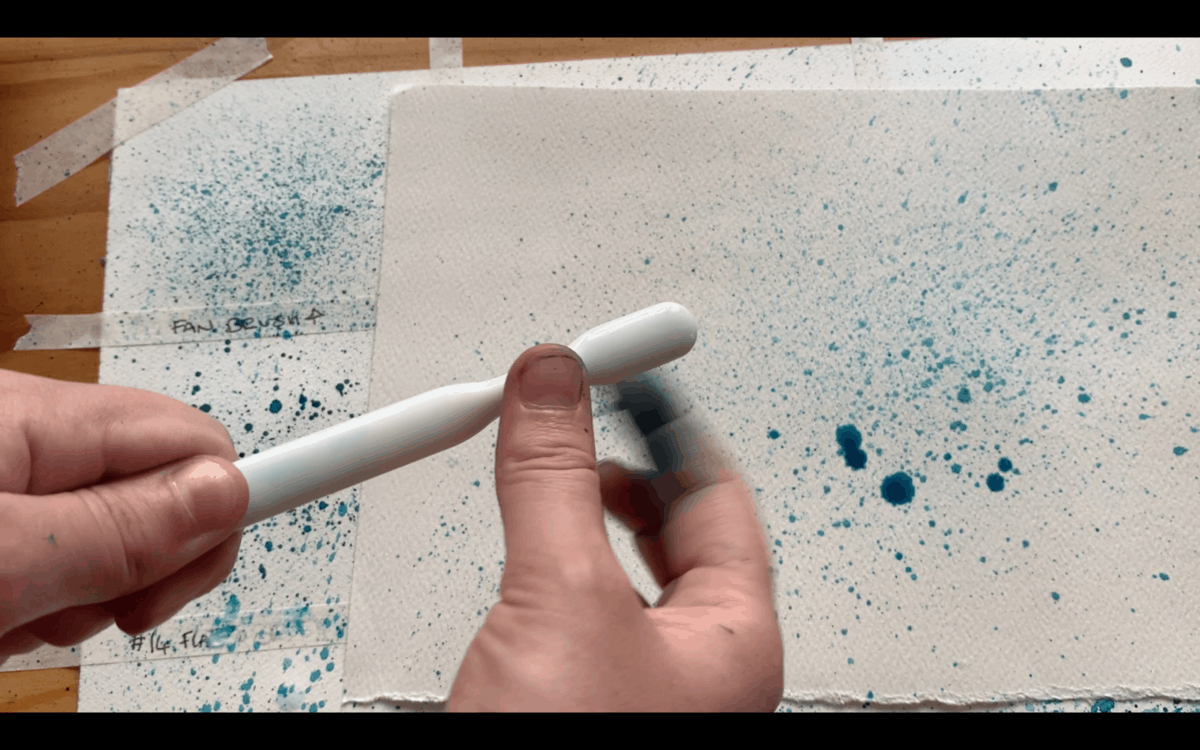
BONUS Tool: Toothbrush!
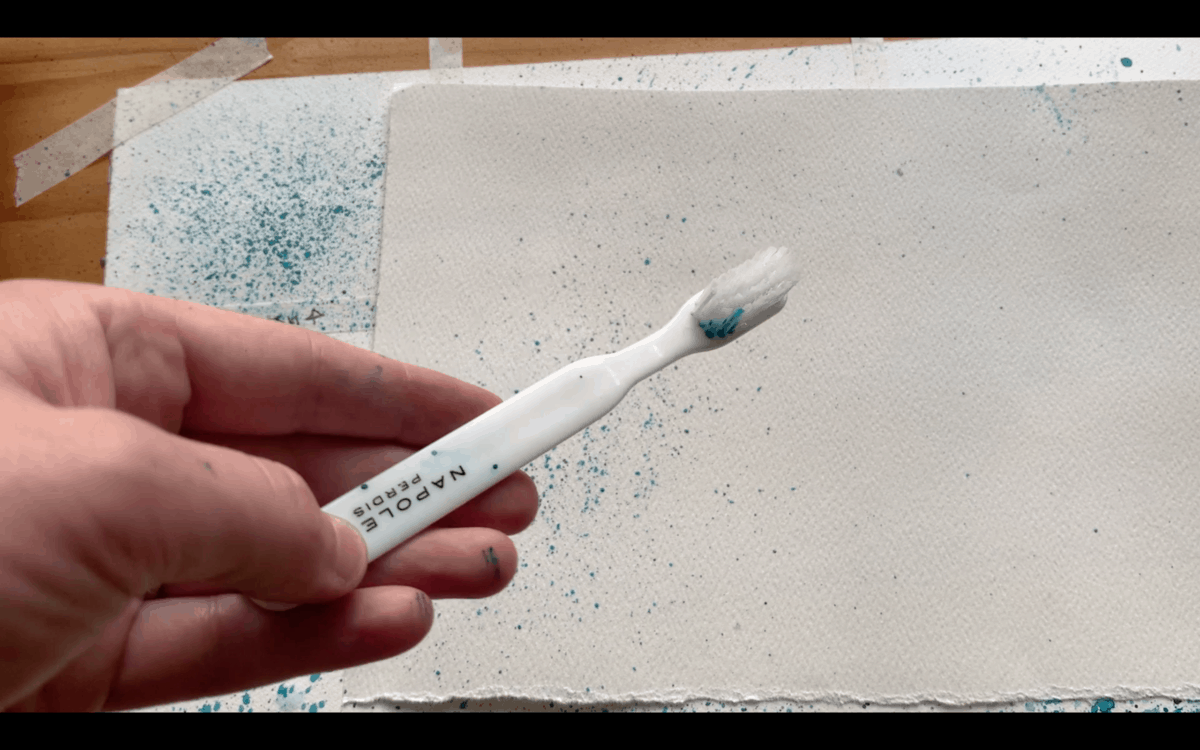
As somewhat expected, splattering with a toothbrush is pretty crazy! I raked my finger across the bristle and the paint went everywhere! This is a great tool if you want maximum coverage, like a background or something.
Practising Watercolour Splatters and Splashes
Firstly, I would highly recommend you practise the different techniques of splattering and splashing on scrap paper.
I would then encourage you to take out every brush you own and practice the techniques with each of them to see what effects you can create.
When you go to splatter on your sketch for real, make sure you cover any areas you do not want splatter on with some scrap paper. If you don’t mind splatter getting anywhere it wants to go then don’t worry about this step!
Finally, splatter is splatter and is somewhat uncontrollable so go with the flow and see what happens. You can always start with the technique that gives a more minimal result and build up the splatter slowly.
Don’t forget you can try splattering and splashes wet in wet too for different results yet again. If you are not familiar with the term ‘wet in wet’ what I mean is to lay some paint down and then while it’s still wet, you can then splatter on top. The water and paint will do their own thing entirely. This method is totally unpredictable and therefore super fun!
Final Thoughts
I hope this post has given you a comprehensive overview of how to create watercolour splashes and splatters, the various techniques you can use and how your choice of brush affects things.
Don’t forget you can see each of these brushes in action over on my Youtube channel, Taria’s Sketchy Adventures.