I have just got my hands on a rigger brush… finally. It’s something I’ve been meaning to try for so long. I would think about getting one and then the thought goes totally out of my head. I would go to art shops now and again for something particular, then think what else do I need while I’m here…I’m sure there was something… I’d look around for a while and then leave. A few days later I’d remember about the rigger brush. Maybe this just says a lot about my memory capacity, I’m not sure.
After an embarrassing number of years, I finally remembered to buy one while I was at the art store a few days ago. I bought an inexpensive one, I think it was about 2 or 3 US dollars. This wasn’t a conscious decision, it was the only available brand of rigger brush there in the shop.
After doing a bit of research for myself on what rigger brushes are for and how to use one, I thought it was the worthy subject of a blog post. Scroll to the end of this post for my personal learning points since working with a rigger brush, there’s a small learning curve but after a few small paintings, I think I’ve got the hang of it. And now I’m wondering what I did before I had one!
What is a Rigger Brush?
A rigger brush is made from long slender sable hairs (cheaper brushes will use synthetic hairs – my new brush is certainly synthetic) and is intended to make long straight lines. My understanding is that historically the brushes were used to paint rigging on ships, hence the name “rigger”.
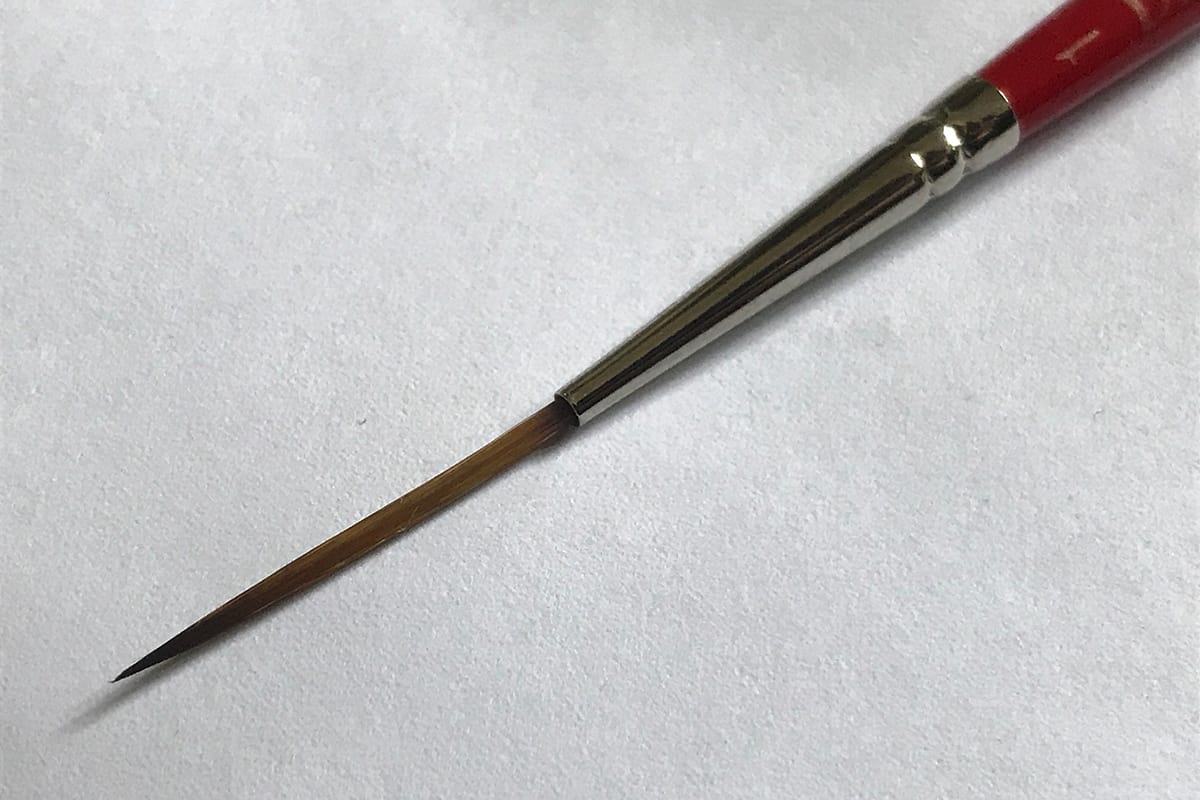
A rigger brush can hold a lot of paint. When using this brush make sure you load it with paint from the tip of the brush hairs right to the other end of the hair connected to the handle. This is to ensure the maximum effect of creating a long smooth line. I find with my cheap synthetic brush I do have to “reload” it with paint fairly frequently. Natural hair brushes are able to carry more paint so you would not need to do this so often.
Do you want to learn how to sketch your own adventures in ink & watercolour?
GET 50% OFF FOR A LIMITED TIME ONLY!!
I will show you my exact sketching process in ink and watercolour. I have travelled around the world in the last 3 years and this is my go-to system of creating beautiful yet quirky illustrations to capture the magic of my discoveries.
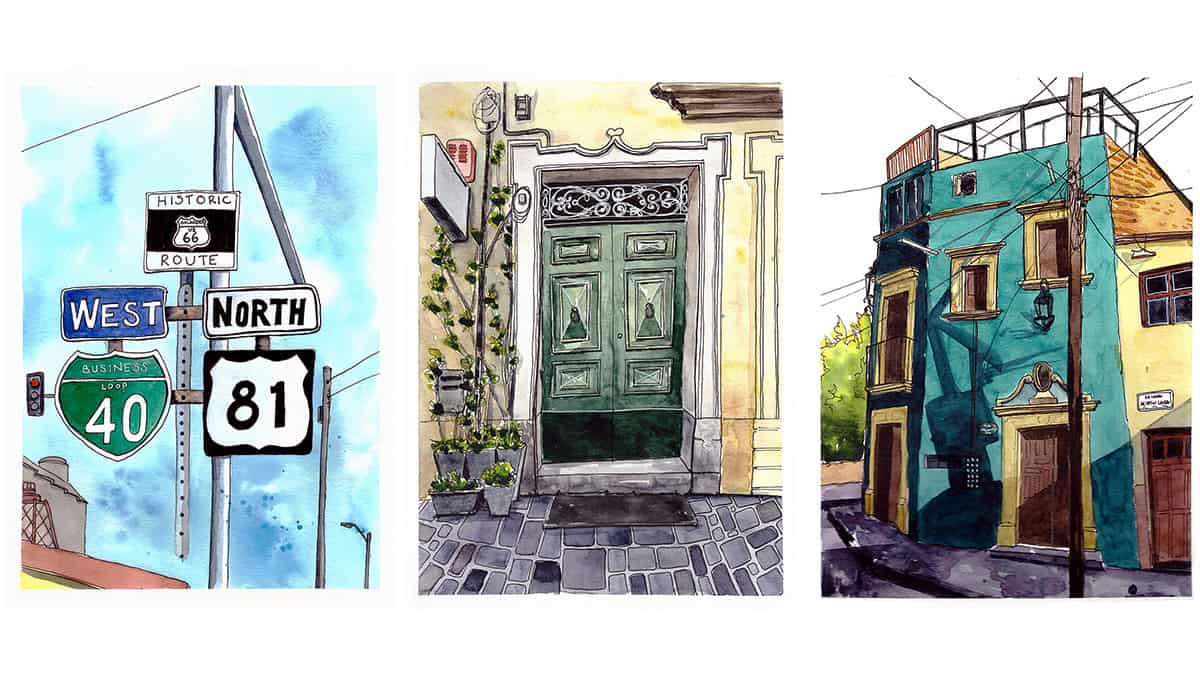
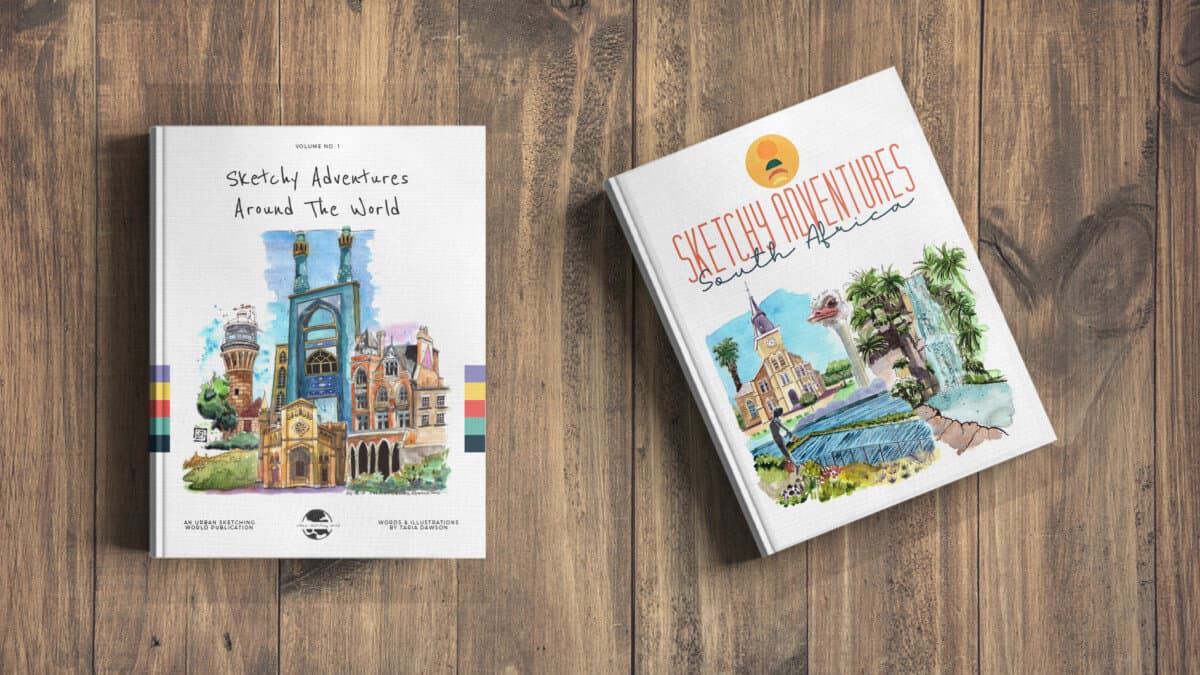
We will work through 3 projects, step by step (pictured below), all of which are real-life examples of things I have sketched along my travels. I provide the photo references you can work from.
We will start by choosing a composition, laying in the initial pencil sketch, adding ink lines, layering watercolour and adding the final touches.
This and much more are included in my course, Sketch Your Adventures, click the button under the image to find out more!
Which Rigger Brush?
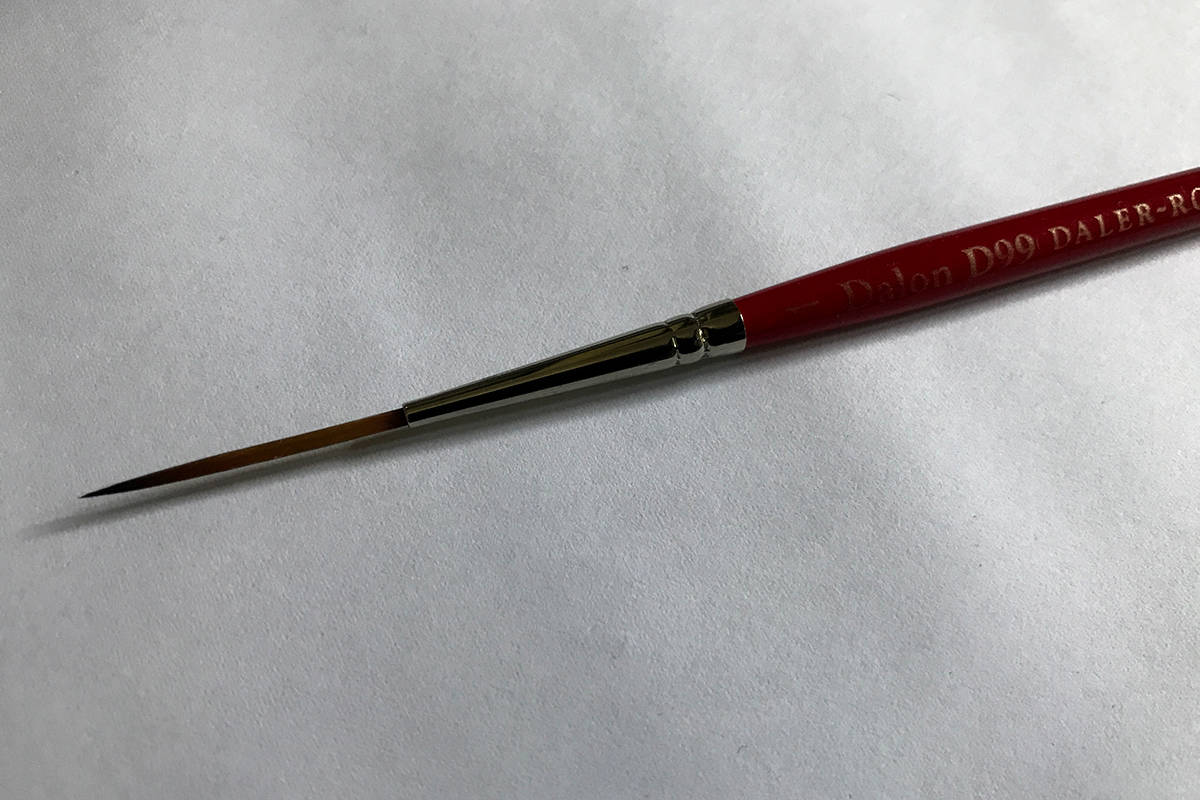
The rigger brush I bought is a number 1 Dalon D99 Daler Rowney brush. I did not choose it based on anything other just looking at it and thinking, “yep, that’s probably about the right size”. I just really wanted to try it out to see if it does what I thought it might, or if I could use it effectively. It’s a synthetic brush, so the hair is man-made to imitate natural sable hair.
The pros of a synthetic brush are that they are more resilient than natural hairs, the bristles are more like to keep their shape. Synthetic hair brushes are becoming more and more successful at imitating natural hair, they are more affordable and more ethical (no animals are harmed in the making of brushes with synthetic hair – well, that I know of).
The best advice is to use a rigger brush with mixed hair: some natural, some synthetic. This means the brush will retain more paint than a 100% synthetic brush but will keep its shape and wear a little slower than a brush made from 100% natural hair.
If you think a rigger brush looks a bit unwieldy with those long bristles, you can get “half-rigger” brush which is the same concept but the brush hairs are about half the length of a standard rigger and therefore easier to control.
There are a number of rigger brushes available on Amazon, however, I do love an in-person perusal of art supplies at a physical art supply store. I know this is not always an option, especially for those of us in more rural areas. You can check out the range of rigger brushes on Jacksons Art, they are based in the UK but have very reasonable international shipping rates.
Check out my ebooks with hundreds of ink & watercolour travel sketches from all over the world. Get some inspiration for your next trip…
How to Use a Rigger Brush
Rigger brushes are excellent for painting long fine lines such as the rigging of a ship, but also tree branches, flower stamens, building railings, intricate patterns, grass or any other fine details. There is definitely a knack to using a rigger brush though. Read the tips below and with a little bit of practice and it will become second nature.
Most recently I have found my rigger brush super useful in the 30×30 direct watercolor challenge Marc Taro Holmes hosts each year during June. The idea is to do a daily painting directly in watercolor, no pencil sketch or pen lines to follow. The rigger brush has proved so useful to paint in fine dark lines to add defined edges to shapes where needed. I have also used it to paint textures on rocks, wooden huts, foliage and water ripples.
Below are some of the sketches done directly in watercolour and indications of where I used the rigger. These are small (A6 size) paintings too so all the more need for a fine brush like the rigger.
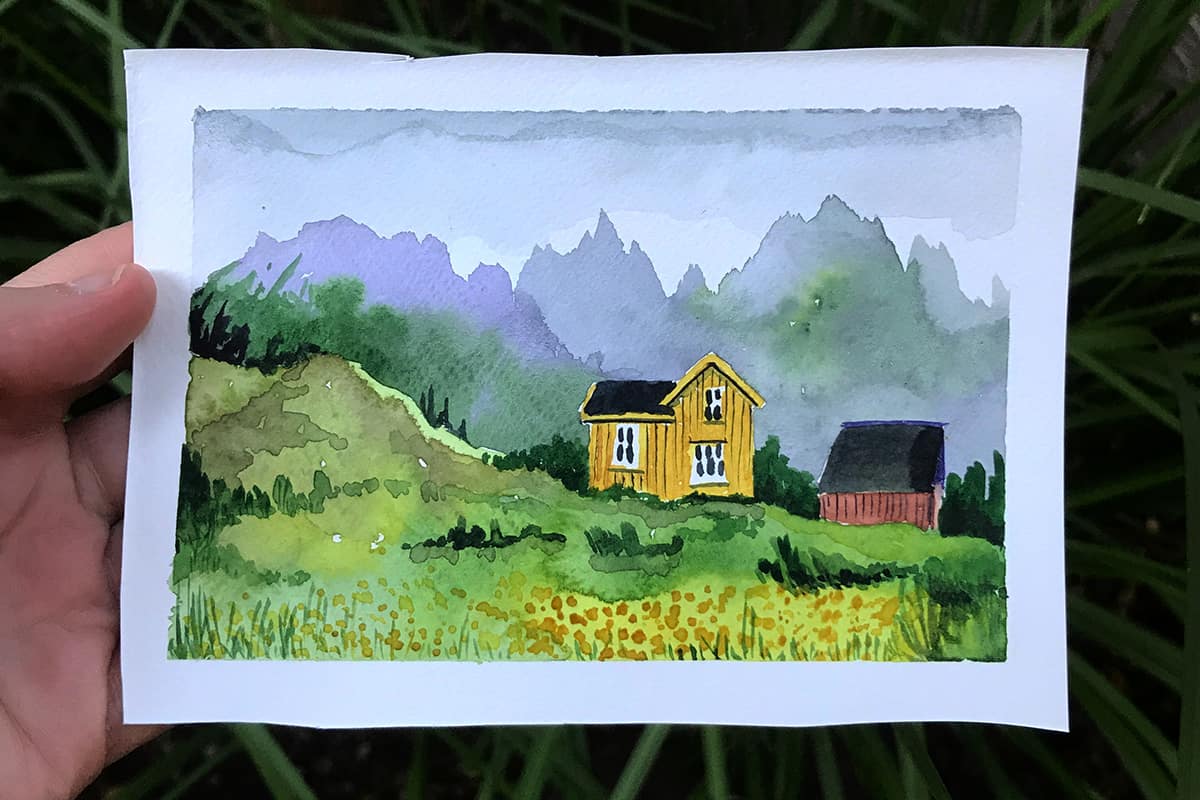
In the painting above, I used the rigger for the shadows underneath the roof, to create the lines on the house indicating the cladding, and for the grass in the foreground.
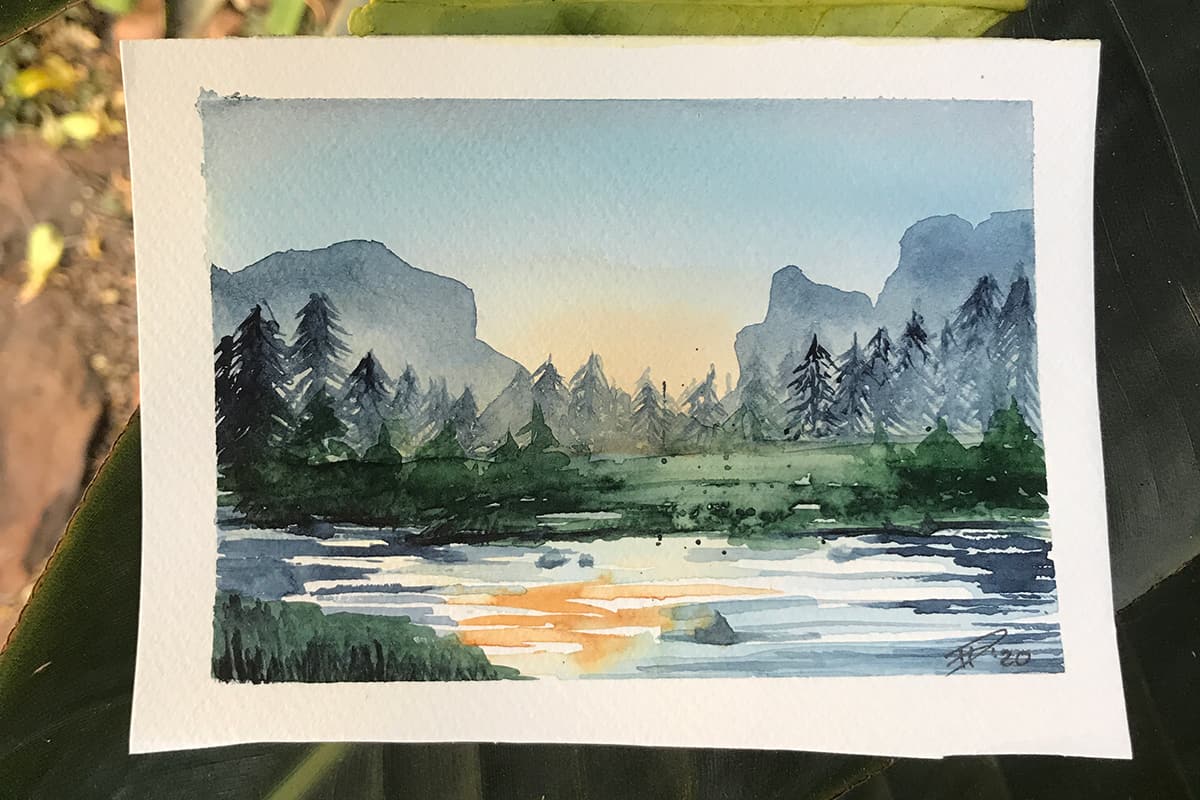
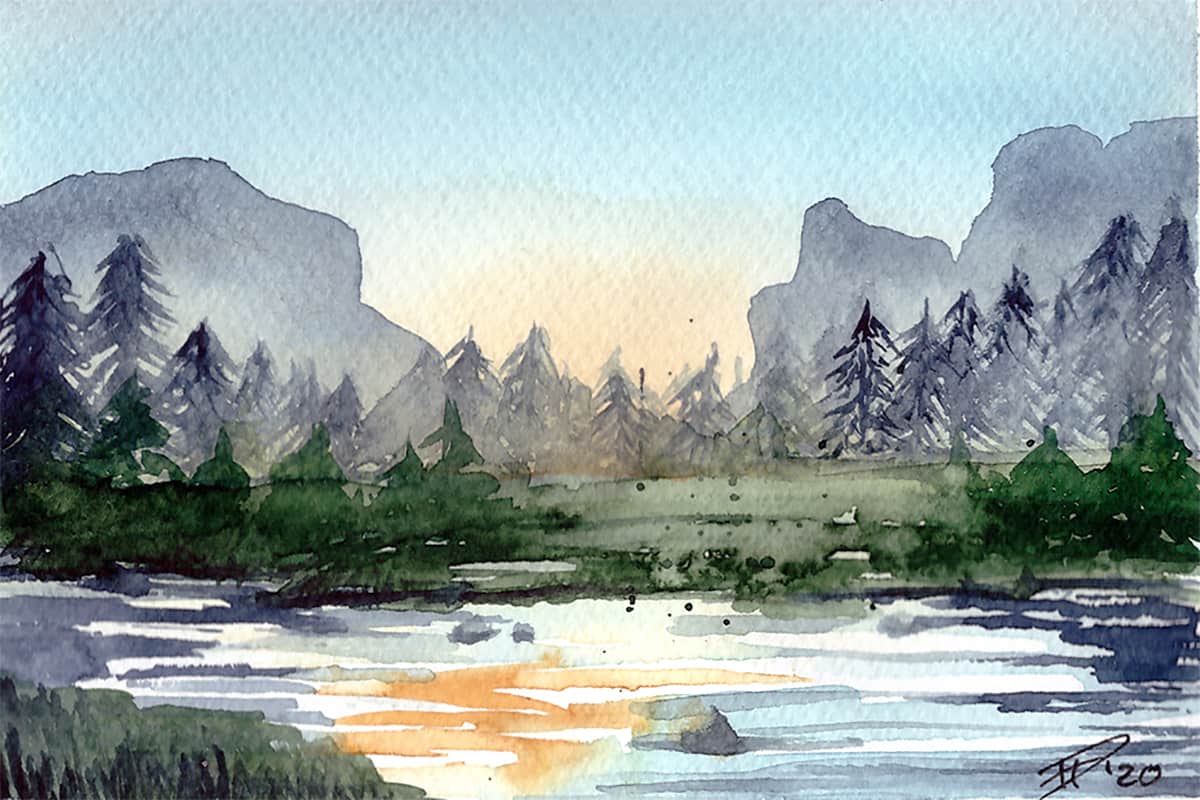
In the painting above of Yosemite Valley, I used the rigger brush to create the trees, some of the finer lines in the water and for the grass in the foreground.
I have found I am most successful when my watercolour paint is at a quite opaque consistency, i.e. not much water has been added to the paint. This means my line is strong and defined which is great if you need to create a dark line under a roof for example as a shadow.
In order to load the brush with paint effectively, you need to lie the brush in the paint so that the whole length of the hair is submerged and has the opportunity to soak the paint up.
Another thing I realised is that in order to use the rigger brush effectively, how you hold or grip the brush really affects the line quality. I was gripping the brush so tight right at the ferrule (metal bit) just like a pencil and was not getting the fine flowing line I needed. I was so tightly wound about controlling the long brush hairs and getting them to behave how I wanted! I somehow became conscious of what I was doing, loosened my grip and held the brush slightly further down the handle, just slightly further back from where the ferrule meets the brush handle. By loosening up I allowed the brush to do its work and create a nice flowing line.
Some of my favourite online classes
- Expressive Architectural Sketching with Colored Markers – Albert Kiefer
- Gouache Painting of Urban Landscapes – Tommy Kim
- Acrylic Painting Step by Step: Create Incredible Landscapes – Maru Godas
- Illustrating Nature: A Creative Exploration – Laura McKendry
Just as with any brush, the amount of pressure you use affects the quality of your line. This is even more so with a rigger brush. Using light pressure with just the very tip of the brush can produce delicate lines, however, if you apply more pressure and more of the length of the brush you will produce broader lines.
Don’t drag the brush over the paper too much otherwise, you will break up the hair and ruin the brush.
My final tip, make sure you wash your brush thoroughly before letting it dry. Pigment can lurk easily within those long hairs and damage your brush over time.
I hope this article helped you learn more about rigger brushes and how to use them. They can be relatively inexpensive but are a lot of fun to use in your paintings so, if you can, I’d recommend getting one and start experimenting! If you do get one and use it in your painting, tag me on Instagram (@urbansketchingworld) so I can see!