One of my favourite subject matters, when I’m urban sketching, is architecture. I was spoiled roaming around London looking for my next target, there are just so many fabulous buildings and too little time! Now, I’m in Johannesburg where there isn’t too much in the way of old architecture, I understand how much I took for granted!
Before getting into urban sketching, I never even thought about buildings or architectural styles. Since discovering urban sketching in 2012, I notice the things around me that inhabit my world so much more. By sketching the details of a building we can appreciate every nook and cranny. I know so much more about what I am looking at now.
There are never any shortcuts with learning to sketch but there is definitely some advice I can give in relation to improving your sketches of buildings. These are the things I have learned through trial and error over the years. I hope these tips can help you get your sketching to where you want it to be a bit faster!
10 Tips for Sketching Better Buildings
I will explore these tips in more depth below but as an overview, the tips are as follows:
- Start with big shapes, map out the tallest point.
- Measuring elements against the first biggest shape you drew.
- Don’t worry about straight lines, in fact, I actively discourage them!
- Basic understanding of perspective – don’t worry, no rulers involved.
- Capturing texture
- Light and shadow – high contrast scenes or photos are your friends.
- Simplifying ornamentation or complicated bits.
- Play with perspective and scale.
- Creating a sense of depth.
- Find the character of the building.
The sketch above of a building in Lambeth, London, was a real turning point for me in my architecture sketching – something clicked. Let’s explore what that may have been in more detail within the points below.
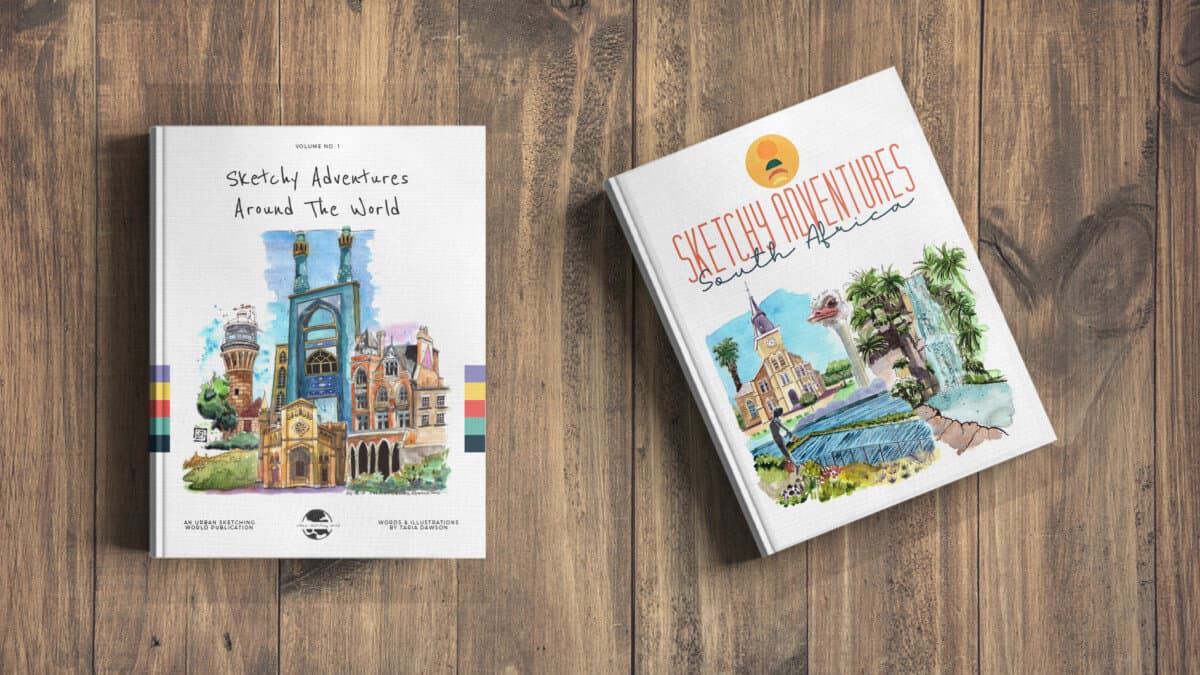
Check out my ebooks with hundreds of ink & watercolour travel sketches from all over the world. Get some inspiration for your next trip…
#1 Big Shapes
I know this one may seem obvious but it is easy to read it and go “yeh, yeh” and not actually do it. If you’re like me and a little impatient or a little short on attention sometimes then you just want to get into the meat of the sketch straight away.
Take a step back though and just rough in the first biggest, tallest shape. At the very least just to make sure your sketch will fit on the page.
If you scroll up and take a look at that sketch I just showed you, do you see how the left side of the sketch is cropped off a bit? Do you know why?
Because I ran out of room.
If I had taken a bit of time and mapped out the general shape of the building, this would not have happened. So, take it from someone who has made nearly all of the mistakes – map your sketch out.
#2 Proportions
Once you have the biggest shape in, you can then reference it to sketch your next largest shape, and then the next one and so on and so forth.
You will find buildings have a lot of nice reference points you can use to make sure your drawing is in proportion with itself.
Looks for the natural dividing lines – the building may easily split into 3 main sections when you look at it, or perhaps only 2 section, or maybe 4 sections. Features such as windows or ornamentation can help you to see where to divide the building.
Don’t forget – these sections may run vertically or horizontally – or both. In the sketch below you can see three main horizontal areas, one a the top, one in the middle and one at the bottom. As well as these, there are 3 main vertical sections too – a wide middle area and two narrower sections, one each side.
Buildings have many ‘landmarks’ so make sure you utilise them as much as possible to help you place all the architectural features in roughly the right place.
Do you want to learn how to sketch your own adventures in ink & watercolour?
GET 50% OFF FOR A LIMITED TIME ONLY!!
I will show you my exact sketching process in ink and watercolour. I have travelled around the world in the last 3 years and this is my go-to system of creating beautiful yet quirky illustrations to capture the magic of my discoveries.
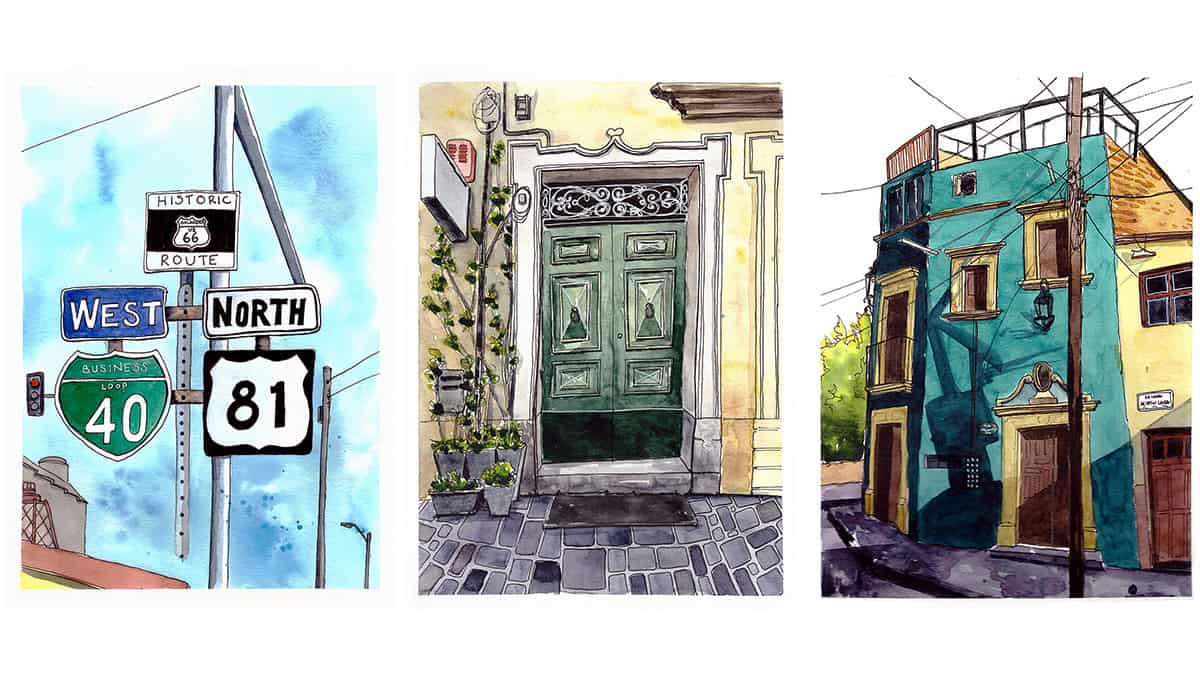
We will work through 3 projects, step by step (pictured below), all of which are real-life examples of things I have sketched along my travels. I provide the photo references you can work from.
We will start by choosing a composition, laying in the initial pencil sketch, adding ink lines, layering watercolour and adding the final touches.
This and much more are included in my course, Sketch Your Adventures, click the button under the image to find out more!
#3 Straight Lines
When you are drawing buildings, you would be forgiven for thinking drawing straight lines are a requisite to a successful drawing. Because that is definitely NOT true.
In fact, I think some of my best sketches (and some of my favourite sketches by others) are actually the ‘wonkiest’ ones.
Why is that?
I personally think it’s because it gives the building and perhaps the overall sketch more character. It makes the sketch more dynamic and gives it a bit of movement.
I also think “embracing wonkiness” (which I think Liz Steel says but I feel like I say it without realising this is her way of putting it) shows confidence in your sketching.
#4 Basic Perspective
Perspective…ugh. As soon as I have to learn something technical I can feel my creative juices seeping away. However, a basic grasp of perspective is necessary and not so evil and can actually be quite helpful.
You just need to know where the horizon line is. Now sketch it in faintly. Then you just need to find out where the vanishing points are. Is there one vanishing point? Or two vanishing points? Mark them on your horizion line. Now you know that all your parallel lines need to run in the direction of those vanishing points.
You can totally eyeball this and you do not need to get a ruler out. But just knowing vaguely where those things are will help you sketch a more convincing building or scene.
If you want a really great class on the perspective I highly recommend Stephanie Bower’s course on Craftsy. Stephanie Bower is a well known urban sketcher, architectural illustrator and master of perspective.
#5 Texture
This point feeds into my advice to not worry about straight lines. Instead of drawing a straight flat line, look at the texture of the building. It may be brick or rough stone, in which case indicate this with the quality of the line you draw.
If anything this really helps take the pressure of trying to draw straight perfect lines.
In the sketch below I tried my hardest to pay attention to capturing texture as this cottage has different materials all over the place. Focussing on details such as texture will really take your sketch to the next level.
#6 Light & Shadow
Capturing light and shadow in your sketch is essential in making a 3D object convincing when drawn on a 2D surface.
Light and shadow also convey an atmosphere and mood that you otherwise wouldn’t be able to get across.
It’s far easier to convey light and shadow when you are sketching a high contrast scene. What I mean by “high contrast” is when there is a huge difference between the darkest darks and the lightest lights. Its never useful to sketch on location at midday because the sun is right above you and therefore does not cast lovely strong shadows.
If you are sketching from photo reference, find a photo that has strong light and shadows. This is the most useful starting point.
If the scene in front of you (either in real life or in a photo) is not high contrast then you can, to some extent, invent the light and shade.
Decide on where your light source is coming from, you may even want to draw an arrow so it reminds you. You can then keep one side of your scene very light where the sun is and the opposing side where the light doesn’t reach you can emphasise the shadows.
#7 Simplify
This is invaluable. Learn how to simplify seemingly complicated architectural elements. This skill will save you a lot of time and a lot of your sanity.
Always sketch what you see in terms of basic shapes. Indicating tricky statues or scrollwork with simple squiggles works every single time.
If you want more detailed advice on sketching complicated architecture you can read my post here or, if you prefer, I have a Youtube video on the same subject which you can check out below.
#8 Play with Perspective & Scale
Unless you want to achieve a realistic architectural rendering of a building then we have our own permission to play and experiment with the building we are sketching.
You can play with perspective, for example, exaggerating it until you are almost creating a caricature of the building. Lapin does this to great effect in his work, bending the tops of buildings to make them fit his page.
#9 Create Depth & Emphasis
Similarly to what I mentioned in the section about light and shadow, creating a sense of depth is vital in order to bring the building you’re sketching to life.
As well as using light and shadow you can use line weight to to create depth, as well as emphasis. It’s visually appealing to create emphasis in certain parts of your sketch to help the draw the eye.
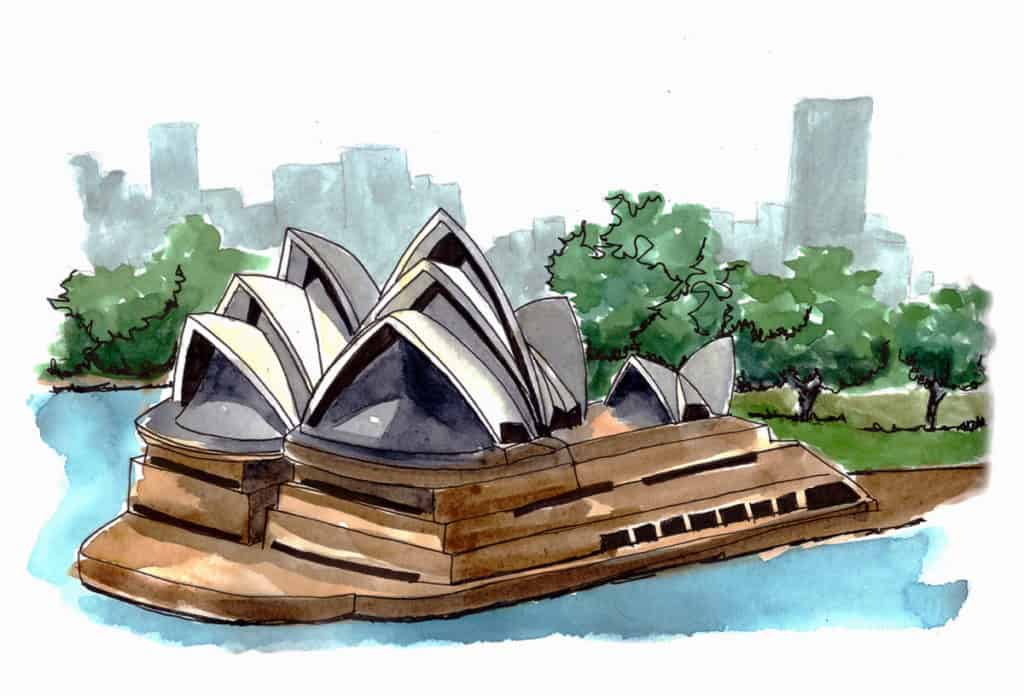
Add more details, use thicker lines and stronger tones or colours for items or features that are in the foreground. Add less details, use thinner lines and fainter tones for anything in the background. This will give your sketch a real sense of depth as well as indicating to the viewer which parts of the sketch are the most important.
It’s not the best example but in the sketch above notice how I have indicated the shapes of the tall buildings in the background and have not included any detail at all. This really pushes the opera house to the forefront of the sketch while still including some of the scene around it.
Some of my favourite online classes
- Urban Sketching in Mixed Media – Jenny Adam
- Urban Sketching: Capture You City in Motion – Inma Serrano
- Urban Sketching: Create Expressive Cityscapes – Eleanor Doughty
- Urban Sketching: Express Your World in a New Perspective – Lapin
#10 Character of the Building
Take a step back, literally or figuratively, and just look at the building you’re sketching.
What drew your attention to this particular building (or set of buildings)?
What are the distinguishing features and characteristics?
If you didn’t have time to draw all of it, which bits would be the ones you would want to capture?
What story are you trying to tell?
This all may seem fairly tricky to discern at first but once you get used to asking yourself these questions, you may find your sketching improves. If you can cut right to the heart of the building or scene and convey that in your sketch, you will nail the sketch every time.
This leads me on seamlessly to my bonus tip…
#11 BONUS Tip: You Don’t Have to Sketch it All
You may not have time to sketch the entire Houses of Parliament…or let’s face it, you may just not want to. And that’s ok. Because actually, you don’t have to.
In fact, not ‘finishing’ or drawing something in its entirety can be a very pleasing design choice…one I like to experiment with from time to time.
Final Thoughts…
I hope you have found this post super helpful and that examples from my own sketching have helped demonstrate some of my tips. I am still learning (and hope I never stop) however, I think this list should help you bypass some of the years I spent in trial and error figuring these things out.
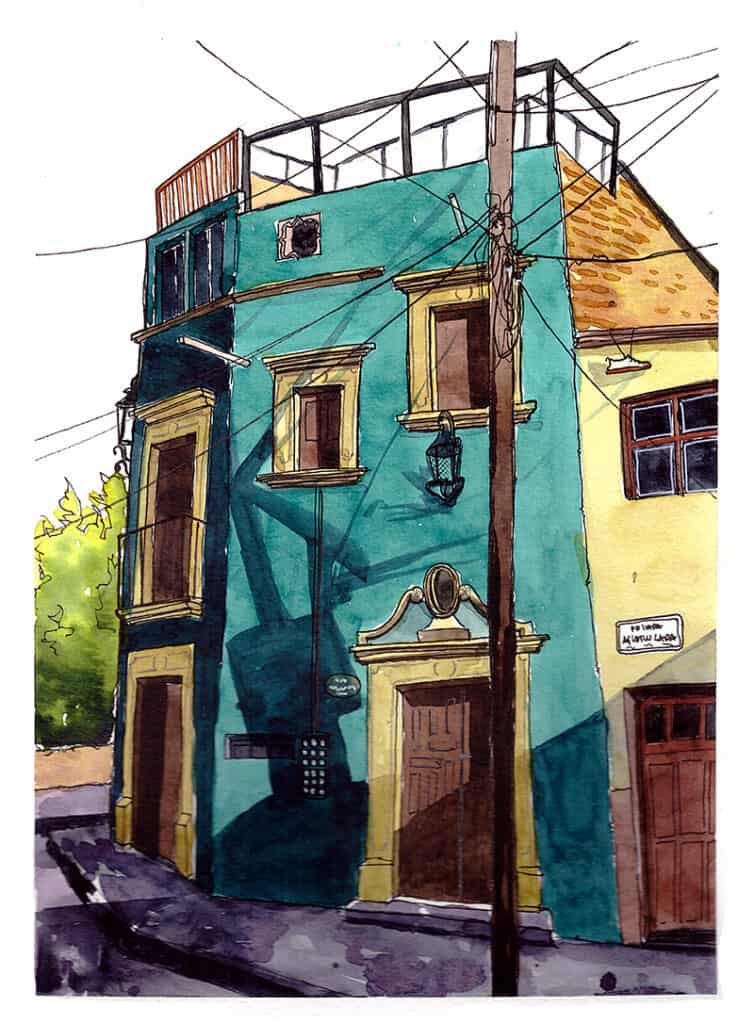
Would you like to learn to sketch this building???
Would you like to sketch this building step by step in real time with me??
Well, join my newsletter below to be the first to hear when I re-open my online course: Sketch Your Adventures.
I take you 3 travel sketching projects from start to finish so you can see my exact process. But you don’t have to do what I’m doing, I also show you how you can experiment and feel confident to do so.
I am SO excited about this course and I KNOW you will LOVE it. Pop your email address in the box below and you will be the first to know when doors open again.