I feel like I have started to see markers gain increasing popularity among urban sketchers on platforms such as Instagram.
Markers tend to be used predominantly by animators, comic book and manga artists, product designers, fashion designers and many other professions.
However, they have become far more widely used in recent years for things such as crafting (my mum uses Pro Markers in her card making) and for use in adult colouring books.
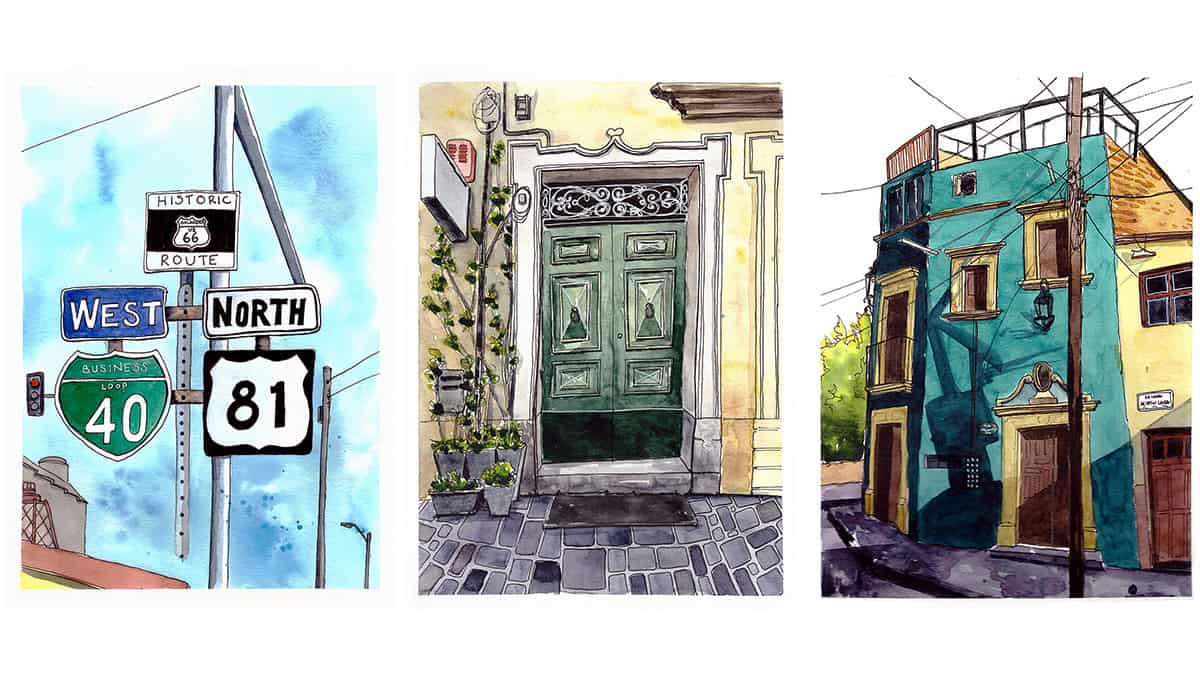
It’s interesting to see more and more artists using markers for urban sketches. I love the graphic bold style that can be achieved with them.
There are pros and cons to markers and while I see many “urban sketches” on Instagram produced with markers, I do wonder if most of them have been done at home from a photo. There is no judgement in this statement, I just wonder at the portability and convenience of sketching on location with a large set of markers.
Phil Dean a.k.a Shoreditch Sketcher tends to do a line drawing on location and sometimes adds colour at a later date with markers at home (although not always).
Incidentally, I did the marker sketch below on toned paper right after a workshop with Phil Dean in Shoreditch, London.
Albert Kiefer a.k.a HouseSketcher creates amazing marker sketches of houses, I’m fairly certain most of them are from home but you can see his lovely loose sketches definitely have an urban sketching quality about them. Perhaps he does do some of his sketches on location, I’m not 100% certain!
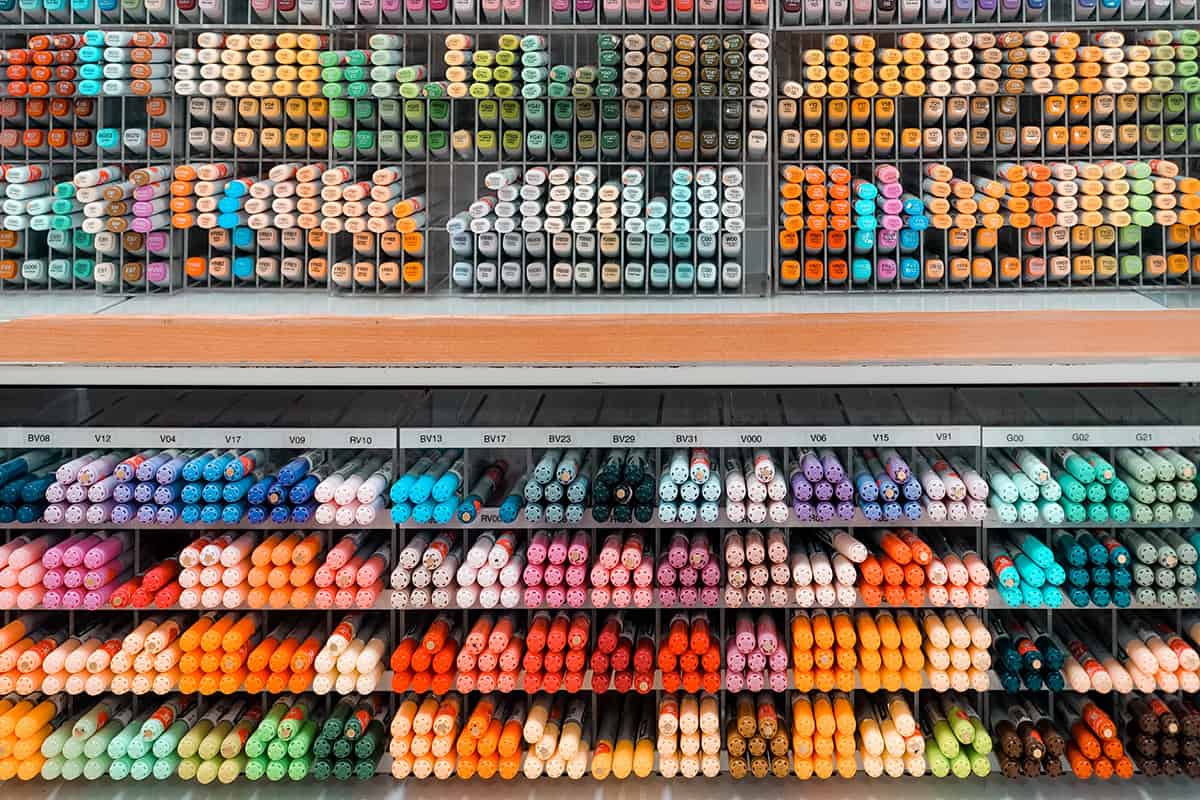
As mentioned, markers are not the most portable of mediums as you need one marker pen for each colour. If you are going out urban sketching you either need to take a large bag to carry hundreds of markers (which is surprisingly heavy to carry around all day) or choose a limited palette for the day, which can end up being fairly restrictive, especially if you have no idea what you will end up sketching and which colours you will need. Although it does sound like an interesting challenge!
>>> Albert has a fantastic Domestika class on his exact method of sketching houses with markers. I highly recommend it. You can check it out here. <<<
Let’s take a look at some of the varying types of markers that are available and the factors to take into consideration.
Alcohol Markers
Alcohol-based markers are now for their vibrancy and streak-free flat finish. They’re favoured by the professions mentioned earlier: product designers to animators and comic book artists. Alcohol-based ink is permanent and dries very quickly. As such, they can be used on various surfaces other than paper, such as glass, wood or plastic.
These markers can be a little hard to control sometimes as the ink bleeds when applied to paper, so if you are working close to the edges of your line drawing, you need to account for this, otherwise, the colour will bleed outside of the line. This takes a little practice to get used to. The amount the ink bleeds depends on what sort of surface or paper you are using. Alcohol ink will bleed through your paper very easily so I recommend you use paper specifically for markers. Winsor & Newton make their own marker paper but many other brands do also. It may not be branded specifically for markers but if you use Bristol board or a thick mixed media paper this should work fine.
Want to learn travel sketching in ink & watercolour?
Check out my course, Sketch Your Adventures and for a limited time get 50% OFF!!!
Nib Types
Some markers only have a nib at one end and others have dual tips that come in different combinations, for example, a brush tip + a fine tip or a chisel tip + a fine tip. The Tombow ABT Pro markers now have a brush tip on one end and a chisel tip at the other which I’m a big fan of, they are my preferred nibs. I have not found a marker with a fine tip that I like yet, however, the bullet tips on the opposite end to the chisel tip of a ProMarker are very good. I do not like the fine tips of the Spectrum Noir Markers, I find them unusable personally.
Brands of Markers
ProMarkers
ProMarkers are now made by Winsor & Newton. As well as the standard ‘ProMarker’ there is also a ‘BrushMarker’. The ProMarker has a chisel nib at one end and a fine nib at the other; and the Brush marker (unsurprisingly) has a brush nib at one end and a chisel nib at the other.
ProMarkers come in a larger range of colours (148) as opposed to the newer BrushMarker which currently has a range of 72 colours. Both pens share the same ink formulation, so can be used easily in conjunction with each other (source).
I really like ProMarkers, they are the marker I am most familiar with and I think they offer good value for money so I would highly recommend them.
A set of 12 ProMarkers cost approximately US$25 on Amazon and they offer a great ’Student Designer’ that covers an essential range of 24 different colours for US$52 here.
Copic Markers
Copic markers are one of the most well-known and highly regarded marker brands on the market. Originating in Japan in 1987, Copics were created to address the need of designers who required a photocopy-safe marker. The Copic Sketch marker, with a ‘Super Brush Nib’ that apparently never frays was introduced in 1993 followed by the Copic Ciao markers in 1998. The original Copic markers are known as Copic Classic markers.
Copics have a fine pedigree and are used by professional artists and designers around the globe. As such, they are also one of the most expensive markers on the market too. The Copic Ciao range was released to address this issue, they are aimed at beginners and are more affordable.
Copic markers are refillable which makes them better value and also a positive consideration regarding the environment. They also have a super cool smartphone app that lets you track your collection, search for complementary colours and view colour samples (source).
There are 358 colours in the range. As mentioned refills are available for the markers, one bottle of ink will refill a Sketch marker 13 times (and Ciao marker 17 times)! You can also replace the nibs too when they wear out, so, essentially, you never have to throw one of these markers away.
A set of 12 Sketch markers are usually around US$80 but there are some on sale here on Amazon, which seems like a bit of a bargain considering that a 12 set of Ciao markers (which are supposed to be the more affordable beginner range) are the same price (at time of writing) for 12.
I guess shop around and see what you can get! Amazon’s prices seem a bit all over the place!
Some of my favourite online classes
- Expressive Architectural Sketching with Colored Markers – Albert Kiefer
- Sketchbooking For Beginners: Learn to Draw Your Surroundings – Maximilliano Vera Herrera
- Urban Sketching in Mixed Media – Jenny Adam
- Architectural Sketching with Watercolor and Ink – Alex Hillkurtz
Tombow Markers
Tombow markers look a bit different to the other markers I have mentioned so far, they are long and have the width of a regular felt tip or fineliner. The Tombow Dual Brush pen has a brush tip at one end and a fine tip at the other, whereas the Tombow ABT Pro has a brush tip still but a chisel tip at the other end. The ABT pro range is available in 107 colours + a blender pen.
Tombow markers seem to be especially popular with lettering artists, specifically to achieve brush lettering effects.
However, urban sketcher Ian Fennelly relies on Tombow Markers as an important part of his work. He uses tones of grey to create a sense of depth in his sketches. He layers them on top of his watercolours in certain areas. PS. If you would like to learn all of Ian’s tips and tricks he has loads of online courses, you can check them out here.
Urban sketcher and artist Adenbanji Alade uses grey Tombows to add some depth to his line drawings. He creates a particularly beautiful sense of depth when he uses them in his sketches of people, usually unsuspecting commuters on the bus or train.
Depending on what colours you want a 10-pack of Dual Brush markers are approximately US$27 on Amazon and the ABT Pro markers are quite a bit more at US$45 for a set of 12.
Spectrum Noir
This is a popular brand for crafters and for use in adult colouring books due to the more affordable price point. However, since I last checked (quite some time ago) it seems Spectrum Noir has had a bit of an overhaul of their markers. They now offer two different types of dual-tip alcohol-based markers: the Illustrator range, which has a brush nib and a super-fine nib; and the Graphic range which has a broad chisel nib and a fine bullet nib.
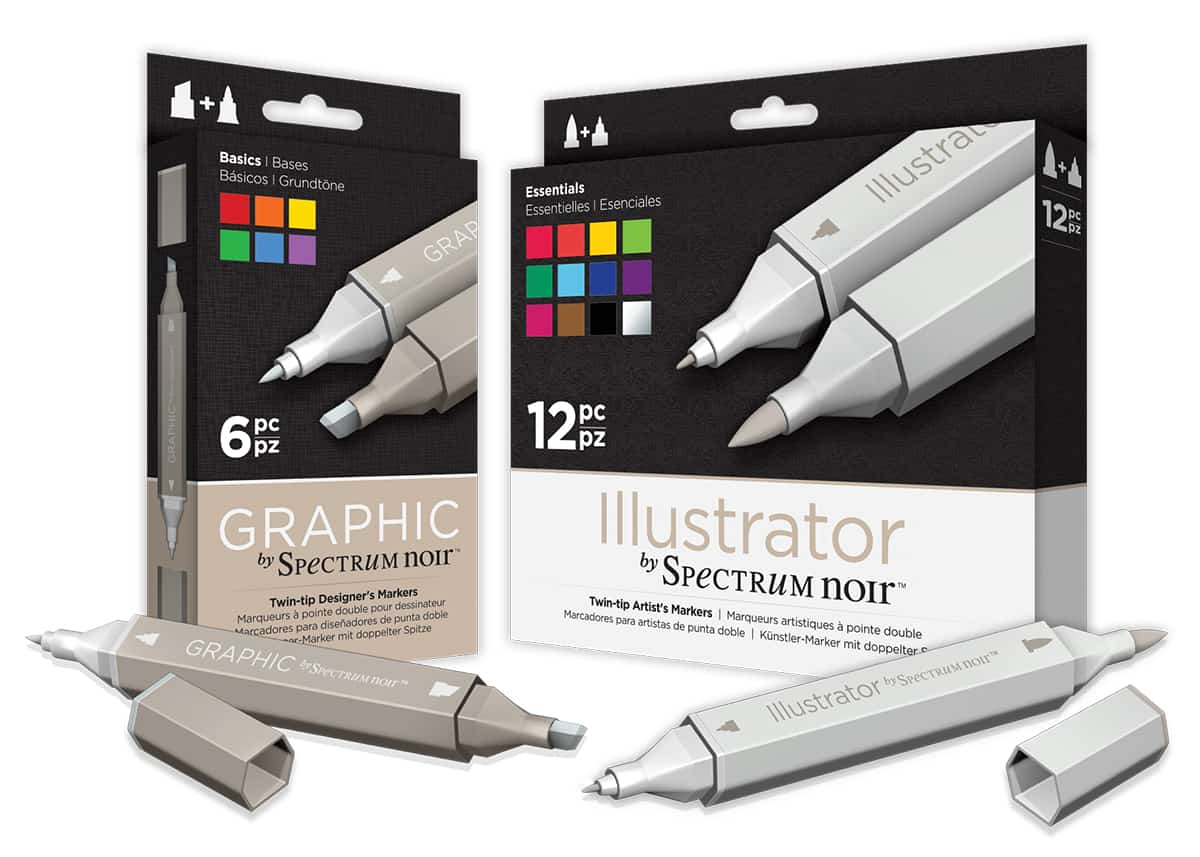
Both ranges come in 216 colours and use the same professional alcohol ink so the two types can be used interchangeably with each other. Spectrum Noir really seem to have taken a step forward in terms of its quality, aiming products at professional artists, illustrators and designers as well as remaining competitively priced for crafters too.
A set of 12 Illustrator markers are approximately US$25-30 from Amazon depending on which set of colours you go for.
I have not tried these new markers but I have heard good things. They could be a good place to start if you want to try some out for fun.
Touch Markers
Touch Markers bare a striking resemblance to Copic markers. They are made by a Korean company called Shin Han Art, founded in in 1967. They produced their alcohol-based markers, Touch Markers, in 1992 with a range of 120 colours. The company now has two types of Touch marker. The Touch Twin Markers features a black body and a broad nib on one end and a fine nib on the other. The Touch Twin Brush Marker features a light grey body with a brush nib at one end and a medium-wide chisel nib at the other end.
Both types of marker come in 204 colours, feature replaceable nibs and are refillable.
You can buy a set of 12 markers here on Amazon for US$40.
Other Brands
There are many many other brands of markers, some of which come a little close to what you would consider cheap knock-offs or counterfeit. This seems to be quite an issue, especially for markers that basically look like Copics or Touch Markers.
In fact, I actually thought Touch Markers were counterfeit Copics, however after researching and seeing that professional artists do use them, I realised they are a genuine product. Shin Han (who makes the Touch Markers) actually warns against buying markers from popular auction sites as they do not have any licensed resellers who sell on such sites.
The markers sold on auction sites are most likely counterfeit. Even on Amazon, you have to read descriptions very closely, if you are looking for genuine Touch Markers, make sure they mention ShinHan as the seller/manufacturer.
Saying that I tried a set of 150+ markers for the same price of 12 Copic Ciao markers and they were great for knocking about in my sketchbook. A few years down the line though and they have completely dried out and (to my knowledge) are not refillable.
For messing around with, by all means, try some of the cheaper alcohol-based markers, but as with everything, you mostly get what you pay for so do not expect them to perform quite as well as the professional range of Copics or Promarkers for example. The blending capabilities may not be as good, as the vibrancy or the range. Certainly, consider your environmental footprint too, the brand above all offers replacement nibs and some are refillable too. Spectrum Noir pens are made from mainly recyclable materials. These are important factors to take into account these days when landfills are overflowing with disregarded items. Price should not always be the dictating factor.
Summary
Overall, markers can be super fun to play with but you do need to buy a lot of them to get different colours or shades needed for realistic shading and blending. On that basis, markers are not the most minimalist of art materials or the most portable, which is why we don’t see too many artists sketching with them out on location. However, carrying a limited number, like a few shades of grey, can very quickly add depth to a line drawing and is actually quite an effective way to achieve a quick urban sketch.
Pros: Bold and vibrant, easy to use, blend together, flat streak-free colour, fun!
Cons: Can be very expensive, bleed through the page, smell, not very portable
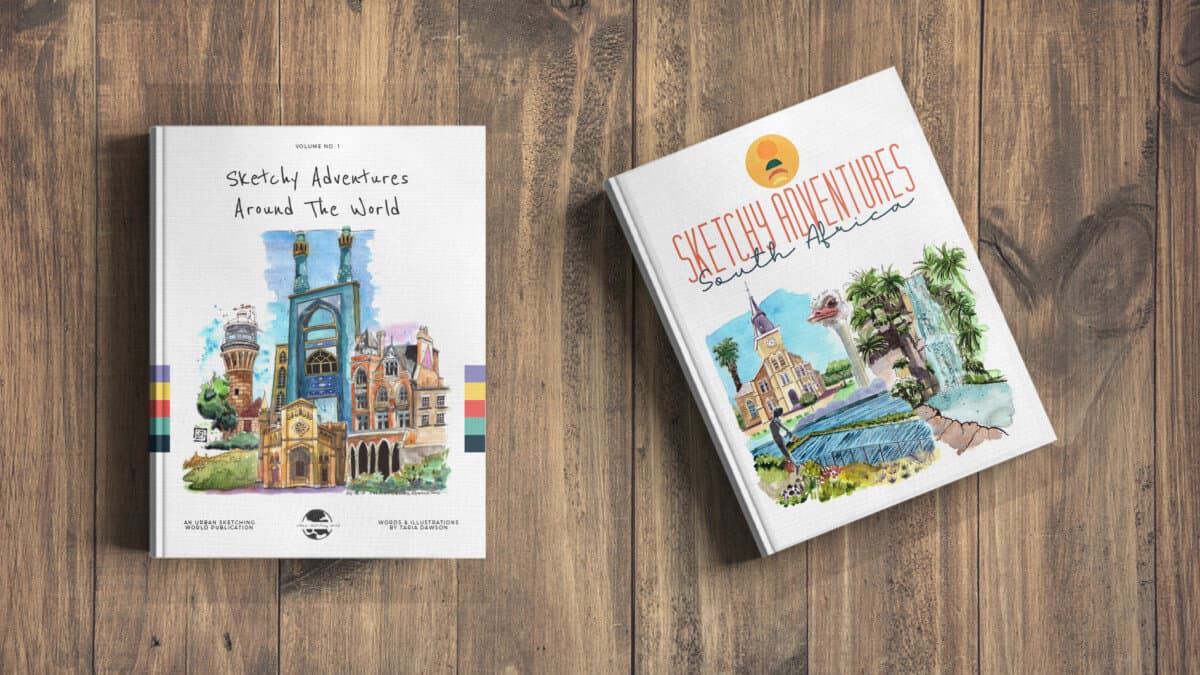
Check out my ebooks with hundreds of ink & watercolour travel sketches from all over the world. Get some inspiration for your next trip…
Watercolour Markers
Watercolour markers are perplexing. They’re not quite markers and not quite watercolour paint. Arguably, you should just use one or the other but I’m sure they have their place, I’m just not entirely sure where.
As the name suggests a watercolour marker comes in the form of a marker and is filled with water-based pigment. The markers are designed to create beautiful washes that we are used to seeing with watercolour paint. Use the pigment from the marker to colour areas of your sketch and then add water with a brush to manipulate the pigment in the same you would with paint. As such, watercolour markers are best used with watercolour paper. You can also use the markers as normal without water too. Perhaps some areas of your sketch you want to be more defined and so you can use the marker dry and you may want your background elements a bit softer so you can use some water with the marker.
Where watercolour markers do differ from alcohol markers is that they are lightfast, as such sun will not fade the colour, whereas alcohol ink is not lightfast and artists are advised to protect their work from UV rays.
Winsor & Newton
These markers come from the OG’s of watercolour and feature a dual tip, one end with a brush nib and the other end with a fine nib. The markers come in a range of 36 colours and can be used with other Winsor & Newton watercolour products.
A set of 12 Winsor & Newton watercolour markers will set you back around US$40 from Amazon.
Spectrum Noir
Spectrum Noir also has a range of watercolour markers called ‘Aqua Watercolour Markers’. I have a large set of these markers as they were given to me as a gift from my extremely generous mother (out of the blue I may add). At first, I was not convinced but I kept working with them and I definitely made a few sketches that I liked. Like any medium, you have to keep working at it and getting to know their behaviour in order to get the best out of them.
These markers are dual-tip, with a brush and fine nib on either end and they come in a range of 48 colours.
A pack of 12 colours are just over US$20 here on Amazon.
Faber-Castell
Faber-Castell also offers a watercolour marker range called the Albrecht Duher watercolour markers. The markers are dual tip with a brush and fibre tip and they come in a range of 30 colours.
Faber-Castell has even produced a video specifically about urban sketching with these markers which I thought was interesting.
In the video, they show how to use the markers, how they can be used with water to fade the pigment out, how the colours blend together, how you can mix the colours on a shiny surface and that the marker doesn’t bleed through the page.
The only sticking point I can see is that carting around a big box of markers like that is not exactly convenient or appealing. But otherwise, I like how they have shown us urban sketchers how their product can work on location, smart marketing!
A pack of 10 markers are approximately US$45 (at the time of writing).
How to Use Markers for Urban Sketching
The effects you can get from markers are quite staggering, this illustration is by Katerina Brovka, a well-known artist and teacher from Belarus. This illustration has all the delicacy of a watercolour painting, it’s phenomenal:
I think my favourite use of markers is the bold graphic style of @lemony987. The sketches almost have a comic book/graphic novel feel to them.
Using the brush nib you can vary the pressure you place on the nib to produce different results. Use light pressure for a lighter colour and more pressure for a darker shade.
Using the chisel nib you can cover large areas with wide consecutive lines that slightly overlap each other. When the ink dries you should have nice flat streak-free coverage.
With a brush nib, you can use ‘flicking’ and feathering techniques by applying more pressure at the beginning of your stroke and releasing the pressure towards the ends creating a feathered look.
Make a Colour Chart
It’s fairly essential to make a colour chart with your markers when you get them. The colour you get from the marker will not match the colour on the end cap of the marker. Sometimes the colour of the marker will be fairly close to what’s shown on the end cap and sometimes it will be miles apart. I guess this is because the end caps are made in plastic and there’s only so much that can be done to make it an exact match with the ink inside the marker.
Draw out a table and do swatches of the colours in some kind of order, i.e. from white, black, greys, browns and reds through to blues and purples. Look at the manufacturer’s colour chart and base your own chart around the same structure. Write the colour name and number next to the swatch so you know which marker it relates to.
If you are using Tombow Pens, they have a super cool ‘Color Tracker’ you can print off that has the names of the shades already written out and formed into a wheel, you can find it here.
Working in Layers
Much like watercolours, you need to work from light to dark with markers and build-up layers. Take a look at the timelapse video of how layer after layer is added to produce an incredibly realistic rendering of a croissant.
Blending Techniques
There are a number of ways you can blend markers together. Do not overlook the importance of paper choice and how it affects the behaviour of the markers. From my research, Copic marker paper seems to be a good overall choice.
How to Blend With A Single Marker
You can create a graduated effect using just one marker. Start with a light layer of your chosen colour. To create a light layer, use light pressure on the nib. A brush nib is easiest to control in terms of pressure. Other nib types will be difficult to do this with.
Apply a second layer over the top the first layer using a slightly harder pressure but only covering two-thirds of the shape you are filling, so you can still see some of the first lighter layers.
Finally, add the third layer, again only partially covering the second layer. You can keep repeating this process until you have achieved a smooth gradation or the effect you’re looking for. You could experiment using a colourless blender to further smooth out the transitions if you like.
How to Blend With Three (or More) Markers
Select a light, medium and dark shade of the same colour. Colour your shape with the lightest layer first, then use the medium shade and then the darker shade paying attention to where the lightest parts of your form are and your darkest. If you’re using more than 3 markers work in the same way from your lightest shade to darkest.
If you’re using a brush nib you can use pressure and the feathering technique to help blend colours together. You can do a flicking motion with the chisel marker too in order to fade out a colour. Use a colourless blender to blend layers together also. For more information on colourless blender pens, see the section below.
How to Use a Blender Pen
A blender pen is extremely useful in working with markers. They can help clean up edges where your marker may have bled over a line, create highlights and textures, blend colours together and pre-wet an area you want to work on. Sometimes a colourless blender is included with a set of markers but you can also buy them individually too. You can try blender pens from other brands as well. They are all designed to work with alcohol ink so whichever pen you use will work. Some are refillable and some or not, so this is a factor you may wish to consider when buying one.
Storing Your Markers
It’s important to note that you should store your markers horizontally, and not vertically (i.e standing upright). The reason for this is that you want the ink to sit evenly within the pen so both ends have access to the ink. If you store the pen vertically all the ink will flow to one end and the nib at the other end will dry up.
Marker Sketch Demo: Process Start to Finish
Just to finish off here is a marker illustration from a photo by Katerina Brovka which shows her process from start to finish. I particularly like how she picks out a few highlights with a white gel pen at the end. You can do this with your watercolour sketches too!