What if you could capture the essence of a scene in only 15 or 20 minutes of drawing? Think about how much more you could capture in your sketchbook.
Being able to sketch quickly can help you capture more of the world around you, which is one of the essential points within the urban sketching manifesto.
Why is sketching quickly useful?
Do you sometimes feel overwhelmed before starting a sketch thinking it will take you far too long to capture something to a level you are happy with, or that’s even recognisable?
Yep, me too.
Well, the world waits for no woman (or man) so you need to shake this feeling off and get working on the strategies outlined below to help you sketch your world quicker.
By implementing the strategies outlined in this post I have been able to capture so many more points of interest while I’m out urban sketching. I have more confidence going into the sketch that things will turn out to a level I am happy with.
I have also learned to capture the essence of a scene quickly, before subjects move, such as people or animals, or before the bus/train arrives, your appointment starts or the rain starts to pour…yep, you can tell I’m from the UK!
It’s actually not that complicated to learn to sketch quickly. By implementing the strategies below, you will be able to capture more than ever in your sketchbook!
How to sketch quickly
While sketching quickly will be the focus of this post, it is not meant to be at the expense of accuracy. Being able to measure out key points in a scene and draw objects in proportion is still vital.
Strategies for learning how to sketch quickly:
- Sketch smaller
- Simplify your tools
- Use a limited palette
- Don’t focus on small details
- Only suggest details/textures in selected areas
- Learn to stylise certain elements (people, trees etc)
- Shade with only two values (dark and light)
- Try sketching with tone rather than line
Let’s take a closer look at each of these suggested ways of helping you to sketch quicker.
Sketch smaller
This suggestion sounds obvious but the smaller the sketch, the more likely you are to be quick.
If you want to focus on people sketching, how about using a small pocket sketchbook to capture solo portraits or small vignettes of people in cafes or public spaces?
Smaller sketches mean less time spent on an individual sketch and more time making lots of sketches. This is especially useful when you are trying to practice a certain subject, such as people.
I have tried this strategy, I sketched in an A6 sketchbook (approximately 4 x 6 inches) every day in order to practice people sketching. I took my tiny sketchbook to the local cafe or park and tried to capture small sketches of the people around me. As the sketchbook was small, it made me less conspicuous and the size meant smaller sketches, forcing me to be quicker and not focus on too many tiny details.
I am now much more confident at being able to take out my sketchbook at any moment to capture people, knowing I can get a good representation of what I’m seeing.
Committing to any sort of project for a time period of 30 days, for example, is a great way to get proficient at something. I do not always make it to the end of the 30-day period admittedly, but even committing to a daily practice for 50% of this time period has helped me develop new skills.
Want to learn travel sketching in ink & watercolour?
Check out my course, Sketch Your Adventures and for a limited time get 50% OFF!!!
Simplify your tools
Having too many art supplies at your disposal can actually hinder your sketching. Having too many options and not being able to choose what to use can result in something called “decision fatigue”.
Decision fatigue is to be avoided at all costs when you are trying to sketch quickly.
Going back to my example above about the tiny sketchbook I would take to the cafe each day, I also only took one pen, my fountain pen. I use a TWSBI Eco which I adore (you can check it out on Amazon).
Occasionally, I would take a grey Tombow marker (like these, also on Amazon), so that I could capture some quick shading super to make the sketch look a bit more dynamic. It has a brush nib on one end and a chisel nib on the other. I suppose it’s really two pens in one now I think about it!
I love Adebanji Alade’s commuter sketches, which he produces sometimes with ink and a Tombow marker for shading, or sometimes simply a pencil. He has to do these sketches quickly and discreetly while on public transport in London before people leave to get off.
Adebanji has such energy for sketching, he has loads of videos on Youtube and now he has a book too! You can grab your copy of The Addictive Sketcher from Amazon.
While we are talking about books…
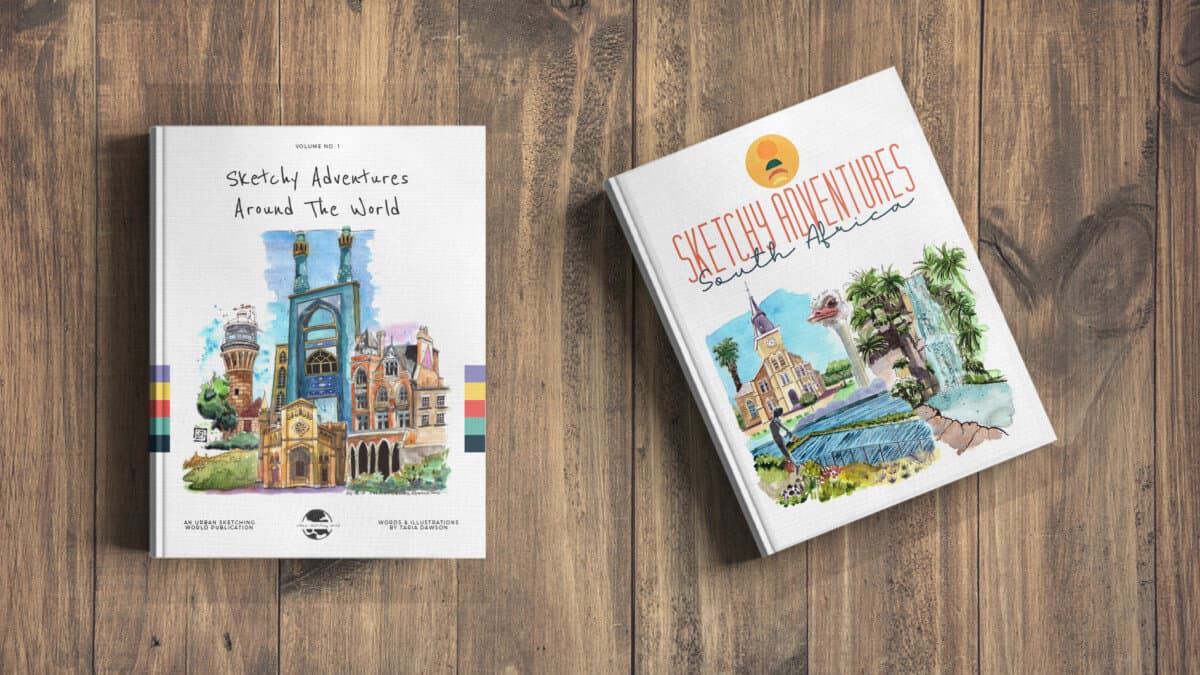
Check out my ebooks with hundreds of ink & watercolour travel sketches from all over the world. Get some inspiration for your next trip…
Use a limited palette
This is somewhat related to the point above. If you are going to use your watercolours (or markers or watercolour pencils) only take a few colours with you. By restricting yourself to 3 colours, for example, I feel it can really stretch your creativity and mixing ability. You can avoid decision fatigue by knowing you only have a limited number of colours to work with, hence making you speedier.
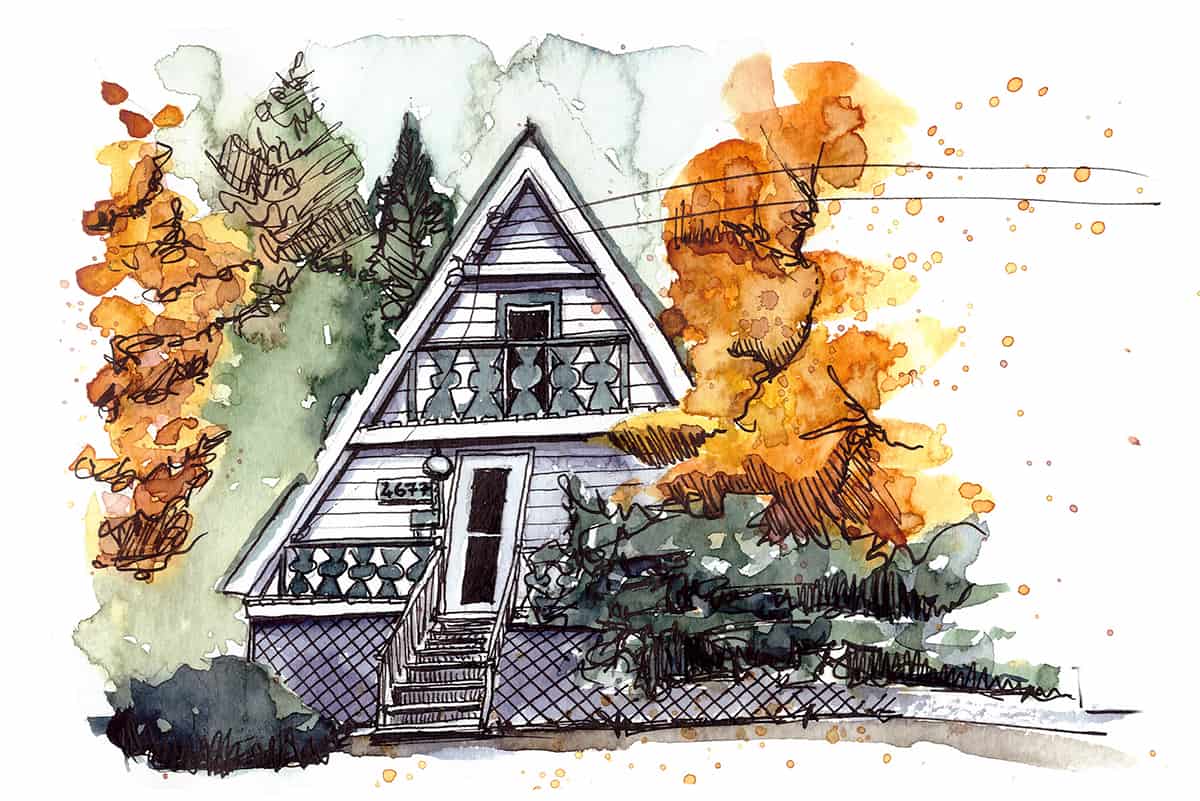
In the sketch below I used my trusty fountain pen (TWSBI Eco) and 3 watercolour hues: Indian Gold, Green and Indigo from St. Petersburg White Nights (you can check out their watercolour sets here).
Don’t get carried away with the details
Try to not get caught up in the small details of your sketch, focus on the big shapes and the accuracy of the proportions.
Proportion simply means the size of one thing relative to another thing in your drawing.
If you’re drawing a row of houses, see where a wall starts relative to the next wall, or how high one chimney is relative to the roof of the next house.
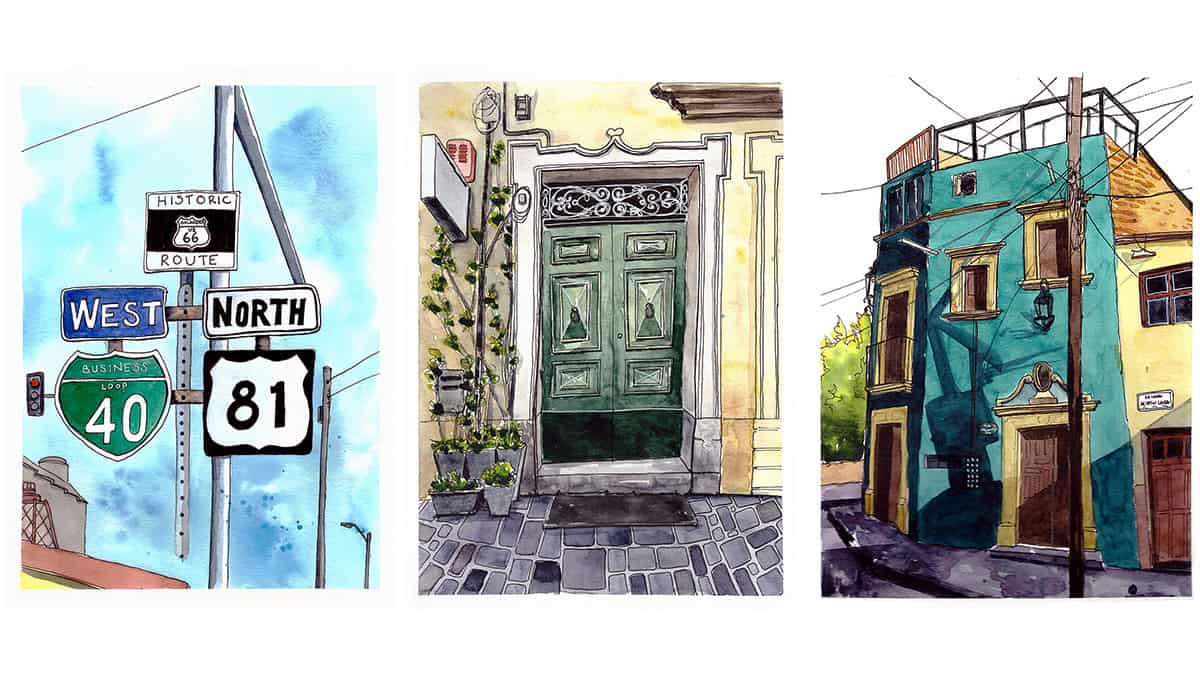
In the sketch above of the colourful hotels and restaurants, I made sure to try and get the proportions of the overall buildings, the shape and angle of the rooves as well as the windows in proportion by judging the size of each element against the other. I would say capturing proportion is one of the key elements of accuracy. You can see I didn’t really put much fine detail into the sketch otherwise.
The negative shape on the right side of the sketch was the outline of a tree that was partially obscuring the pink building. Rather than spend time sketching it in, I just left the shape blank.
I was influenced to try this kind of technique by urban sketcher, Danny Hawk. I love how he leaves negative shapes in his sketches indicating where cars or people were obscuring his view.
Suggest details/textures in selected areas
Following on from the point above, the way to avoid filling your sketch with details is to just suggest details, such as texture, in selected areas of the sketch, the human eye will fill in the gaps.
Look for this technique in other sketchers’ work. You will find that some only draw a few bricks in key areas to suggest an entirely brick building. I utilised this technique in my sketch of The Blackfriar pub below.
The illustration above actually took me a long time but I just wanted to highlight the technique of suggesting details rather than drawing all of them.
Some of my favourite online classes
- Architectural Sketching with Watercolor and Ink – Alex Hillkurtz
- Sketchbooking For Beginners: Learn to Draw Your Surroundings – Maximilliano Vera Herrera
- Urban Sketching for Beginners-Ian Fennelly
- Exploratory Sketchbook: Find Your Drawing Style – Sarah Van Dongen
Stylise certain elements
Developing strategies to stylise certain elements, such as trees or people, can really help you to capture them more quickly.
For example, consider the way trees are represented in the sketches of some of your favourite artists. Many urban sketchers have their own distinctive style to capture foliage.
Urban sketcher James Richards is great at stylising certain elements of his sketches conveying the energy of a place. Due to developing a shorthand way of sketching elements such as people, vehicles and trees, he can capture a scene quickly. Scroll through his images in the Instagram post below to see what I mean.
James Richards teaches a class specifically on the subject of capturing people, vehicles and other ‘street furniture in one of his classes on Skillshare. I highly recommend you check it out, it is so useful. He has a few other urban sketching classes too which are excellent. If you sign up for a free trial of premium membership you can watch all of his classes (as well as thousands of others in any creative discipline imaginable). Use this link for a free trial.
Shade with only two values
Consciously using only two values in your sketch will speed things up significantly. Simply just use white and black, or light and dark, in your sketch.
Urban sketcher and art instructor, Will Kemp, demonstrates this perfectly in his sketch of a bicycle in the video below:
Sketch with tone instead of lines
A final strategy you could test is sketching with tone instead of line.
What does this mean exactly?
Building on the point above, tone refers to the lightness or darkness of an area, from bright white through various shades of grey to black.
Sketching with tone is more of a painterly technique, rather than suggesting objects with line, block in areas of tone instead.
This method would lend itself well to a watercolour-only approach, a marker or pencil sketch or a medium such as charcoal. However, you can also do a tonal sketch with pen and ink, creating areas of tone with hatching and cross-hatching.
Below is a watercolour-only (not even any pencil sketch) painting I did of a scene in London. I used one colour, Indigo, and concentrated on the shapes using different tones. In watercolour, different tones are achieved depending on how much water you use in the mix. More water and less pigment equal a lighter tone, equal water and equal pigment equal a mid-tone and little water with more pigment equal a darker tone.
This example also relates back to my earlier suggestion of limiting your art supplies and/or using a limited colour palette. It forces you to focus on other elements of a sketch you may otherwise overlook when there are other factors vying for your attention.
Final Thoughts
Thanks for checking out this post, I sincerely hope it has helped to provide you with a clear roadmap on how you can improve the speed of your sketching.
Be sure to check out my post on how to sketch loosely, which complements the points we have covered in this post.
If you would like some inspiration on sketching architecture, make sure to check this post out.
And check out my guide on people sketching if that’s something you’re interested in!
And finally, if you love urban sketching as much as I do and you want 1 weekly email from me on the latest happenings, projects, suggestions and discounts, then please join my newsletter here. You even get a FREE lesson 🙂